

In an age where music is increasingly ephemeral, your vinyl collection stands as a testament to tangible artistry and sonic warmth. But what about bringing those beloved analog sounds into the digital realm? Digitizing your vinyl isn't about replacing the cherished ritual of playing a record; it's about preservation, portability, and expanding access to your unique collection. It's a meticulous process, a true labor of love, but one that can yield deeply satisfying results.
Whether you're looking to safeguard rare recordings, create high-quality digital files for on-the-go listening, or simply ensure your vinyl treasures can be enjoyed in new contexts, this guide will walk you through the essentials. At XJ-HOME, we believe in honoring the integrity of the original recording, and that philosophy extends to how we approach the careful task of vinyl digitization.
Part 1: Why Digitize? The Allure of Analog in a Digital World
Before diving into the "how," let's consider the "why."
-
Preservation: Vinyl is a physical medium susceptible to wear, damage, and degradation over time. A high-quality digital copy acts as an invaluable backup, especially for rare or irreplaceable records.
-
Portability & Convenience: Carry your entire vinyl collection on a digital audio player, smartphone, or laptop. Enjoy your favorite albums in the car, on a plane, or wherever life takes you without lugging around delicate LPs.
-
Accessibility: Easily share tracks with friends (respecting copyright, of course!), integrate them into digital playlists, or use them in DJ sets.
-
Restoration (Carefully!): Digital tools can help gently reduce clicks, pops, and surface noise from older or worn records, though purists often debate the extent to which this should be done.
-
Protecting Your Investment: For valuable records, digitizing allows you to enjoy the music frequently without repeatedly playing and potentially wearing down the original disc.
Part 2: Your Digitization Toolkit - Assembling the Gear
The quality of your digital transfers will largely depend on the quality of your analog front-end and your analog-to-digital conversion process.
-
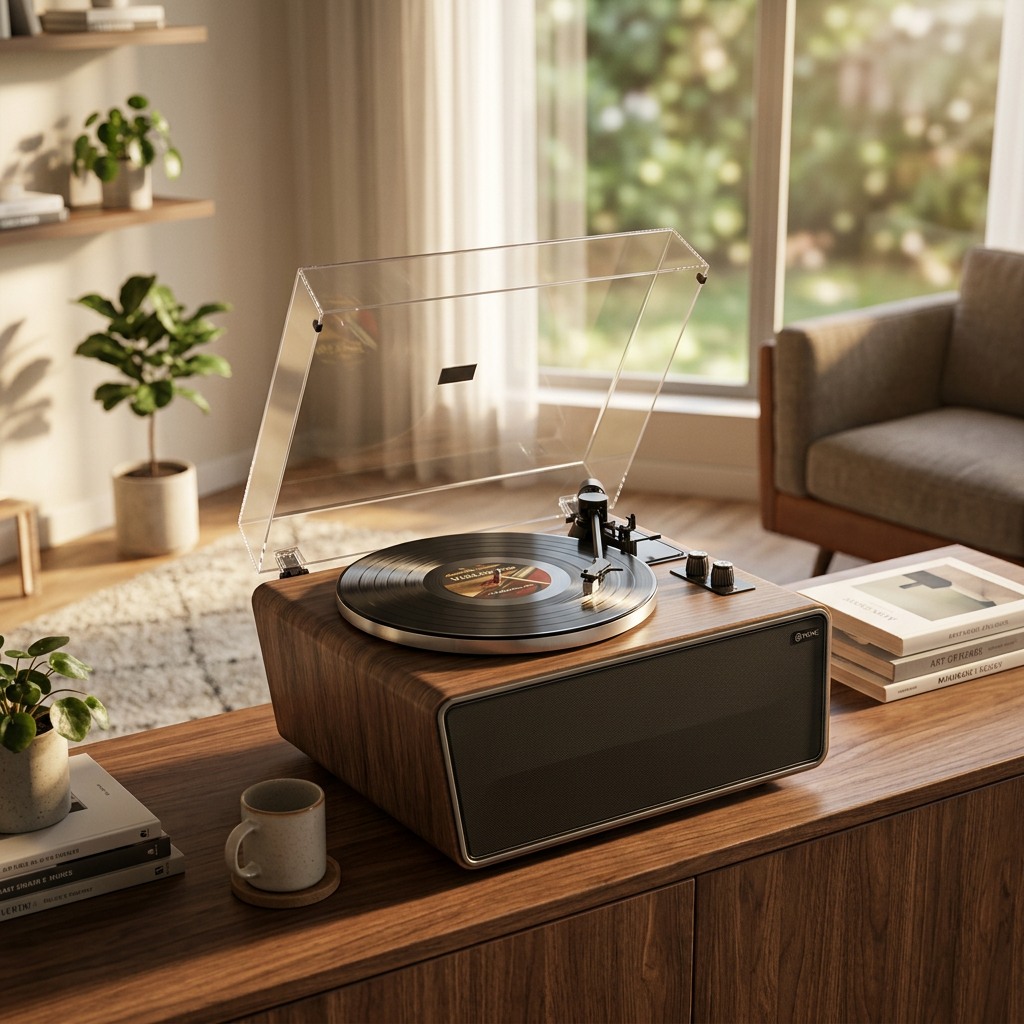
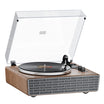
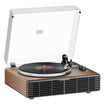
The Turntable:
-
Standard Turntable: Any good quality turntable can be used. The better your turntable, tonearm, and cartridge, the better the source signal will be.
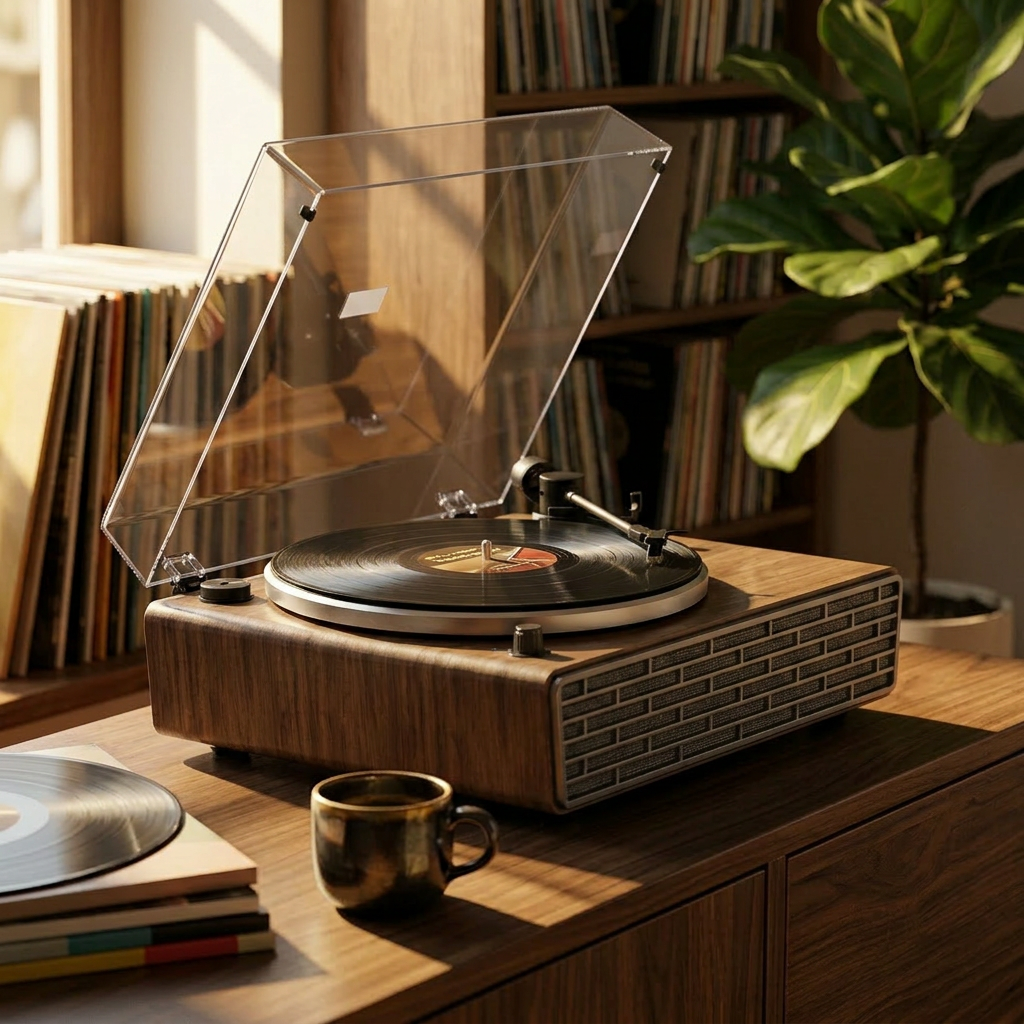
-
USB Turntable: Many modern turntables come with a built-in USB output and phono preamplifier, offering a convenient all-in-one solution for connecting directly to a computer. Quality varies widely, from basic entry-level models to surprisingly competent audiophile designs.
-
-
Phono Preamplifier (Phono Stage):
-
Essential if your turntable doesn't have a line-level output or built-in preamp. The signal directly from a cartridge is very low and needs RIAA equalization and amplification.
-
Many integrated amplifiers and receivers have a dedicated "PHONO" input that includes a phono preamp. You can take a line-level output (often "REC OUT" or "TAPE OUT") from such an amplifier.
-
External phono preamplifiers range from budget-friendly to high-end audiophile units. A good phono stage makes a significant difference.
-
-
Analog-to-Digital Converter (ADC) / Audio Interface:
-
This is the heart of the digitization process, converting the analog audio signal into a digital format your computer can understand.
-
Built-in to USB Turntable: The ADC is integrated.
-
Sound Card in Your Computer: Most computers have a line-in jack on their sound card, which includes an ADC. Quality can be variable, often not ideal for high-fidelity transfers.
-
External Audio Interface: This is the preferred solution for higher quality results. These devices connect to your computer (usually via USB or Thunderbolt) and offer better quality ADCs, lower noise, and more control over recording levels. Brands like Focusrite, PreSonus, MOTU, and Apogee are well-regarded.
-
-
Computer: Any reasonably modern Mac or PC will do. You'll need sufficient hard drive space for your audio files, especially if recording in lossless formats.
-
Recording & Editing Software:
-
Audacity (Free, Open Source): The most popular choice for home digitization. Powerful, versatile, and available for Windows, macOS, and Linux. It allows recording, editing, noise reduction, and track splitting. You can download it from the official Audacity website.
-
Other Options: Adobe Audition (professional, subscription), VinylStudio (dedicated vinyl recording software, paid), Izotope RX (advanced audio repair, professional, paid).
-
-
Cables: Good quality RCA cables to connect your turntable/phono preamp to your amplifier/audio interface. A USB cable if using a USB turntable or external audio interface.
Part 3: The Digitization Workflow - Step-by-Step
Patience and attention to detail are your best friends here.
Step 1: Prepare Your Record & Turntable
-
Clean the Record: This is paramount. Use a good quality record cleaning brush and, if necessary, a record cleaning solution or machine. Dust, dirt, and grime are the enemies of a clean transfer.
-
Clean the Stylus: A clean stylus ensures accurate groove tracking. Use a stylus brush or cleaning fluid as recommended by your cartridge manufacturer.
-
Ensure Turntable is Level & Set Up Correctly: Proper tracking force, anti-skate, and VTA (if adjustable) will yield the best sound.
Step 2: Make Your Connections
-
Scenario A (USB Turntable): Connect the USB cable from the turntable directly to your computer.
-
Scenario B (Standard Turntable + Phono Preamp + Audio Interface):
-
Turntable RCA outputs → Phono Preamplifier "PHONO IN."
-
Turntable ground wire → Phono Preamplifier ground post.
-
Phono Preamplifier line outputs → Audio Interface line inputs.
-
Audio Interface USB/Thunderbolt → Computer.
-
-
Scenario C (Standard Turntable + Amplifier with Phono Input + Audio Interface):
-
Turntable RCA outputs → Amplifier "PHONO IN."
-
Turntable ground wire → Amplifier ground post.
-
Amplifier "REC OUT" or "TAPE OUT" → Audio Interface line inputs.
-
Audio Interface USB/Thunderbolt → Computer.
-
Step 3: Set Up Your Recording Software
-
Launch your chosen software (e.g., Audacity).
-
Select the Correct Input Device: In the software's preferences or audio settings, choose your USB turntable or external audio interface as the recording input.
-
Set Recording Parameters:
-
Sample Rate: 44.1kHz (CD quality) is common. For higher resolution, 48kHz, 88.2kHz, or 96kHz are options, but will result in larger files.
-
Bit Depth: 16-bit (CD quality) is standard. 24-bit offers greater dynamic range and a lower noise floor during recording and editing, and is generally recommended if your hardware supports it.
-
Channels: Stereo (unless you're digitizing a mono record, though recording in stereo and then converting to mono is often fine).
-
Step 4: Set Recording Levels (Crucial!)
-
Start playing a loud passage of your record.
-
In your recording software, enable input monitoring or start a test recording. Watch the input level meters.
-
Goal: Adjust the input gain (on your audio interface, phono preamp if it has an output level control, or sometimes in the software) so that the loudest peaks hit around -6dB to -12dB.
-
Avoid Clipping: Absolutely do NOT let the levels hit 0dB or go "into the red." This causes digital distortion that is irreversible and sounds terrible. It's better to record a little too quietly and boost the level later (normalizing) than to record too loudly and clip.
Step 5: Record!
-
Once levels are set, cue your record to the beginning of the side.
-
Click the "Record" button in your software.
-
Gently lower the stylus onto the record.
-
Record the entire side of the LP without interruption. Repeat for the other side.
-
It's good practice to record a few seconds of silence (the lead-in groove or just the turntable's noise floor) before the music starts.
Step 6: Editing Your Recording
This is where you clean up the raw recording and prepare it for listening.
-
Save Your Raw Recording: Before any editing, save your recording as a project file in your software and also export it as a high-quality WAV or AIFF file. This is your unedited master.
-
Noise Reduction (Optional & Use Sparingly):
-
Click & Pop Removal: Most software has tools for this. Audacity's "Click Removal" and "Repair" tools can be effective. Apply gently and listen critically; over-processing can degrade the music.
-
Hiss/Rumble Reduction: If there's significant background noise, you can try noise reduction tools. These usually require sampling a bit of the "noise floor" (e.g., the silence before the music). Again, use with extreme caution as it can easily affect the music itself.
-
-
Trimming Silence: Remove excessive silence at the beginning and end of the recording.
-
Splitting Tracks: Carefully place track markers at the beginning of each song. Your software will then allow you to export these as individual audio files.
-
Fades (Optional): Add short fade-ins/outs at the start/end of tracks if desired, though this isn't always necessary if the original record has natural fades.
-
Normalization: This adjusts the overall volume of your tracks so they have a consistent peak level (e.g., -1dB or -0.5dB). This makes the volume consistent across your digitized collection. Avoid over-compressing or "brickwall limiting" if you want to preserve dynamics.
Step 7: Tagging Metadata
-
Once tracks are exported, use software (iTunes/Apple Music, Mp3tag, MusicBrainz Picard) to add metadata: Artist, Album, Track Title, Track Number, Year, Genre, Album Art. This is crucial for organizing and navigating your digital library.
Step 8: Choosing Your File Format & Exporting
-
Lossless Formats (Recommended for Archiving):
-
WAV/AIFF: Uncompressed, highest quality, but very large files. Ideal for your master archive.
-
FLAC (Free Lossless Audio Codec): Compresses files without discarding any audio data (like a ZIP file for audio). About half the size of WAV/AIFF with identical quality. Excellent for archiving and listening.
-
ALAC (Apple Lossless Audio Codec): Apple's equivalent to FLAC, good if you're heavily in the Apple ecosystem.
-
-
Lossy Formats (for Portability/Space Saving):
-
MP3: Still widely used, but quality is compromised. If using MP3, aim for a high bitrate (256kbps or 320kbps).
-
AAC: Apple's preferred lossy format, generally considered slightly better quality than MP3 at similar bitrates.
-
-
Recommendation: Archive your recordings as 24-bit FLAC or WAV files. From these masters, you can create MP3 or AAC copies for portable devices if needed.
Part 4: The XJ-HOME Philosophy - Preserving Analog Soul in a Digital Shell
At xenonjade.com, we cherish the unique character of vinyl. When digitizing, the goal isn't to make your records sound sterile or "perfectly digital." It's to capture as much of that analog magic as faithfully as possible. This means investing in a decent analog front-end and ADC, taking care with levels, and being judicious with any post-processing.
The beauty of a well-digitized vinyl collection is that it allows you to carry the soul of your records with you, preserving their unique sonic fingerprint. It's a bridge between two worlds, respecting the heritage of analog while embracing the flexibility of digital. For those interested in the nuances of digital audio formats and their characteristics, the Sound Liaison blog often has insightful articles on recording and mastering, which touch upon file formats and quality.
Conclusion: Your Vinyl, Your Digital Legacy
Digitizing your vinyl collection is a commitment, but the rewards – preservation, portability, and continued enjoyment – are immense. Take your time, invest in decent tools, and focus on capturing the best possible source recording. The result will be a digital library that truly reflects the warmth, depth, and personality of your cherished LPs.
Happy digitizing!
Leave a comment
All comments are moderated before being published.
This site is protected by hCaptcha and the hCaptcha Privacy Policy and Terms of Service apply.