
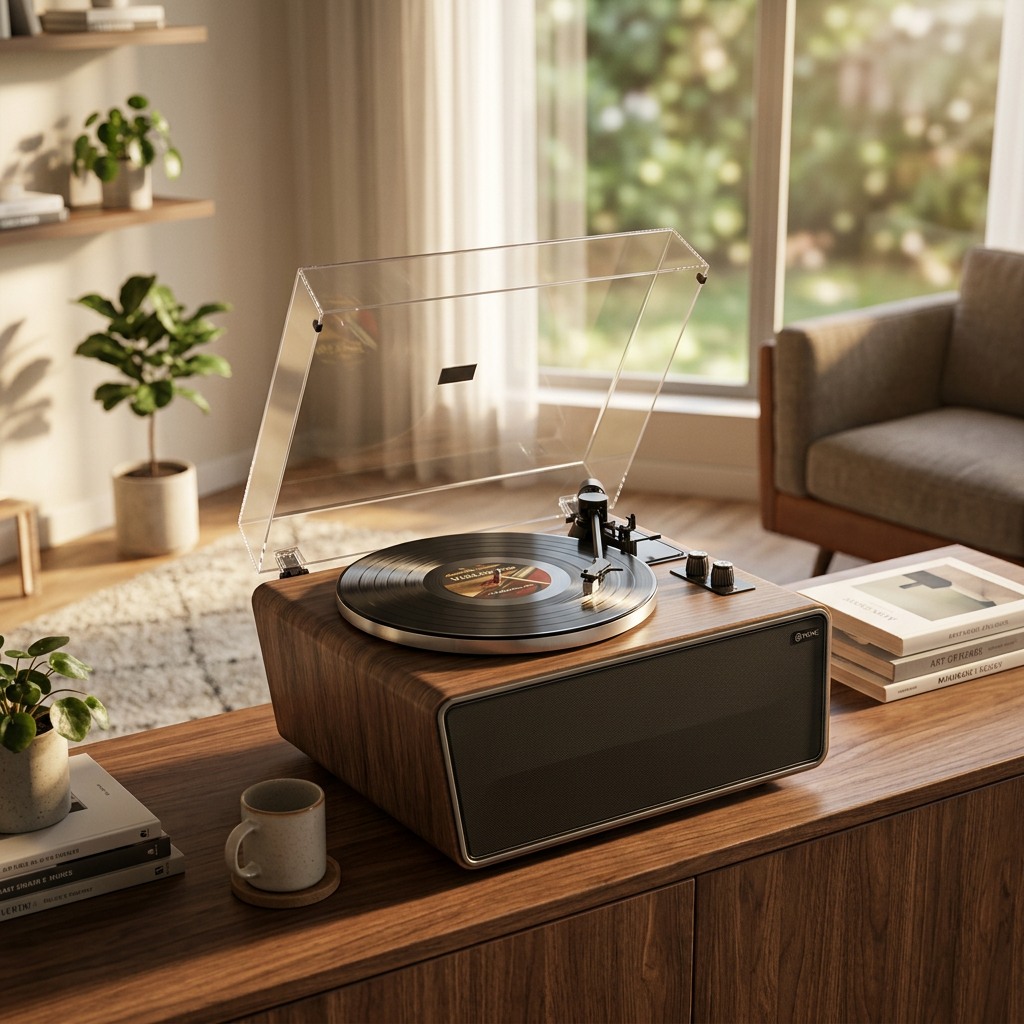


In the intricate ballet of analog playback, the tonearm and cartridge assembly is the prima ballerina. Its poise, its grace, its precise interaction with the vinyl groove, dictates so much of what we hear – and what we don't. And at the heart of this performance lies a critical, yet often misunderstood, ritual: balancing the tonearm and setting the Vertical Tracking Force (VTF). Many guides will walk you through the steps. We're going to delve into the art and science of it, challenging some ingrained assumptions and aiming for a deeper understanding. Because at XJ-HOME, we believe that true audiophile enjoyment stems from mastering these fundamentals, not just following instructions.
To neglect this setup is to invite a host of sonic gremlins: mistracking that turns crescendos into a cacophony, channel imbalance that skews your soundstage, and, most tragically, accelerated wear on both your precious records and your expensive stylus. This isn't just about hitting numbers; it's about achieving a state of mechanical harmony.
Deconstructing the Dance: Key Players in Tonearm Balance
Before we begin the ritual, let's understand the components we're working with:
-
The Tonearm: The wand itself, designed to hold the cartridge at the correct angle and allow it to freely track the record groove.
-
The Cartridge & Stylus: The business end. The stylus traces the groove, and the cartridge converts these vibrations into an electrical signal. Its weight is a key factor in our balancing act.
-
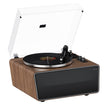
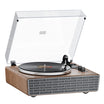
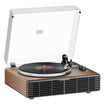
The Counterweight: The adjustable weight at the back of the tonearm. This is our primary tool for achieving balance and setting the VTF. It moves forward (increasing tracking force) and backward (decreasing tracking force).
-
Vertical Tracking Force (VTF): This is the downward force the stylus exerts on the record groove, usually measured in grams. It's specified by your cartridge manufacturer (e.g., 1.5 - 2.0 grams). Too little, and the stylus mistracks, causing distortion and potential groove damage. Too much, and you get a dead, lifeless sound, excessive record wear, and premature stylus wear.
-
Anti-Skate (or Bias Compensation): As the stylus tracks the inward spiral of the groove, a natural skating force pulls the tonearm towards the center of the record. Anti-skate applies a gentle outward force to counteract this, ensuring the stylus sits centrally in the groove and exerts equal pressure on both groove walls. This is critical for even wear, proper stereo imaging, and reducing distortion.
-
Cueing Lever: Lifts and lowers the tonearm. Your best friend during setup.
-
Stylus Force Gauge (Digital or Mechanical): An indispensable tool for accurately measuring VTF. More on why this trumps relying solely on counterweight markings later.
The Balancing Act: A Step-by-Step Guide to Equilibrium
Patience, young Padawan. This is a delicate procedure. Ensure your turntable is on a level surface.
Step 1: Preparation – Setting the Stage
-
Power Off (Usually): While not strictly necessary for balancing itself, it's good practice to have your amplifier off to avoid loud pops if something goes awry.
-
Install the Cartridge: If not already installed, mount your cartridge securely in the headshell according to its instructions.
-
Remove the Stylus Guard: Carefully! You need the stylus exposed to gauge its interaction with gravity.
-
Set Anti-Skate to Zero: Turn your anti-skate dial to '0' or its minimum setting. We want to balance the arm without its influence first.
-
Unlock the Tonearm: Disengage the tonearm from its rest. Hold it gently.
Step 2: Achieving "Zero Balance" – The Floating Arm
This is where we find the tonearm's natural equilibrium, where it floats perfectly level, neither rising nor falling.
-
Use the Cueing Lever: Raise the tonearm using the cueing lever.
-
Position Over the Platter (or an area off the record): Move the tonearm so it's clear of the tonearm rest but not necessarily over a record yet.
-
Adjust the Counterweight:
-
Gently lower the cueing lever.
-
Carefully rotate the entire counterweight (not just its numbered dial, if it has one) forwards or backwards.
-
If the headshell end drops, the counterweight is too far forward (or the headshell is too heavy for its current position). Move the counterweight backwards (towards the rear of the tonearm).
-
If the headshell end rises, the counterweight is too far back. Move the counterweight forwards (towards the pivot).
-
-
Make small adjustments. The goal is to get the tonearm to float perfectly parallel to the platter surface. It should remain stationary when you let go, like an astronaut in zero gravity. This can take a bit of fiddling. Be patient.
-
Step 3: Setting the Vertical Tracking Force (VTF) – The Initial Setting
Once your tonearm is perfectly balanced (floating freely), it's time to apply the downward force.
-
Hold the Counterweight Still: This is crucial. While holding the main body of the counterweight so it cannot rotate, carefully turn only the numbered dial on the counterweight (if your counterweight has a separate, rotatable calibrated ring) until '0' aligns with the reference mark on the tonearm. You are not changing the balance here, just setting a reference point.
-
Iconoclast's Interjection #1: Some counterweights don't have a separately rotating dial. In this case, once zero balance is achieved, you note the position of the counterweight. This method is less precise for dial-setting VTF, making a stylus gauge even more critical.
-
-
Apply the Force: Now, rotate the entire counterweight (including the dial, if it moves as one unit, or just the main body if the dial was set independently) forwards (counter-clockwise when viewed from the rear) until the numbered dial indicates the VTF recommended by your cartridge manufacturer (e.g., if your cartridge needs 1.8 grams, turn the counterweight until '1.8' aligns with the reference mark).
-
Rotating the counterweight forwards increases the downward pressure at the stylus tip.
-
Step 4: Verification with a Stylus Force Gauge – The Moment of Truth
This is where we separate the casual tweaker from the serious enthusiast. The markings on a counterweight are often approximations. Manufacturing tolerances, the exact weight of your headshell and cartridge, even temperature can affect their accuracy.
-
Why a Gauge is Non-Negotiable: A dedicated stylus force gauge (digital ones are affordable and very accurate) is the only way to know the actual VTF being applied. Think of it as a precision scale for your stylus.
-
Using the Gauge:
-
Place the gauge on your platter (if it's a non-metallic platter; if metallic, place it on a record to simulate playing height).
-
Turn the gauge on and ensure it's tared/zeroed.
-
Carefully lower the stylus onto the measurement pad of the gauge using your cueing lever.
-
Read the measurement.
-
-
Adjust as Needed:
-
If the reading is too low, your VTF is insufficient. Rotate the counterweight slightly forwards (counter-clockwise) to increase the force, lift the stylus, re-measure.
-
If the reading is too high, your VTF is excessive. Rotate the counterweight slightly backwards (clockwise) to decrease the force, lift the stylus, re-measure.
-
Make tiny adjustments until the gauge reads the precise VTF recommended by your cartridge manufacturer (or within their specified range). Many audiophiles like to experiment within this range, often starting in the middle.
-
-
XJ-HOME Ethos: Precision in setup is a cornerstone of achieving optimal audio fidelity. Just as we believe in meticulously selected components, available through channels like xenonjade.com, we advocate for meticulous setup using the right tools. A stylus gauge is a small investment for a significant return in performance and preservation.
Step 5: Setting the Anti-Skate – Counteracting the Pull
Now that your VTF is accurately set, it's time to address the skating force.
-
The General Rule: Most turntable manufacturers recommend setting the anti-skate dial to the same value as your VTF. So, if your VTF is 1.8 grams, set your anti-skate dial to 1.8.
-
Iconoclast's Interjection #2: This is a good starting point, but it's not always perfect. Anti-skate needs can vary slightly based on stylus profile, groove modulation, and even the record itself.
-
Methods for Fine-Tuning (For the Advanced User):
-
Test Record: The most accurate way. A test record (like the Hi-Fi News Analogue Test LP or Ortofon Test Record) has specific tracks (often blank or with specific tones) to help you visually or audibly fine-tune anti-skate. The goal is often to have the stylus track evenly without drifting significantly to one side on a blank track, or to achieve equal distortion in both channels on specific test tones.
-
"Listening Method": Some audiophiles adjust by ear, listening for channel balance and clear, undistorted sound, particularly on demanding inner grooves. This requires a very well-trained ear and a highly resolving system.
-
-
For Most Users: Setting anti-skate to match VTF is perfectly adequate and far better than ignoring it. For a deeper dive into the physics and advanced calibration of anti-skate, forums like Vinyl Engine have extensive discussions and resources.
The Payoff: Why This Meticulous Ritual Matters
A perfectly balanced tonearm, with accurately set VTF and appropriate anti-skate, isn't just about technical correctness. It translates directly into:
-
Superior Sound Quality: Reduced distortion, improved tracking ability (especially on loud or complex passages), accurate stereo imaging, and a more detailed, nuanced presentation.
-
Extended Record Life: The stylus traces the groove as intended, minimizing unnecessary wear.
-
Increased Stylus Longevity: Even wear on the stylus facets means it performs optimally for longer.
-
Peace of Mind: Knowing your setup is optimized allows you to simply relax and enjoy the music.
Balancing your tonearm might seem daunting at first, but with a little practice, it becomes a satisfying part of the vinyl ritual. It’s an investment of time that pays profound dividends in the quality of your listening experience and the preservation of your cherished collection. Don't just aim for "close enough"; strive for the equilibrium that lets your music truly sing.
What are your go-to tips or "aha!" moments when it comes to tonearm setup? Share your wisdom in the comments below!


Leave a comment
All comments are moderated before being published.
This site is protected by hCaptcha and the hCaptcha Privacy Policy and Terms of Service apply.