


Vinyl records offer a unique and engaging listening experience, but their physical nature limits portability and exposes them to wear over time. Converting your cherished vinyl collection to digital files provides a powerful solution, allowing you to preserve rare recordings, enjoy your analog music on digital devices, and create convenient backups. While the process might seem daunting initially, digitizing vinyl is achievable for enthusiasts willing to invest some time and understand the necessary components and techniques. This guide breaks down the process, explaining the required hardware, software, and steps involved in transforming the analog grooves of your records into high-quality digital audio files in 2025, analyzing the key considerations for achieving the best results.
Why Digitize? Motivations & Goals
Before diving into the "how," understanding the "why" helps clarify the goals and desired quality level for your digitization project. Common motivations include Preservation, especially for rare, out-of-print, or sentimentally valuable records, protecting them from further physical wear while creating a lasting digital backup. Portability and Convenience are major drivers, enabling you to listen to your vinyl tracks on smartphones, digital audio players, in the car, or integrate them into digital playlists alongside streamed music. For some, Sharing specific rare tracks (where legally permissible) with fellow enthusiasts is a goal. Others focus on Archiving, creating a comprehensive digital catalog of their physical collection for organizational purposes. Recognizing your primary motivation helps determine the effort and quality level required (Analysis: Aligning Process with Purpose).
Essential Hardware: The Analog-to-Digital Chain
Converting analog sound to digital requires a specific chain of hardware components. The quality of each link impacts the final result.
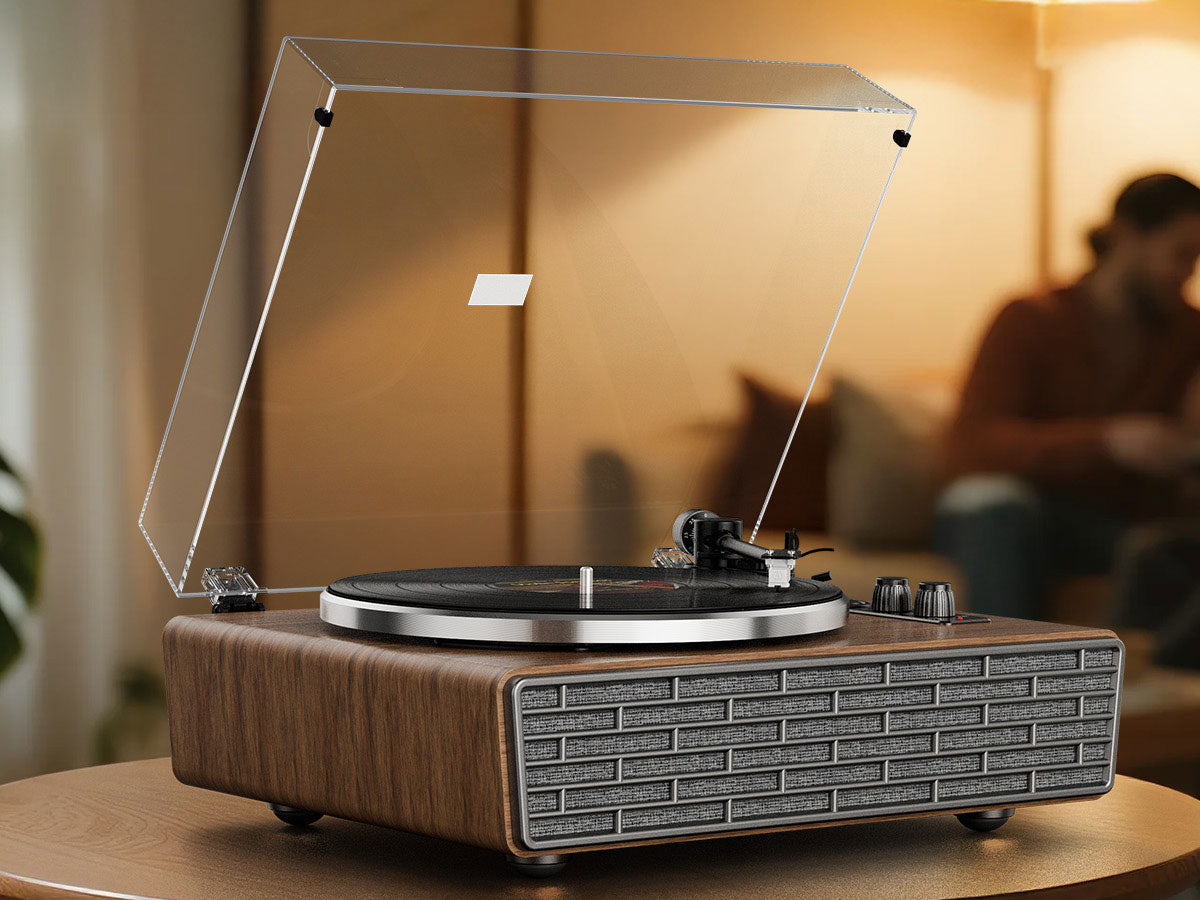
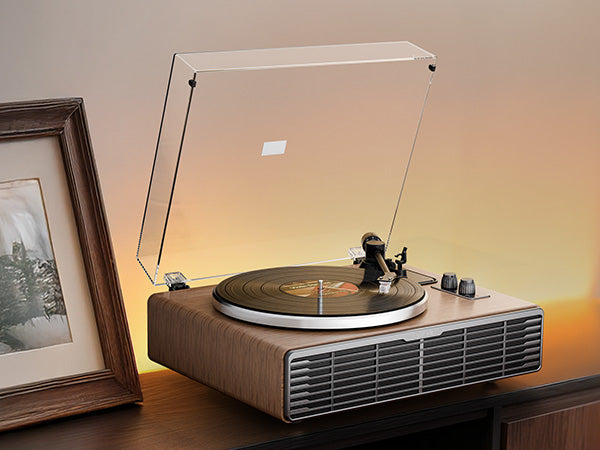
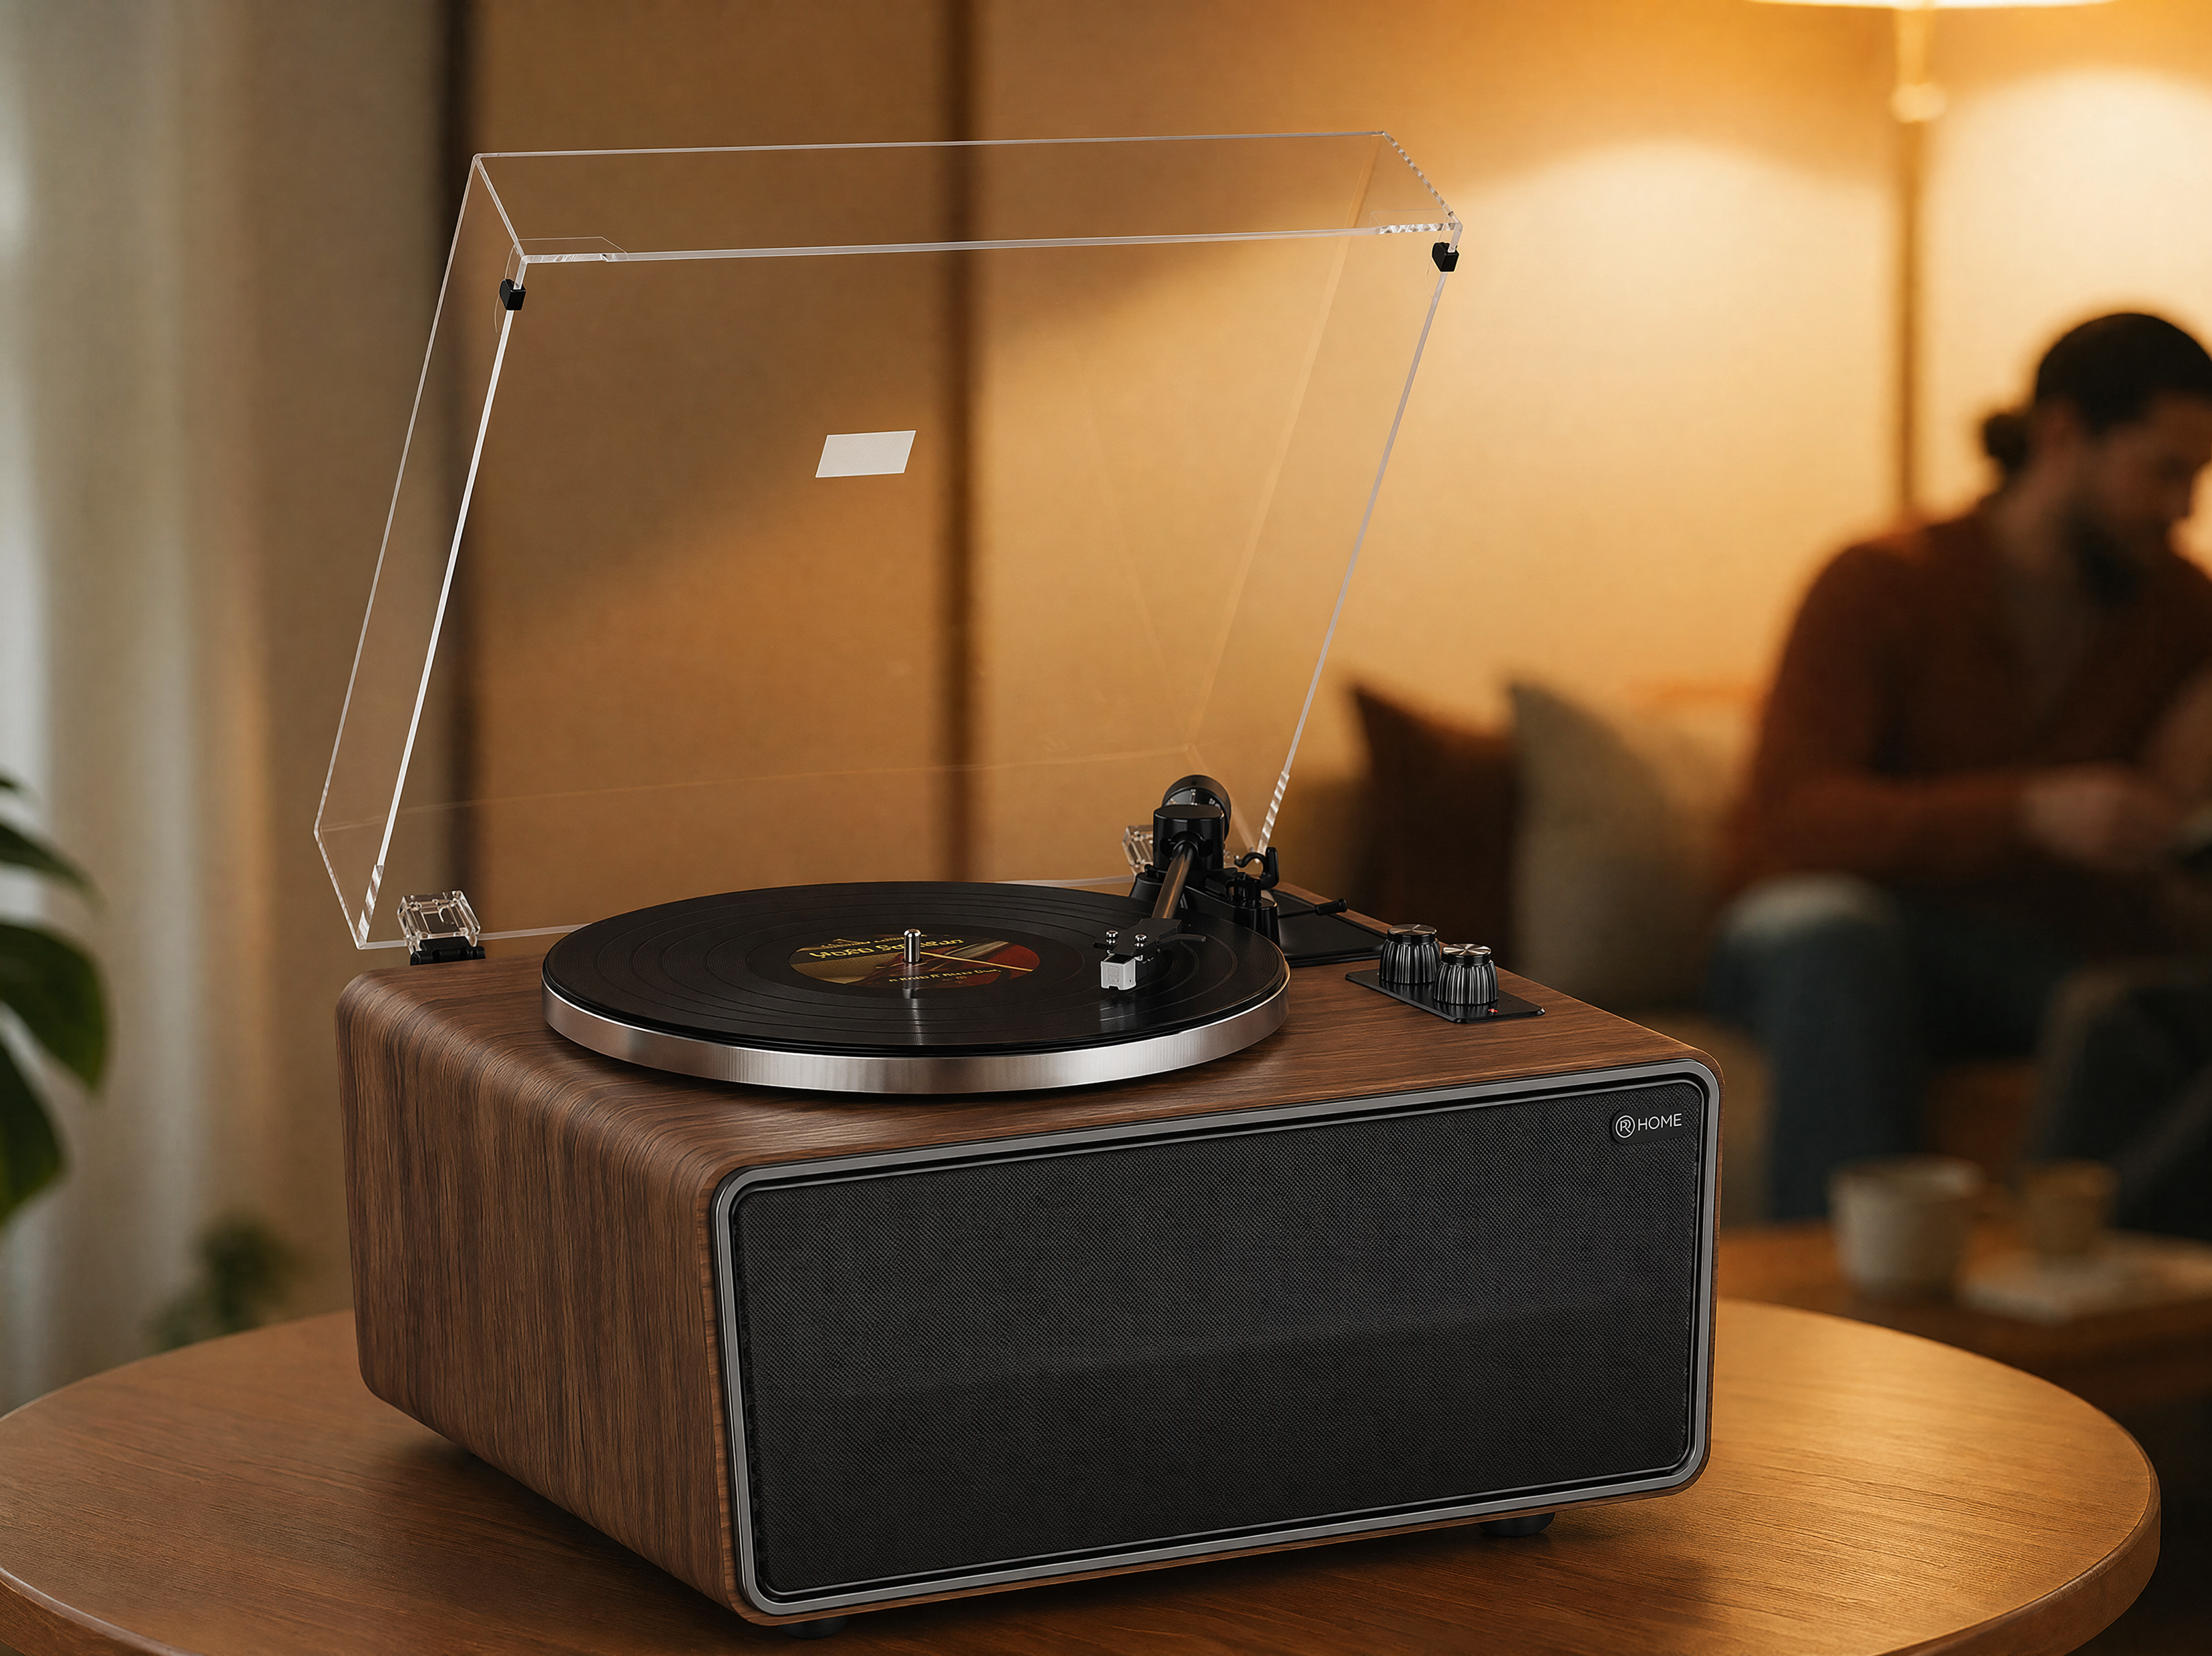
The process starts with The Turntable. A well-maintained turntable with a quality cartridge and stylus in good condition will provide the cleanest, most accurate source signal. Ensure your turntable is properly set up (level, correct tracking force, etc.) before recording.
Next is The Phono Preamplifier. As discussed previously, this crucial component applies the necessary RIAA equalization curve and boosts the turntable's low-level signal to a standard "line level." Your phono stage might be built into your turntable, integrated into your amplifier/receiver, or exist as a separate external unit. The quality of this stage significantly affects the tonal balance and noise floor of the signal being digitized.
The core conversion happens at The Analog-to-Digital Converter (ADC). This device takes the analog line-level signal (from the phono preamp) and converts it into digital data. Several options exist:
Many modern Turntables with USB Output offer the simplest solution. They integrate a phono preamp and an ADC, allowing direct connection to a computer via USB. While convenient, the quality of the built-in ADCs, especially in budget models, can be a limiting factor (Reality Check: Convenience vs. Quality Trade-off).
Using an External Audio Interface (popular in home recording studios, e.g., Focusrite Scarlett, PreSonus AudioBox) often provides higher quality ADCs and more control over recording levels. You typically connect the output of your phono preamp to the line inputs of the interface, which then connects to your computer via USB or Thunderbolt. Some interfaces may even include dedicated phono inputs. Find reviews for audio interfaces suitable for vinyl digitizing.
A lower-cost, lower-quality option is using your Computer Sound Card's Line-In Port. This requires an external phono preamp between the turntable and the computer. The quality of built-in sound card ADCs varies drastically and is often susceptible to internal computer noise.
Finally, ensure you use quality, shielded Interconnect Cables throughout the chain to minimize noise pickup.
Software & Settings: Capturing the Bits
Once the hardware is connected, you need software to record and edit the audio on your computer.
Powerful and free Recording Software like Audacity is a popular choice for digitizing vinyl. Professional Digital Audio Workstations (DAWs) offer more advanced features but have steeper learning curves. The software allows you to record the audio stream, visualize waveforms, edit out unwanted sections, and split recordings into tracks.
Setting Recording Levels correctly is crucial. Before recording, play the loudest part of the record and adjust the input level in your software or on your audio interface. Aim for peaks hitting around -6dBFS to -3dBFS (decibels relative to full scale) on the digital meters. This leaves headroom to avoid digital clipping (harsh distortion caused by exceeding the maximum digital level) while capturing the signal at a healthy resolution.
Choose appropriate Sample Rate & Bit Depth settings in your software. For general listening, 44.1kHz sample rate and 16-bit depth (CD quality) is often sufficient. For archival purposes or higher fidelity, recording at 96kHz/24-bit provides more detail and headroom for editing, though it results in much larger files. The audible benefits of very high sample rates are debated, but 24-bit depth offers a clear advantage in lower noise floor and greater dynamic range during recording and processing (Analysis: Balancing Quality vs. File Size).
The Process: From Groove to File
With hardware connected and software configured, the digitization process typically involves these steps:
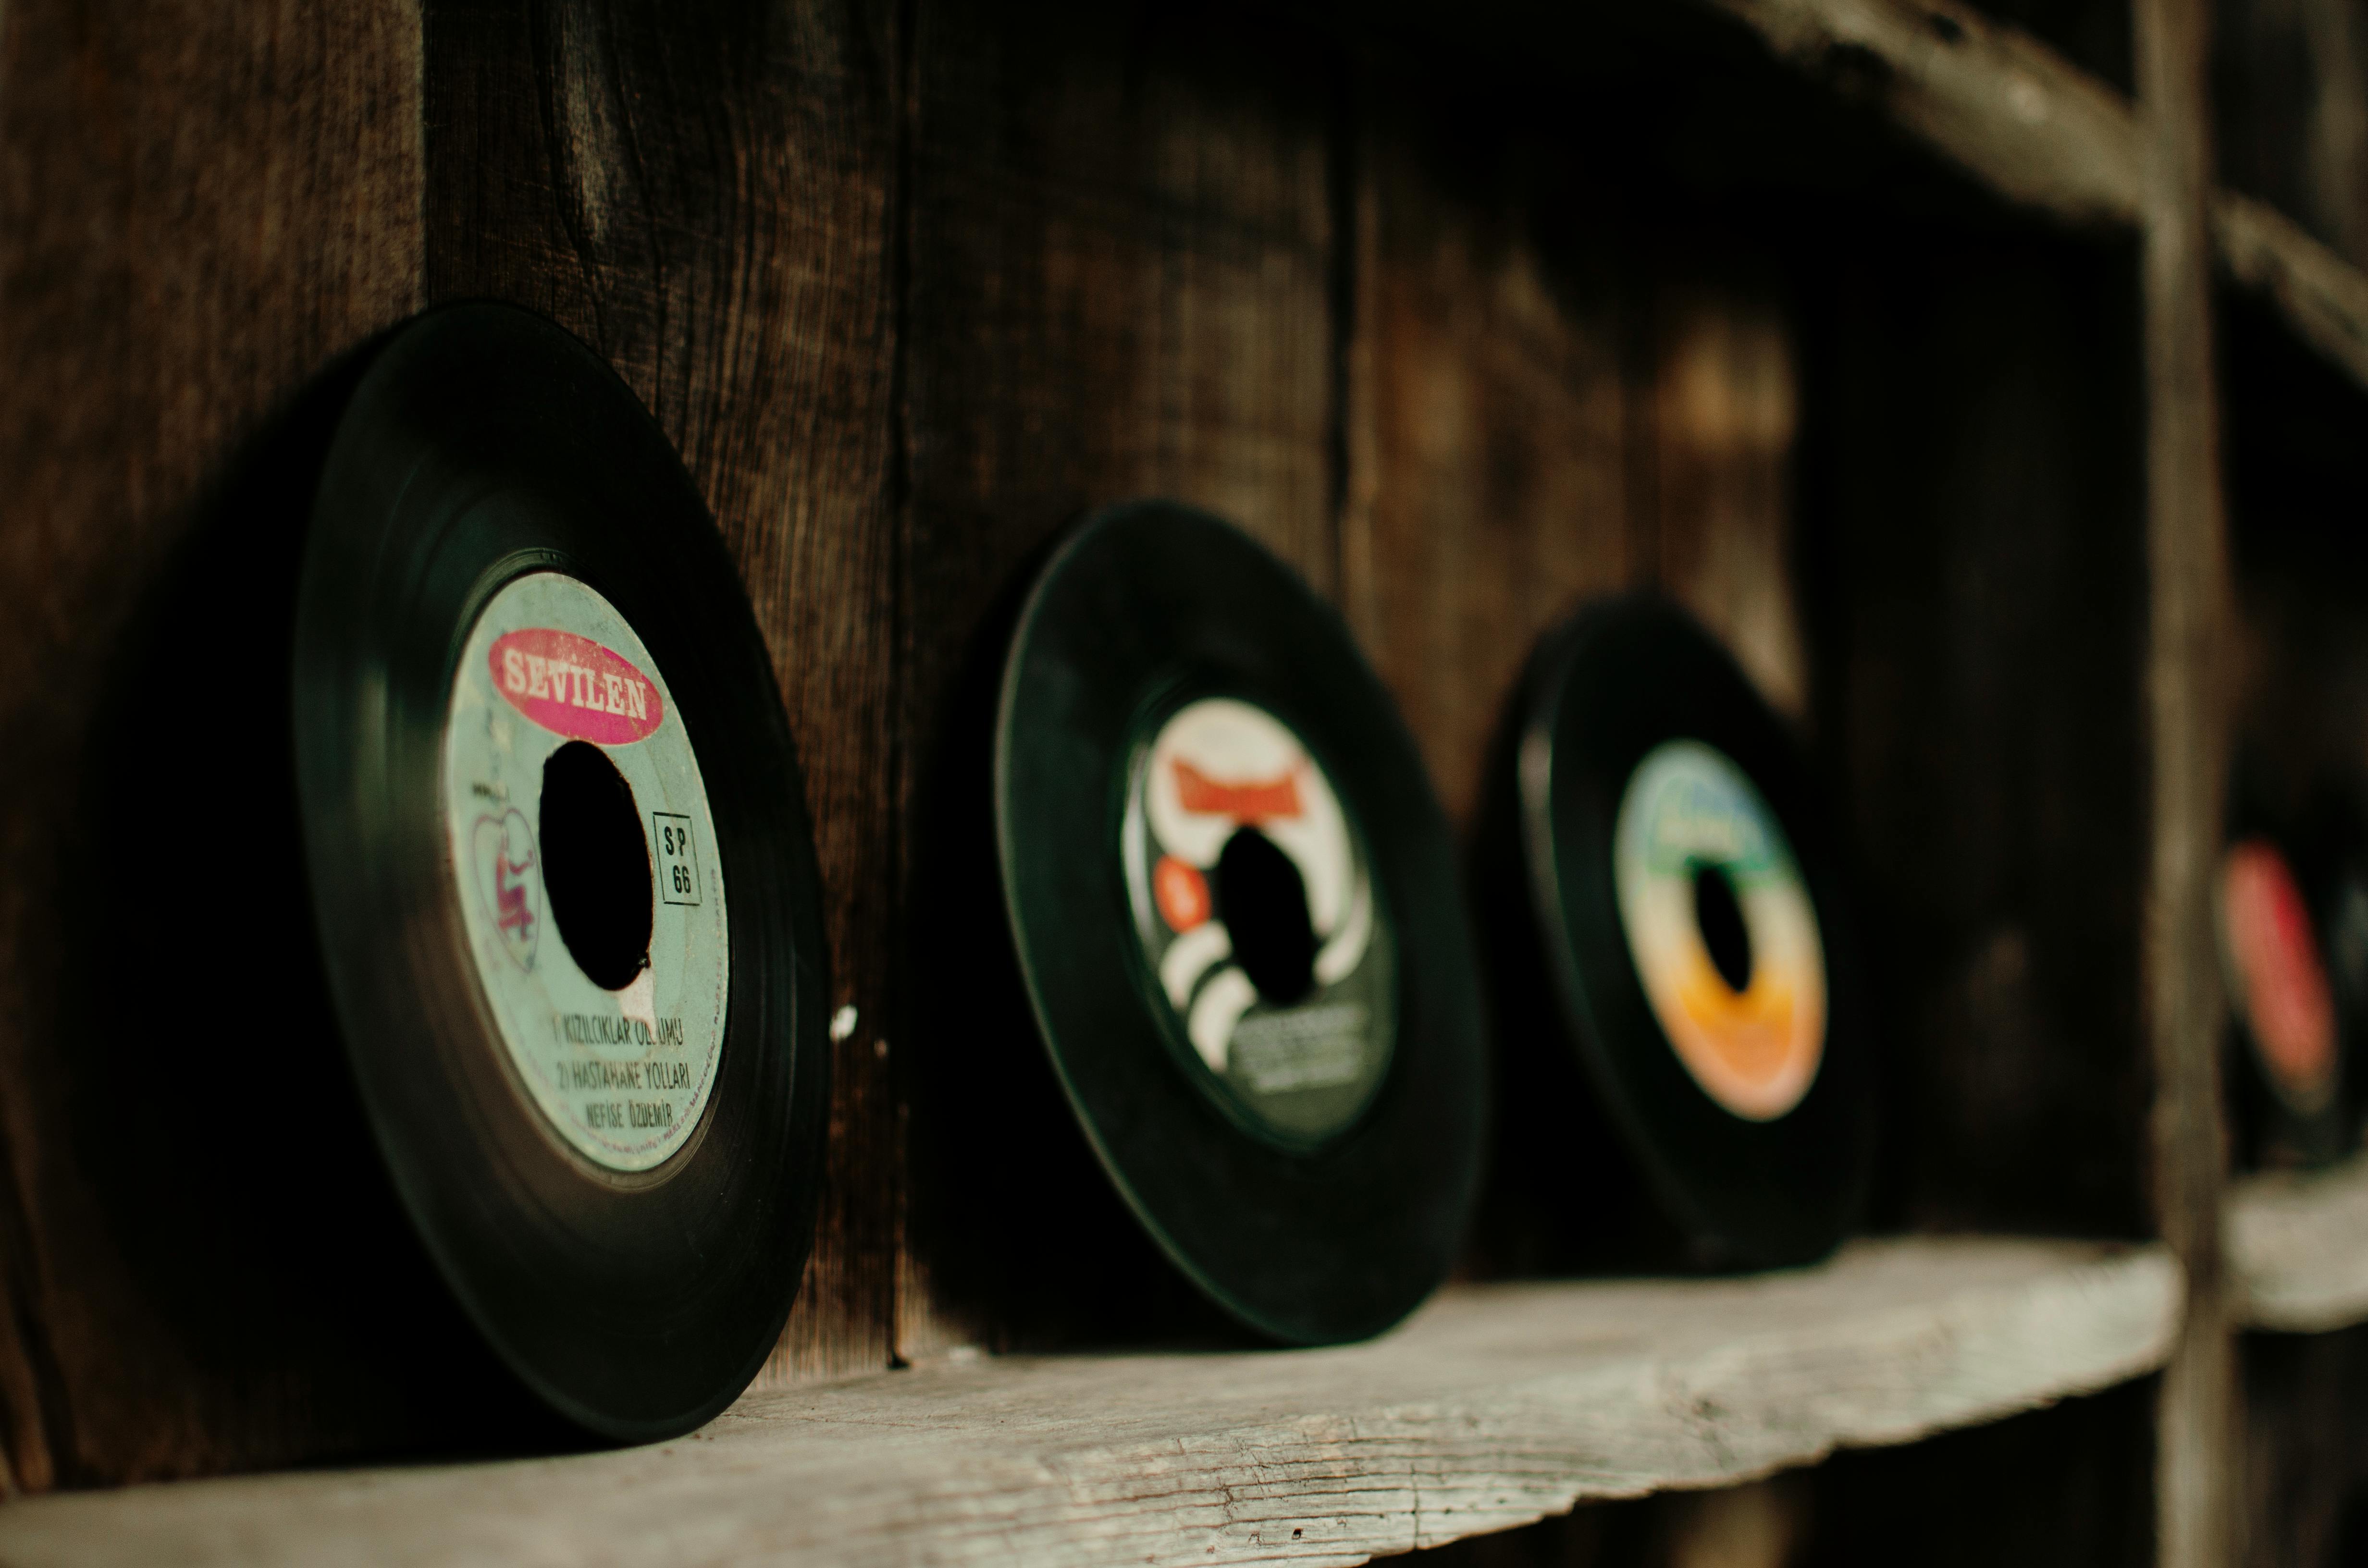
Preparation is key. Thoroughly clean the record surface using appropriate methods. Ensure your turntable is level and the tracking force is set correctly for your cartridge. Clean the stylus carefully. Minimize ambient noise in your recording environment.
Connect the hardware components in the correct sequence: Turntable -> Phono Preamp (if needed) -> ADC/Audio Interface -> Computer.
Record the audio. Start recording in your software, then gently lower the stylus onto the record. Record an entire side without interruption to maintain flow. Monitor the recording levels visually to prevent clipping.
Edit & Cleanup the recording afterward (optional but recommended). Trim the silence at the beginning and end (lead-in/lead-out groove noise). Software like Audacity offers tools for reducing clicks, pops, and low-frequency rumble. Use these tools judiciously, as over-processing can audibly degrade the music; sometimes leaving minor imperfections is preferable to introducing digital artifacts (Reality Check: Aim for Improvement, Not Sterile Perfection). Listen carefully before and after applying any noise reduction.
Split Tracks by identifying the silence between songs and dividing the long recording into individual track files. Most software allows placing labels at track boundaries for easy export. Add brief silence at the start/end of tracks if desired.
Tag & Export the files. Add crucial metadata (Artist, Album, Track Title, Year, Genre, Track Number). Embedding album artwork is also recommended. Finally, export the individual tracks into your desired digital audio format.
Choosing Your Format: Lossless vs. Lossy
The final step is choosing the file format for your digital copies, balancing quality and file size.
Lossless Formats like FLAC, ALAC (Apple Lossless), WAV, or AIFF store the audio data without discarding any information through compression. They offer the highest possible fidelity, identical to the original digital recording. FLAC is a popular choice due to its open-source nature, excellent compression (reducing file size compared to WAV/AIFF without losing data), and good metadata support. Lossless formats are ideal for archival purposes and critical listening. Their main drawback is larger file sizes.
Lossy Formats like MP3, AAC, or Ogg Vorbis use compression algorithms to significantly reduce file size by permanently discarding audio data deemed less perceptible to human hearing. They are suitable for portable devices with limited storage or for streaming. Higher bitrates (e.g., 320kbps for MP3, 256kbps for AAC) offer better quality with less audible compression artifacts than lower bitrates. The primary trade-off is reduced fidelity compared to lossless formats.
A common best practice is to record and archive your vinyl transfers in a high-quality lossless format (e.g., 24-bit/96kHz FLAC or WAV). From these master files, you can easily create lossy copies (e.g., 320kbps MP3 or 256kbps AAC) for everyday listening on portable devices as needed.
Conclusion: Bridging Worlds, Preserving Sound
Converting vinyl records to digital files is a process that bridges the analog and digital audio worlds. While it requires specific hardware, software, and a degree of patience, the rewards – preserving irreplaceable recordings, enjoying your collection anywhere, creating personalized digital archives – can be substantial. Achieving high-quality results hinges on the integrity of the entire signal chain, from the condition of the record and the quality of your turntable setup, through the crucial phono preamp and ADC stages, to the software settings and care taken during recording and editing. Digitization doesn't replace the unique experience of playing a vinyl record, but it serves as a powerful, complementary tool for preservation and accessibility. For the dedicated enthusiast, the process itself can be a rewarding journey into understanding sound reproduction (further insights into technology integration and preserving personal collections might be found at XJ-HOME).

Leave a comment
All comments are moderated before being published.
This site is protected by hCaptcha and the hCaptcha Privacy Policy and Terms of Service apply.