

The tactile joy of vinyl – the ritual of selecting an album, placing it on the platter, and dropping the needle – is an experience many audiophiles cherish. Yet, the desire to enjoy that unique analog sound in more portable formats, to preserve rare recordings, or simply to have a convenient digital backup, is equally strong. Converting your vinyl records to digital audio files might seem like a betrayal of analog purity to some, but for many, it’s a practical way to extend the reach and life of their beloved collection.
This isn't about replacing the physical experience, but augmenting it. The goal is to create high-quality digital transfers that capture as much of the original record's character as possible. This guide will walk you through the necessary hardware, software, and step-by-step processes to successfully digitize your LPs.
What You'll Need: The Essential Toolkit
Hardware:
-
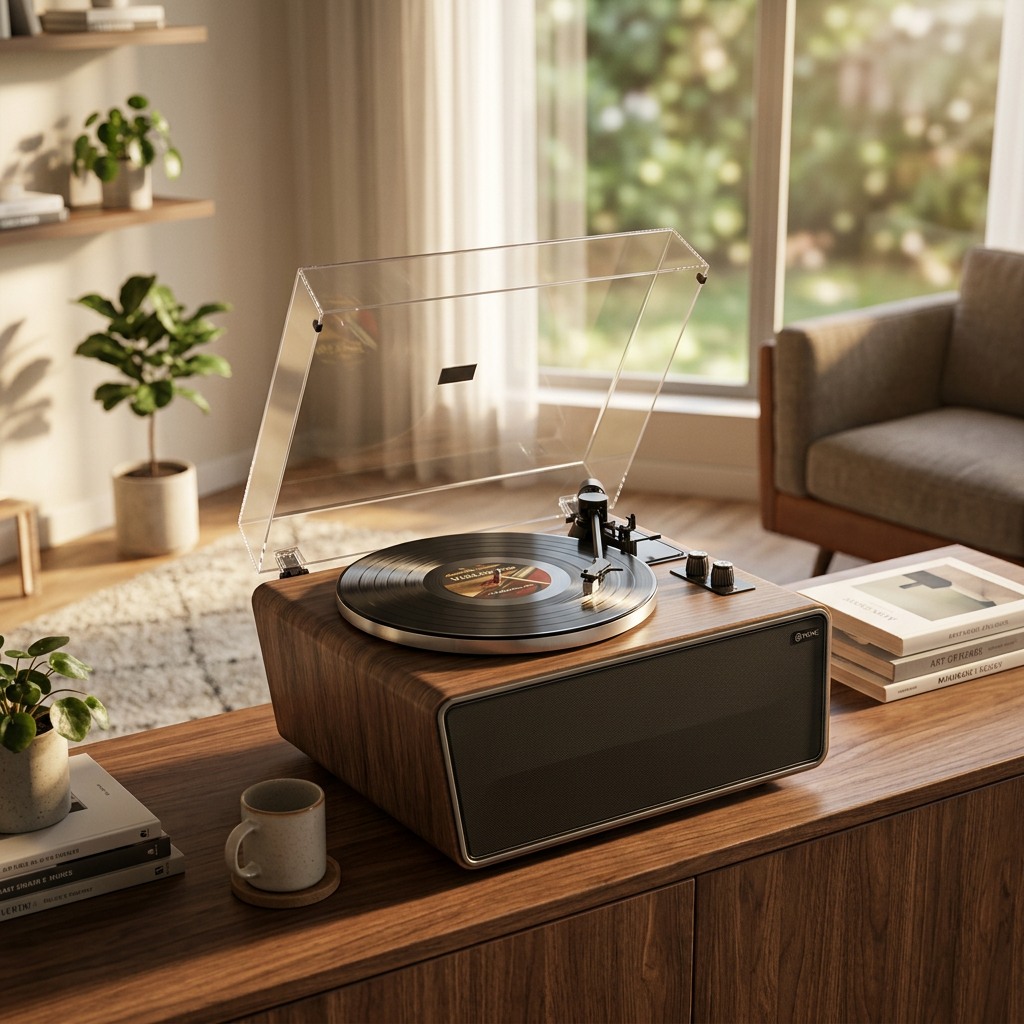
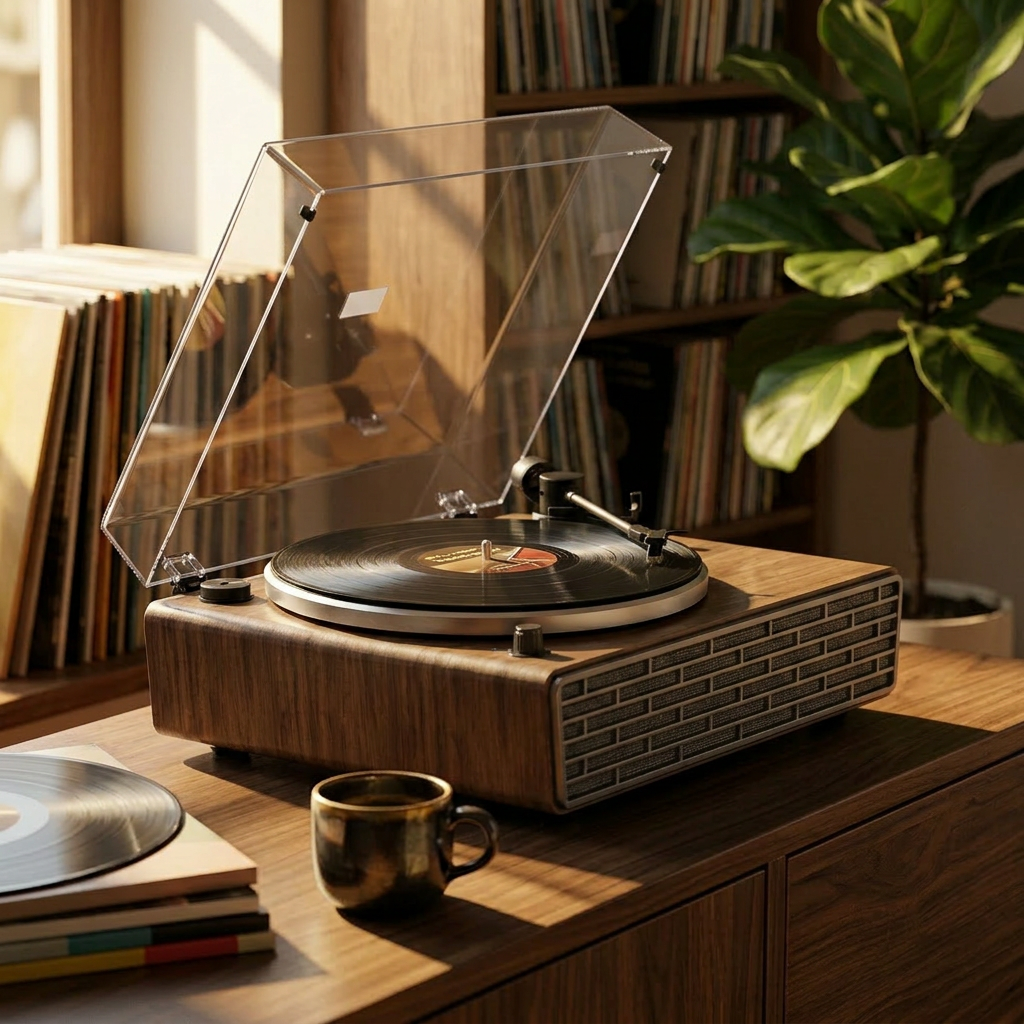
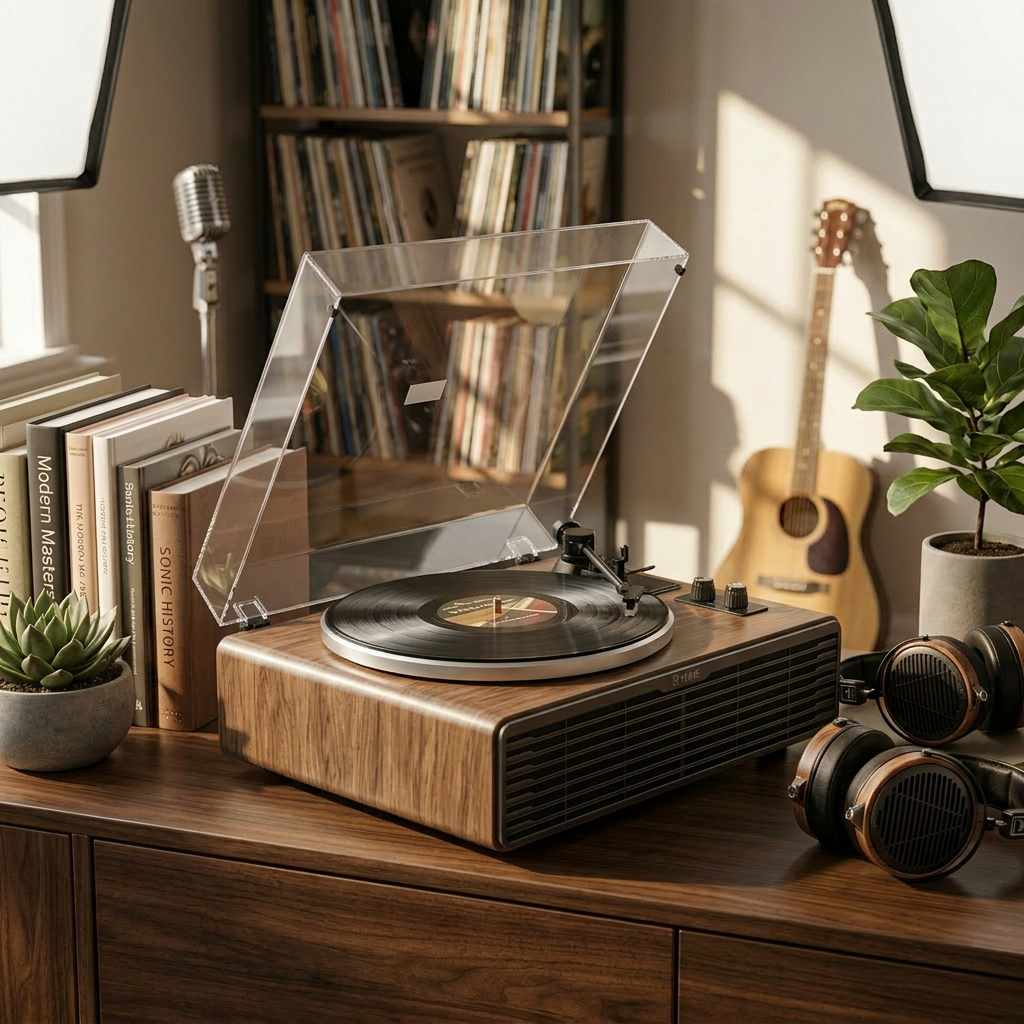
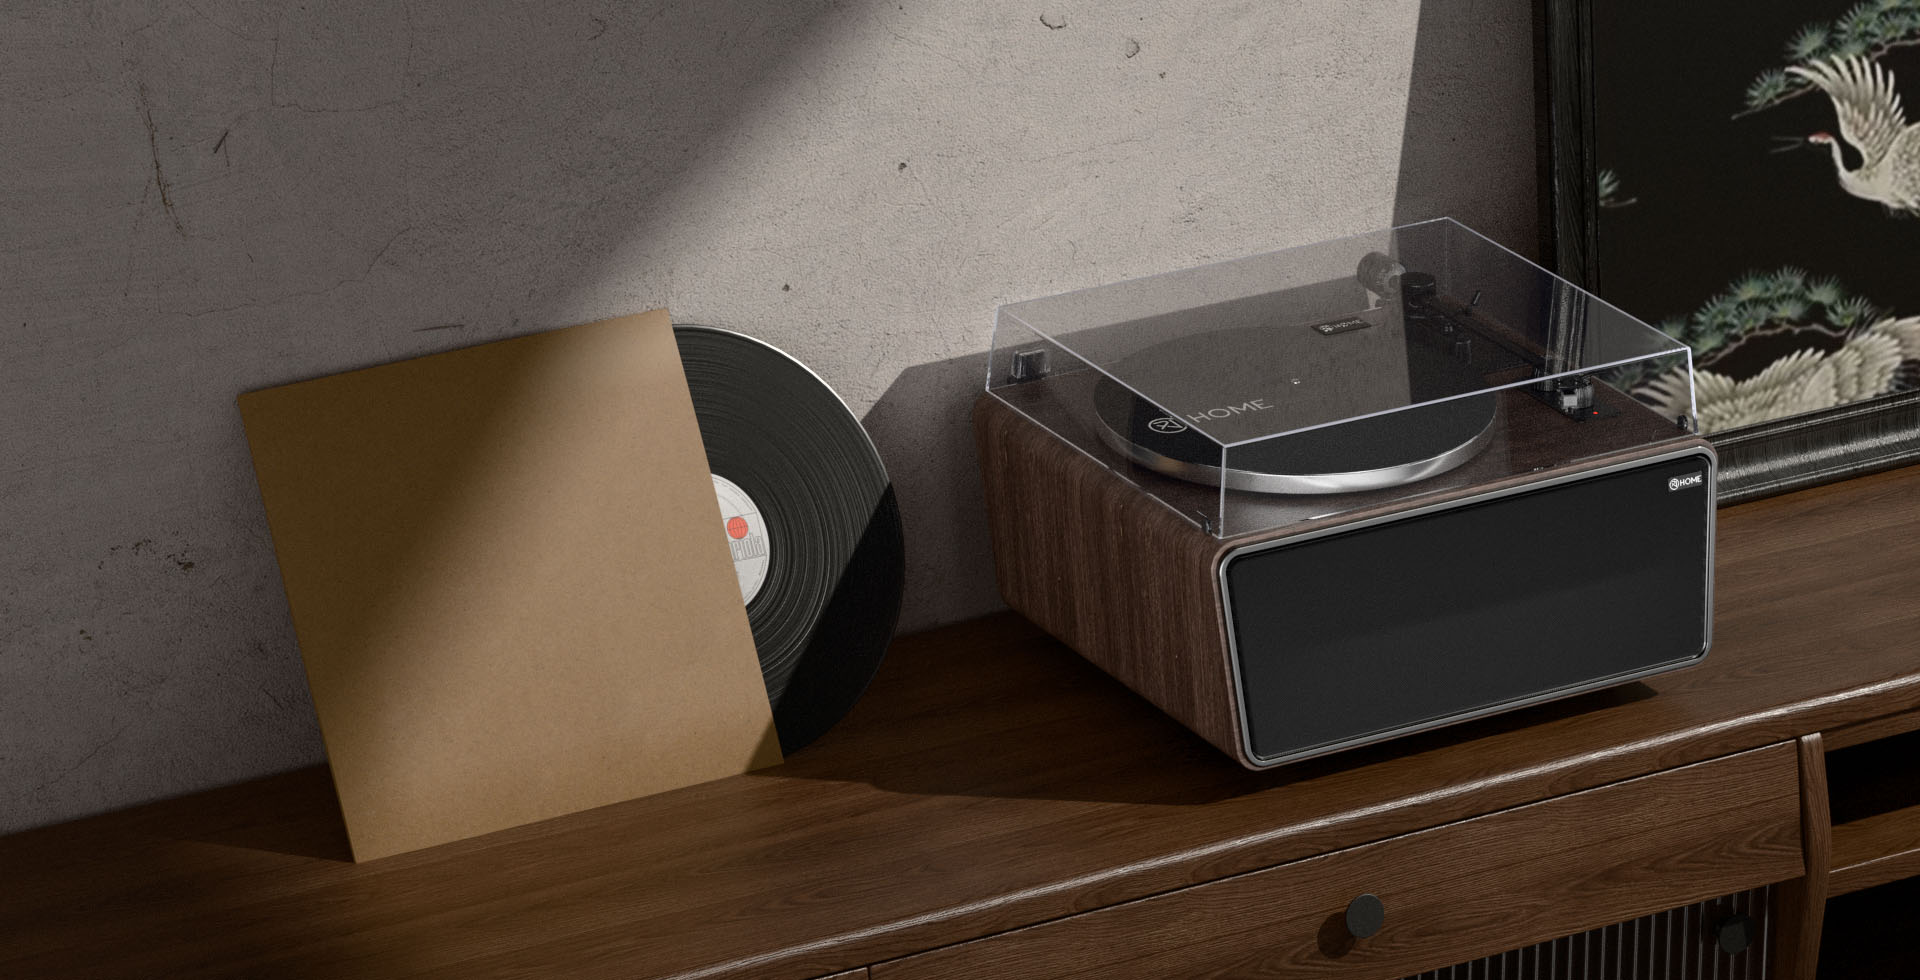
A Quality Turntable: The better your source, the better your digital copy.
-
Turntables with USB Output: Many modern turntables come with a built-in phono preamplifier and a USB port, allowing direct connection to a computer. This is often the simplest route.
-
Turntables with Line-Level Output: Some turntables have a built-in phono preamp and RCA line-level outputs. These can be connected to your computer's line-in jack (if it has one) or, preferably, to an external audio interface.
-
Turntables with Phono-Level Output: Traditional turntables output a very low-level "phono" signal that requires an external phono preamplifier to boost it to line level and apply RIAA equalization.
-
-
Phono Preamplifier (if needed): If your turntable only has a phono-level output and no built-in preamp or USB, an external phono stage is essential.
-
Computer: A Mac or PC with a decent amount of RAM, hard drive space, and at least one available USB port (or line-in jack).
-
Audio Interface (Recommended for non-USB turntables): While your computer's built-in sound card can work, a dedicated external USB audio interface (e.g., from Focusrite, PreSonus, Behringer) will generally offer superior sound quality, better analog-to-digital converters (ADCs), and more robust input level controls. Many also include a good phono preamp.
-
Cables:
-
RCA cables (for connecting turntable to phono preamp or audio interface).
-
USB cable (for USB turntables or audio interfaces).
-
Ground wire (essential to connect turntable to phono preamp or grounding post on some amplifiers/interfaces to prevent hum).
-
Software:
-
Audio Recording & Editing Software:
-
Audacity (Free, Open Source): The most popular choice for home users. Powerful, cross-platform (Windows, macOS, Linux), and capable of recording, editing, click/pop removal, and track splitting. It has a bit of a learning curve but is incredibly versatile.
-
VinylStudio (Paid, Dedicated): Software specifically designed for digitizing vinyl. It offers a more streamlined workflow, excellent click/pop removal tools, and integrated album art/metadata lookup. Often recommended for its ease of use and effectiveness.
-
Professional Digital Audio Workstations (DAWs): Programs like Ableton Live Lite (often bundled with hardware), Reaper (affordable, fully-featured), or Adobe Audition (subscription) offer advanced recording and editing capabilities but might be overkill for basic transfers.
-
-
Key Software Features to Look For:
-
Recording at various sample rates and bit depths.
-
Waveform editing.
-
Click and pop removal tools.
-
Noise reduction (for hiss or rumble, use sparingly).
-
Track splitting capabilities.
-
Metadata tagging (ID3 tags for artist, album, track, etc.).
-
Exporting to various file formats (WAV, AIFF, FLAC, MP3, AAC).
-
The Conversion Process: A Step-by-Step Guide
Step 1: Preparation – The Foundation for Quality
-
Clean Your Record Thoroughly: This is the single most important step. Use a quality record cleaning brush and solution, or a record cleaning machine if you have one. A clean record means less noise in your digital transfer. (Refer to our "How to Clean and Maintain Your Vinyl Records" guide).
-
Clean Your Stylus: A dirty stylus will mis-track and transfer grime to your recording. Use a dedicated stylus brush.
-
Ensure a Stable Turntable Setup: Place your turntable on a level, vibration-free surface.
Step 2: Making the Connections
Choose the scenario that matches your equipment:
-
Scenario A: Turntable with USB Output:
-
Connect the turntable to your computer using a USB cable.
-
If your turntable has a phono/line output switch, ensure it's set appropriately (often "USB" or "Line" if the USB output bypasses an internal preamp selection).
-
-
Scenario B: Turntable with Line-Level Output (to Computer Line-In or Audio Interface):
-
Ensure your turntable's built-in phono preamp is active (switch set to "LINE").
-
Connect RCA cables from the turntable's line outputs to the line inputs on your computer's sound card or, preferably, your external audio interface.
-
If using an audio interface, connect it to your computer via USB.
-
-
Scenario C: Turntable with Phono-Level Output (via External Phono Preamp):
-
Connect RCA cables from the turntable's phono outputs to the "INPUT" jacks on your external phono preamplifier.
-
Connect the turntable's ground wire to the ground screw (GND) on the phono preamp. This is crucial to eliminate hum.
-
Connect another set of RCA cables from the phono preamp's "OUTPUT" jacks to the line inputs on your computer's sound card or external audio interface.
-
If using an audio interface, connect it to your computer via USB.
-
Step 3: Software Setup & Recording Levels
-
Launch Your Recording Software.
-
Select the Audio Input Device: In your software's preferences or settings, choose the correct input source:
-
For USB turntables: Often listed as "USB Audio CODEC" or the turntable's model name.
-
For audio interfaces: Select the interface model.
-
For computer line-in: Select "Line In" or similar.
-
-
Set Recording Format:
-
Sample Rate: 44.1kHz is CD quality and perfectly adequate for most purposes. 48kHz, 88.2kHz, or 96kHz can be used for higher resolution archival, but files will be larger.
-
Bit Depth: 16-bit is CD quality. 24-bit provides more dynamic range during recording and editing and is generally recommended if your hardware and software support it.
-
Record in a lossless format like WAV or AIFF. You can create compressed copies (MP3, AAC) later.
-
-
Set Recording Levels (CRITICAL!):
-
Play the loudest part of a record.
-
In your software, monitor the input level meters. Adjust the input gain (on your audio interface, phono preamp if it has gain control, or in the software/OS sound settings) so that the peaks hit around -6dB to -12dB.
-
Crucially, ensure the levels NEVER reach 0dB (clipping). Clipped audio is distorted and cannot be easily repaired. It's better to record a little too quietly than too loudly.
-
Step 4: Recording the Vinyl
-
Start Recording: Click the "Record" button in your software.
-
Lower the Stylus: Gently lower the stylus onto the lead-in groove of the record.
-
Record the Entire Side: It's usually easiest to record an entire side of an LP as one long file. You can split it into individual tracks later.
-
Monitor: Listen (preferably via headphones connected to your audio interface or computer) for any obvious issues like hum or distortion. Don't make major adjustments while recording unless absolutely necessary.
-
Stop Recording: Once the side is finished, lift the stylus and then stop the recording in your software.
-
Save Your Raw Recording: Save the unprocessed recording as a WAV or AIFF file. This is your master digital copy.
Step 5: Post-Processing – Refining Your Digital Copy
This is where you clean up the audio and prepare it for listening.
-
Normalization (Optional): If your recording levels were consistently low, you can normalize the audio to bring the overall volume up. Aim for peaks around -1dB to -0.5dB for the final master. Be careful not to over-compress or introduce clipping.
-
Click and Pop Removal: Most audio editing software has tools for this.
-
Audacity has a "Click Removal" and "Repair" effect.
-
VinylStudio has excellent automated and manual de-clicking tools.
-
Apply these tools judiciously. Over-processing can make the audio sound sterile or introduce artifacts. It's often better to manually remove only the most offensive clicks if possible, or use very gentle settings on automated tools.
-
-
Noise Reduction (Use Sparingly): If there's significant rumble or hiss, noise reduction tools can help. However, these can easily dull the music if overused. Often, a well-cleaned record and good grounding will minimize the need for this.
-
Splitting Tracks:
-
Zoom into the waveform and identify the silences between songs.
-
Place track markers or labels at the beginning of each song.
-
Most software allows you to export multiple tracks based on these labels.
-
-
Fades (Optional): Add short fade-ins at the start of tracks and fade-outs at the end if desired.
Step 6: Tagging and Exporting
-
Add Metadata (ID3 Tags): This is crucial for organization. Add:
-
Artist Name
-
Album Title
-
Track Title(s)
-
Track Number(s)
-
Year
-
Genre
-
Album Art (many programs let you embed this)
-
-
Export to Desired Formats:
-
For Archival: Export your edited tracks as high-quality lossless files (FLAC is excellent and space-efficient, or stick with WAV/AIFF).
-
For Portable Use/Streaming: Export copies as MP3 (e.g., 320kbps CBR or V0 VBR) or AAC (e.g., 256kbps).
-
Tips for Achieving the Best Results
-
Garbage In, Garbage Out: The quality of your digital transfer is fundamentally limited by the quality of your source record and playback equipment.
-
Invest in Decent Gear: A good audio interface and phono preamp (if needed) can make a significant difference over relying solely on a computer's onboard sound.
-
Patience is Key: Don't rush the setup, recording, or editing process.
-
Less is More with Processing: Strive for a natural sound. Over-applying noise reduction or click removal can do more harm than good.
-
Listen Critically: Use good quality headphones or speakers to monitor your recordings and edits.
-
Backup Your Files: Store your digital archive (especially the lossless masters) safely, ideally in multiple locations.
The Analog Soul in a Digital World
Converting your vinyl to digital doesn't diminish the magic of the physical record. Instead, it allows you to carry that magic with you, preserve it, and enjoy it in new ways. At XJ-HOME, we believe that whether you're listening to the original LP or a carefully crafted digital copy, the goal is always a deeper connection to the music. Exploring high-quality components that respect the audio signal, whether analog or digital, is part of that journey. Visit us at https://xenonjade.com to learn more about our philosophy.
With careful preparation and the right tools, you can create digital versions of your vinyl collection that you'll enjoy for years to come. Happy digitizing! For more in-depth discussions on software and techniques, forums like the Steve Hoffman Music Forums often have extensive threads on vinyl-to-digital conversion.
Leave a comment
All comments are moderated before being published.
This site is protected by hCaptcha and the hCaptcha Privacy Policy and Terms of Service apply.