
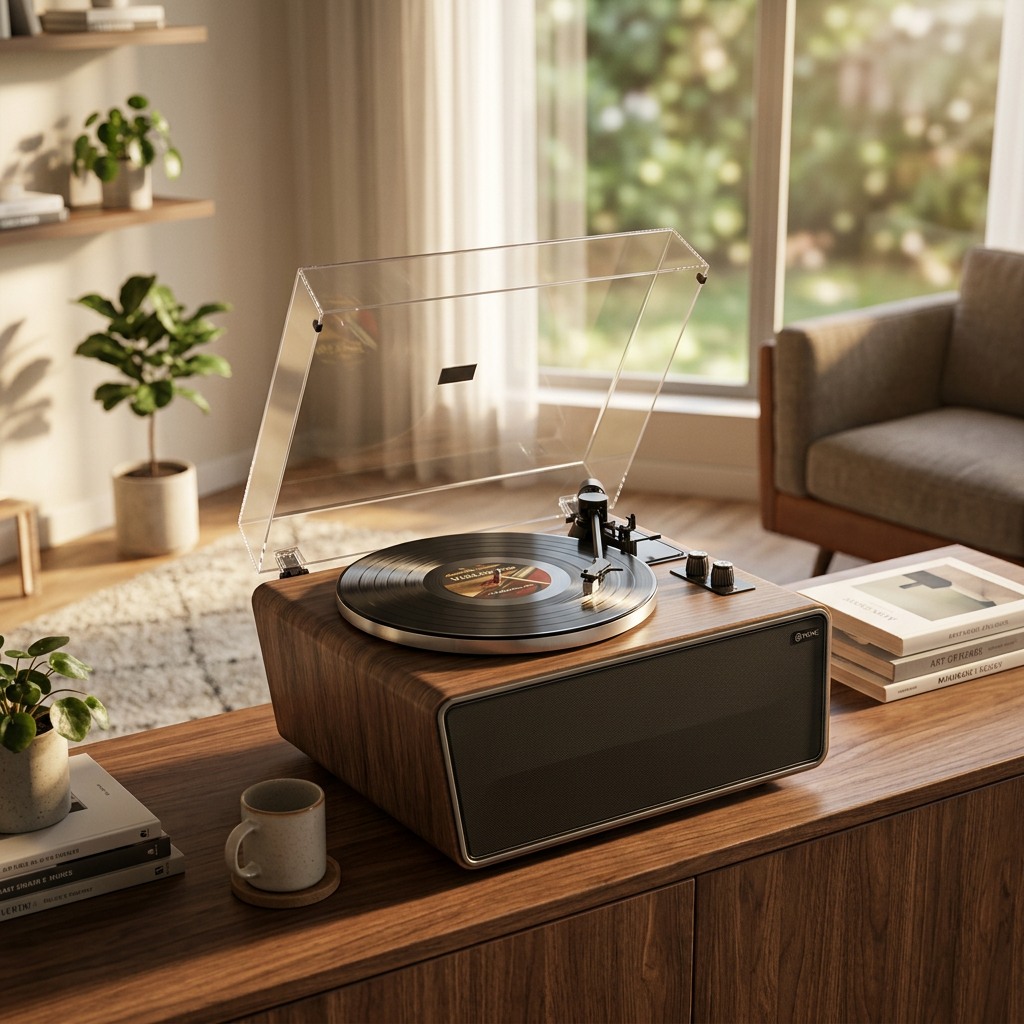
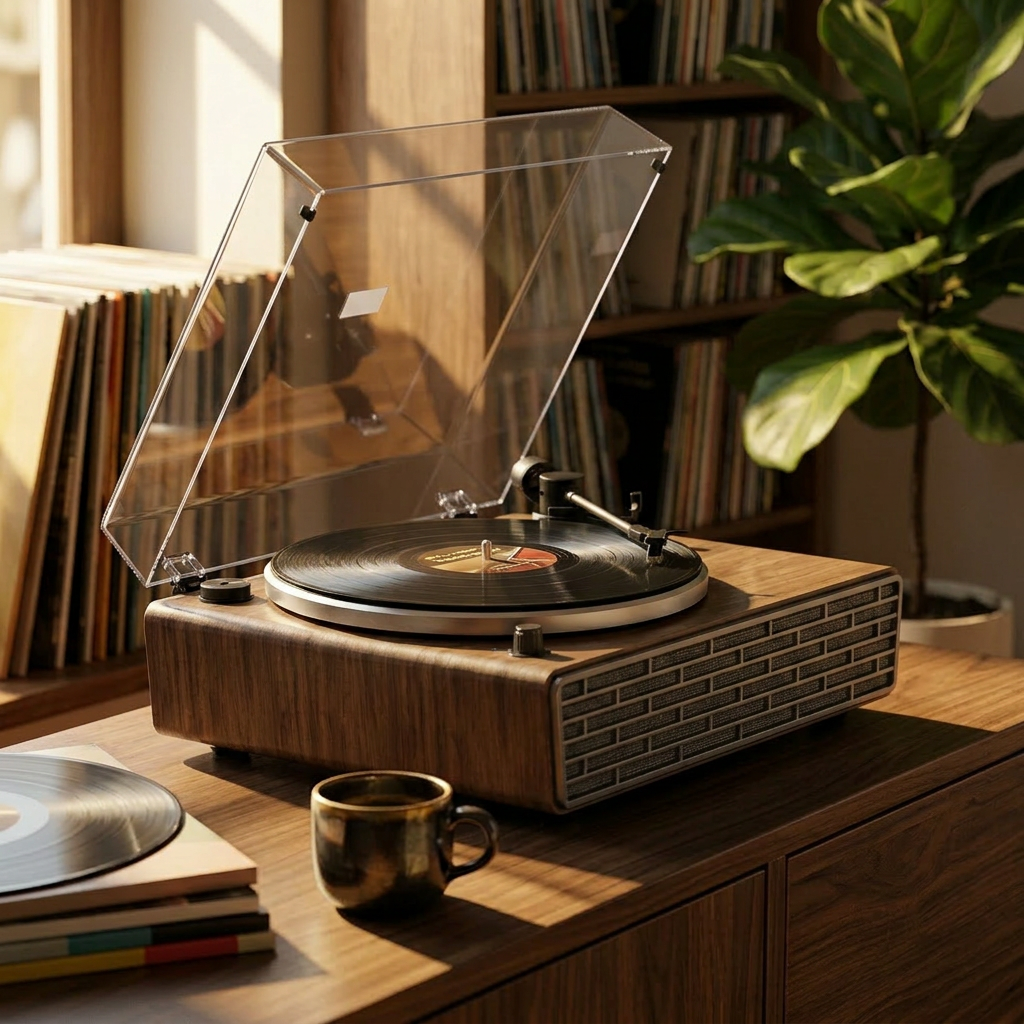
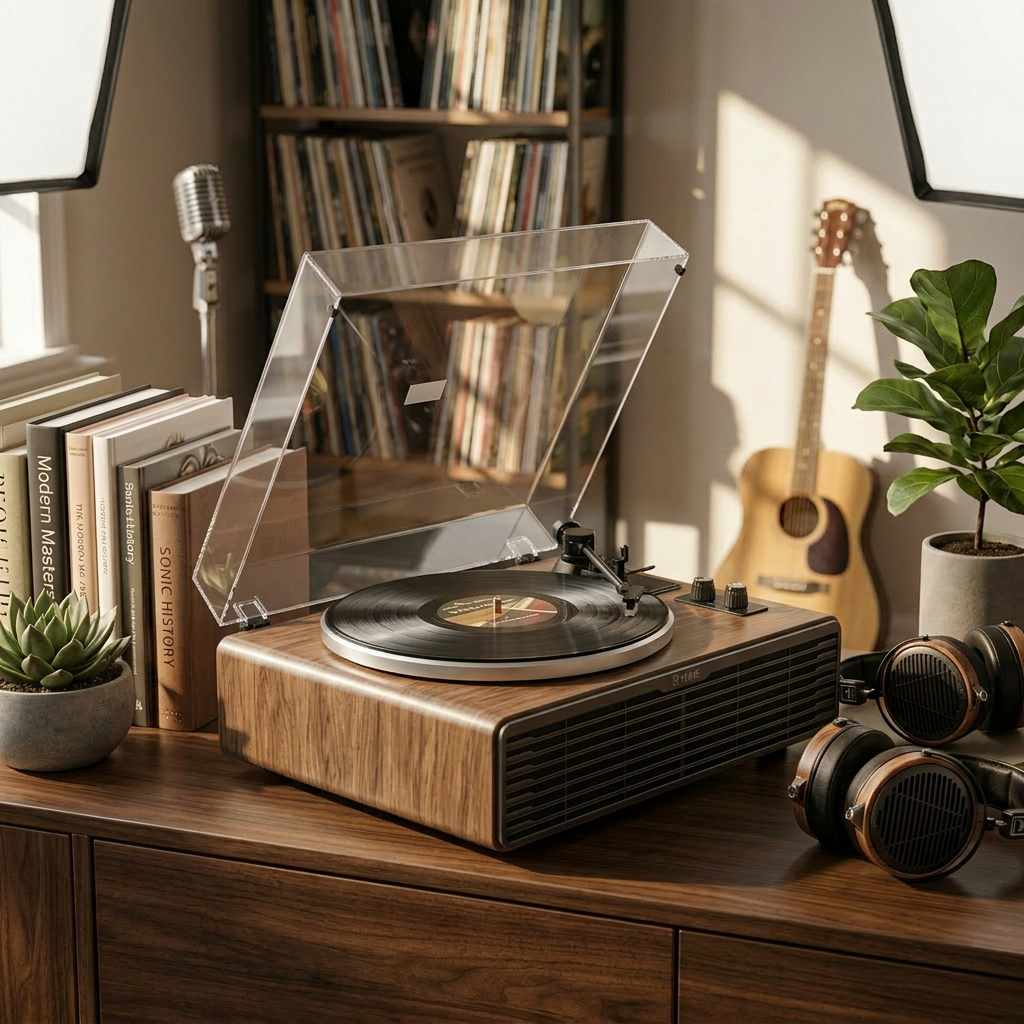
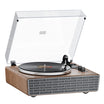
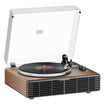


Let's be brutally honest. In the grand, romantic theater of vinyl playback, the stylus is often the overlooked stagehand, diligently working in the dark while the tonearm and platter get all the glamour shots. Yet, this tiny, precision-engineered marvel is where the magic truly begins – the very first point of contact, the delicate transducer that translates microscopic canyons in a vinyl groove into the breathtaking soundscapes that fill your room. To neglect its well-being isn't just an oversight; it's a disservice to your records, your ears, and frankly, your investment in this glorious hobby.
Many guides will give you the perfunctory once-over on stylus cleaning. But we're not about superficiality here. We're going to delve into the why and the how with a depth that respects your intelligence and passion. Because understanding and meticulously caring for your stylus is fundamental to unlocking consistently sublime audio, a principle we at XJ-HOME believe is central to a truly elevated listening experience.
The Microscopic Battleground: What Your Stylus Endures
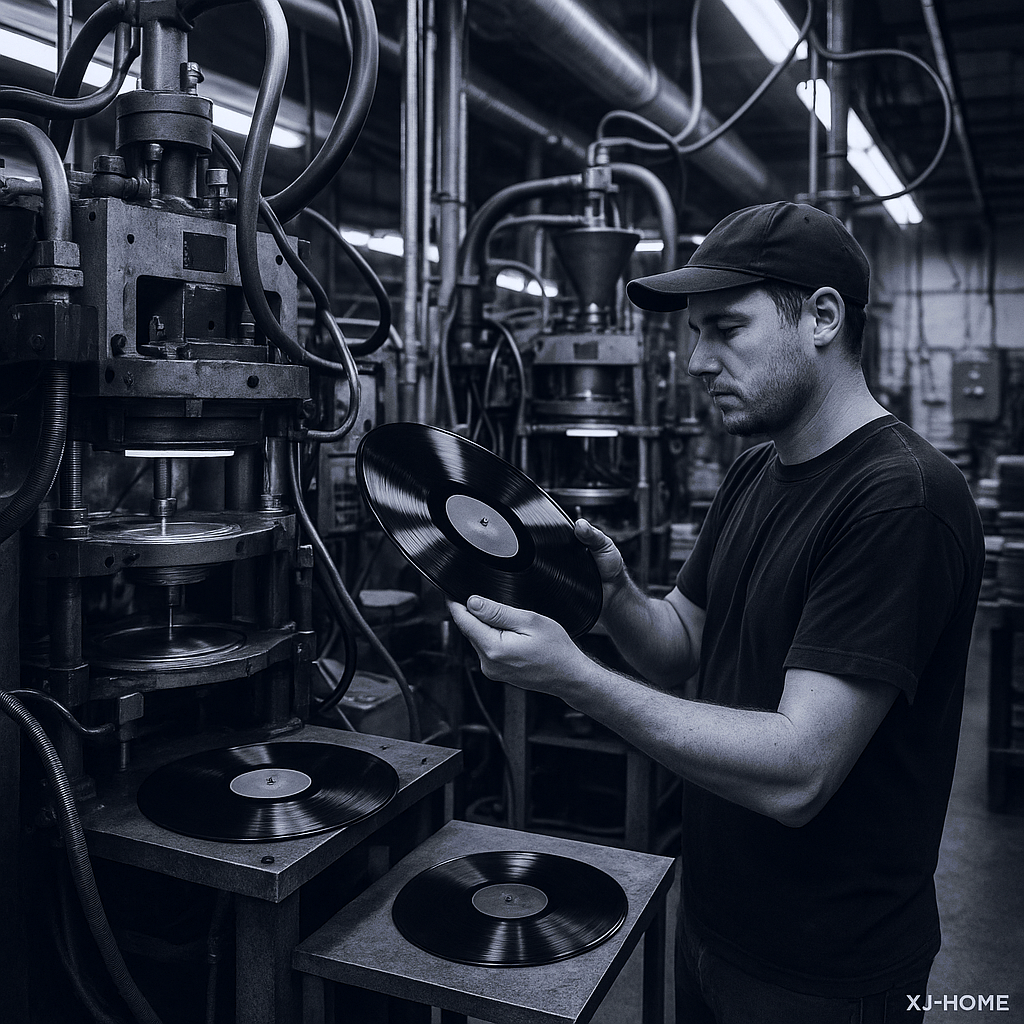
Imagine, if you will, a diamond tip, often no wider than a human hair, tracing miles of vinyl grooves. It's a demanding job. This isn't a gentle glide; it's a high-speed, high-friction dance. The stylus navigates incredible accelerations, battling dust motes that look like boulders at its scale, greasy fingerprints that become sticky traps, and even residual mold-release compounds left over from the record pressing process.
The consequences of letting this microscopic battlefield go unmanaged are dire and multifaceted:
-
Sonic Degradation: This is the most immediate and obvious casualty. A dirty or compromised stylus introduces a host of unwelcome artifacts: sibilance that slices through your ears, a muddying of fine details, a collapse of the stereo image, and a general layer of distortion that veils the music. High frequencies, the delicate breath of cymbals or the shimmer of strings, are often the first to suffer.
-
Irreversible Record Wear: This is the audiophile's cardinal sin. A stylus caked with grime or, worse, one that's chipped or worn, doesn't just play your records; it actively grinds them down. That abrasive action permanently reshapes the groove walls, silencing musical information forever. Each pass of a neglected stylus is another step towards turning your prized first pressing into a shadow of its former self.
-
Accelerated Stylus Wear: It's a vicious cycle. The debris your stylus collects doesn't just sit there; it can become embedded or cause uneven wear on the diamond itself, dramatically shortening its operational lifespan.
Understanding these realities isn't about fear-mongering; it's about appreciating the physics at play. Even infinitesimal disruptions at the stylus-groove interface translate directly into audible compromises.
The Ritual of Cleanliness: Methods & Madness
Keeping your stylus pristine isn't a one-size-fits-all affair. Different situations call for different approaches, and like many things in audio, there's no shortage of opinion, myth, and fervent debate.
1. Dry Cleaning (The Daily Driver): The Carbon Fiber Brush
This should be your first line of defense, used before or after every listening session, or at least daily if you spin records frequently. A good quality carbon fiber stylus brush, with its densely packed, ultra-fine bristles, is designed to gently whisk away loose dust.
-
Technique is Everything: Always brush from back to front, in the same direction the record plays. Lift the brush clear after each pass. Never brush side-to-side or front-to-back, as this can damage the delicate cantilever and suspension.
-
Are All Brushes Created Equal? In a word, no. While the principle is simple, the execution varies. Cheaper brushes might shed bristles (leaving more debris than they remove) or have less effective fiber density. Investing a few extra dollars here is a wise move.
2. "Tacky" Cleaners (The Gentle Grab): Gel-Based Solutions
Products like the Onzow Zerodust or even, controversially, small pieces of Magic Eraser (used with extreme caution by gently lowering the stylus onto it and lifting, never dragging) utilize a tacky surface to lift debris from the stylus.
-
How They Work: The stylus tip is pressed into the gel, and the sticky compound pulls contaminants away.
-
Pros: Generally effective for removing stubborn particles that a dry brush might miss. Convenient.
-
Cons & Controversies: There's ongoing debate about whether some gel cleaners leave behind microscopic residues. With the Magic Eraser, the primary concern is the potential for abrasive particles within the melamine foam to cause wear if not used with absolute precision (i.e., only a gentle dip, no scrubbing motion). If you choose this route, research thoroughly and proceed with informed caution. Is it a perfect solution or a convenient compromise? The jury is still out for some purists.
3. Wet Cleaning (The Deep Clean – Handle With Extreme Care): Stylus Cleaning Fluids
This is where the audiophile world often divides. Wet cleaning involves applying a specialized fluid, usually with a small, short-bristled brush.
-
The Good, The Bad, and The Ugly: Stylus cleaning fluids aim to dissolve stubborn, caked-on grime. The primary debate centers around their chemical composition. Some are alcohol-based, which can be very effective solvents. Others are non-alcohol formulas.
-
The Critical Point – Potential Dangers: The most significant risk with wet cleaning is the fluid wicking up the cantilever and into the generator assembly (the guts of your cartridge). Solvents, especially aggressive ones, can potentially damage the delicate adhesives, suspension components, or internal wiring over time. Furthermore, some fluids can leave behind their own residue if not formulated or applied correctly, ironically adding to the problem.
-
First Principles Thinking: What are we actually trying to remove? If it's just loose dust, a dry brush or gel cleaner is sufficient and safer. Wet cleaning should be reserved for genuinely stubborn, visible deposits that other methods fail to shift.
-
Authoritative Insight: For a deeper dive into the complexities and considerations of stylus cleaners, forums like the Steve Hoffman Music Forums often host detailed discussions with experienced users and even industry professionals. Search for stylus cleaning threads to see a variety of perspectives.
-
Our Stance: If you opt for wet cleaning, use the absolute minimum amount of fluid necessary. Apply it to the brush, not directly to the stylus, and ensure the brush is merely damp, not wet. Allow the stylus to air dry completely before playing.
4. Ultrasonic Cleaners (The High-Tech Option):
These devices use ultrasonic vibrations in a fluid bath to dislodge debris. They represent the cutting edge of stylus cleaning technology.
-
Pros: Potentially the most thorough cleaning method available, capable of removing deeply embedded particles.
-
Cons: They are the most expensive option. There's also a theoretical risk of overdoing it or causing damage if the device is not well-designed or if the stylus is exposed for too long or too frequently. This is generally for the deeply committed enthusiast.
How Often is "Often Enough"? This depends heavily on your listening habits, the cleanliness of your records, and your environment. A quick dry brush before each side is a good habit. A deeper clean (gel or cautious wet clean) might be needed every few weeks or months, or when you notice visible buildup or audible degradation. Listen to your system; it will often tell you.
Beyond Cleaning: Assessing Stylus Wear – When is it Time to Say Goodbye?
Even the best-cared-for stylus will eventually wear out. The diamond, though incredibly hard, is not invincible. A worn stylus doesn't just sound bad; it actively damages your records.
-
Lifespan: This varies wildly based on stylus profile (spherical, elliptical, line contact, Shibata, MicroLine/MicroRidge), tracking force, the condition of records played, and cleaning diligence. A basic elliptical might last 500-800 hours, while more advanced profiles can exceed 1000-2000 hours with proper care.
-
Audible Cues of a Worn Stylus:
-
Increased Sibilance: "S" and "T" sounds become exaggerated, harsh, and spitty.
-
Distortion: Particularly noticeable on louder passages and towards the inner grooves of a record where the groove modulations are tighter.
-
Loss of Detail & "Air": High frequencies become muted, the soundstage may shrink, and the music loses its sparkle and sense of space.
-
A "Grainy" or "Gritty" Texture: The smoothness of the presentation is replaced by a subtle (or not-so-subtle) roughness.
-
Why these changes? As the stylus wears, its carefully shaped facets flatten and change. It no longer fits the groove as intended, leading to mistracking and an inability to accurately trace the highest frequency modulations.
-
-
Visual Inspection (The Limits of the Naked Eye):
-
A 10x jeweler's loupe can help you spot gross debris or catastrophic damage like a broken-off tip.
-
A USB microscope (100x magnification or more) is needed to even begin to see wear facets. You're looking for flattened spots on the diamond, particularly on the leading and trailing edges that contact the groove.
-
The Blind Spot: Honestly assessing stylus wear visually requires significant magnification (200x or more is often cited by professionals) and, crucially, a trained eye that knows what to look for. For most hobbyists, definitive visual diagnosis is challenging.
-
-
The Preventative Maintenance Argument: This is where true audiophile wisdom comes in. Don't wait until your stylus is audibly trashing your records. Keep a rough log of your playing hours. If you're approaching the expected lifespan, or if you acquire a used turntable/cartridge with an unknown history, err on the side of caution and consider replacement. The cost of a new stylus is often far less than the value of the records it could damage. This philosophy of proactive care and investing in quality components for long-term enjoyment is something we deeply value at XJ-HOME. When that time comes, exploring a curated selection of high-quality cartridges, like those you might find on xenonjade.com, ensures you're continuing your audio journey with the best.
Proactive Care: Setting the Stage for Stylus Longevity
Stylus maintenance isn't just about cleaning the stylus itself; it's about creating an environment where it can perform optimally and last longer.
-
Clean Records are Paramount: This cannot be overstated. Playing dirty records is the fastest way to gunk up your stylus and accelerate wear on both the stylus and the vinyl. A good record cleaning brush used before every play is essential. Occasional deep cleaning of your LPs with a record cleaning machine or a quality manual system is a cornerstone of any serious vinyl setup.
-
Proper Turntable Setup is Non-Negotiable:
-
Correct Vertical Tracking Force (VTF): Too light, and the stylus will mistrack, bouncing in the groove and causing damage. Too heavy, and you'll accelerate wear on both the stylus and the record. Always use a stylus force gauge and set it to the cartridge manufacturer's recommendation.
-
Accurate Anti-Skate: This counteracts the natural inward pull on the tonearm, ensuring the stylus sits centered in the groove and applies equal pressure to both groove walls. This leads to even wear and better tracking.
-
Azimuth and VTA/SRA (Vertical Tracking Angle / Stylus Rake Angle): While delving into these is a deeper topic, ensuring your stylus is perpendicular to the record surface (azimuth) and at the correct angle vertically (VTA/SRA) ensures optimal groove contact, reduces wear, and improves sound. For an excellent general guide on turntable setup, resources like Audio-Technica's turntable setup guide offer a solid starting point for many of these parameters.
-
-
Handle With Care: This seems obvious, but accidents happen. Be mindful when cueing records, and always use your tonearm's cueing lever. Protect the stylus with its guard when not in use, especially if you have curious pets or children.
The Sweet Sound of a Well-Maintained Stylus
Caring for your stylus isn't a chore; it's an integral part of the ritual, a small investment of time that pays enormous dividends in sound quality and the preservation of your cherished record collection. It's the difference between a listening experience that is merely adequate and one that is truly transportive, detailed, and emotionally engaging.
By moving beyond conventional wisdom, understanding the first principles at play, and adopting a proactive approach, you empower yourself to achieve the pinnacle of analog reproduction. This attention to detail, this pursuit of excellence in every component of the audio chain, is what defines the dedicated audiophile and is a philosophy we wholeheartedly embrace at XJ-HOME. We believe that every element, right down to the meticulously maintained stylus, contributes to an experience that transcends the ordinary.
What are your go-to stylus cleaning methods or hard-won tips? Share your experiences and join the conversation in the comments below!

Leave a comment
All comments are moderated before being published.
This site is protected by hCaptcha and the hCaptcha Privacy Policy and Terms of Service apply.