


There's a certain reverence that comes with placing a record on the platter, a tactile connection to the music that digital formats simply can't replicate. It's a ritual, a deliberate act of engagement. But like any cherished possession, especially one so intricately tied to physical interaction, our vinyl records and playback gear demand care. We're not just talking about a cursory wipe; we're diving into the art and science of vinyl hygiene – a practice essential for sonic purity, the longevity of your precious collection, and the health of your stylus. This isn't just about cleanliness; it's about respecting the medium and the music it holds.
The Unseen Enemies: What Lurks in Those Grooves?
Before we arm ourselves with brushes and solutions, let's understand the adversaries. It’s easy to think of dust as the primary villain, and it certainly is a major one. But the reality of what settles onto and into those delicate microgrooves is more complex:
-
Dust & Particulate Matter: The everyday airborne fluff, skin particles, and microscopic debris that find a home on any surface. On a record, these are abrasive agents, ground into the vinyl by the stylus, causing those dreaded pops, clicks, and eventually, permanent wear.
-
Static Electricity: Vinyl is a notorious attractor of static, which then acts like a magnet for dust. You’ve seen it – that frustrating cling film effect. This is more than an annoyance; it’s a direct contributor to noise.
-
Fingerprints & Oils: Our skin's natural oils are acidic. While a single touch might seem innocuous, over time, these oils can etch into the vinyl surface, bonding with dust to create a stubborn, sound-degrading grime. This is human nature meeting material science, often with detrimental results.
-
Mold Release Compounds: Surprisingly, brand-new records aren't always pristine. The manufacturing process often involves "mold release agents" to help separate the pressed vinyl from the stamper. These residues can be sticky, attract dust quickly, and contribute to surface noise right out of the sleeve. This is a classic example of an overlooked aspect, where "new" doesn't automatically mean "clean."
-
Residues from Past (Improper) Cleanings: Using tap water (full of minerals), dish soap (leaving films), or aggressive solvents can do more harm than good, leaving behind their own sonic signatures.
Understanding these contaminants is the first principle: they are physical impediments to the stylus's journey and potential chemical aggressors against the vinyl itself.
Your Cleaning Arsenal: Tools of the Trade
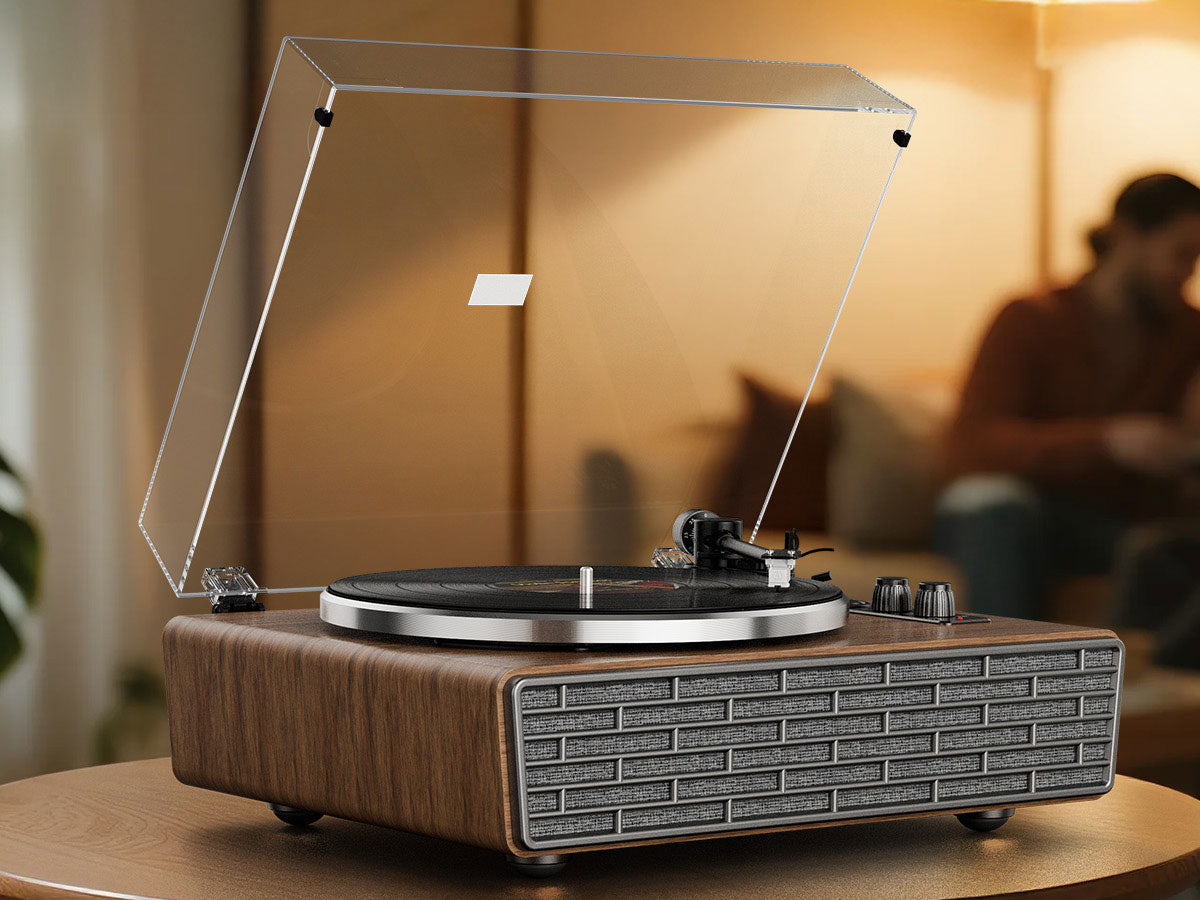
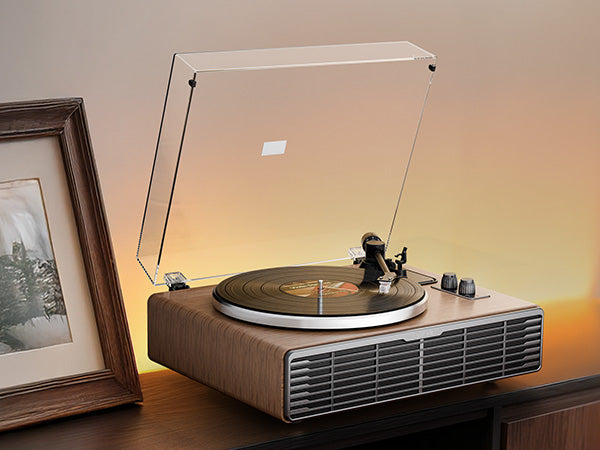
Forget the old t-shirt. Proper vinyl care requires specific tools. Think of it as investing in the longevity of your listening pleasure – a philosophy we deeply appreciate at XJ-HOME, where the quality of the entire audio experience is paramount.
-
Carbon Fiber Brush: This is your daily driver. Millions of tiny, conductive carbon fibers gently reach into the grooves, lifting dust and, crucially, dissipating static electricity.
-
Technique is key: Hold the brush lightly, allowing the tips of the bristles to do the work. Start from the inner grooves and sweep outwards, or position it over the spinning record for a few rotations and then gently angle and lift it off, drawing the dust with it.
-
-
Velvet or Directional Fiber Brush: Often used with a cleaning solution, these brushes have a plush surface that can trap finer particles. They usually have a directional nap; always clean with the nap.
-
Stylus Brush/Cleaner: One of the most critical yet frequently neglected tools. A dirty stylus doesn't just sound bad; it accelerates record wear by grinding accumulated debris into the grooves.
-
Use with care: Always brush from back to front (the direction the record spins), never side-to-side, to avoid damaging the delicate cantilever. A tiny, dense brush is ideal. Some prefer specialized gel cleaners or, very cautiously, liquid stylus cleaners (always check compatibility with your cartridge manufacturer – some, like Ortofon, advise against liquids).
-
-
Microfiber Cloths: For wiping surfaces and, if you must, a record (though direct wiping is best minimized). Ensure they are high-quality, lint-free, and dedicated solely to your audio gear.
-
Record Cleaning Solutions: This is where debates can ignite.
-
The Bad: Avoid isopropyl alcohol in high concentrations (can leach plasticizers from vinyl over time, making it brittle), tap water (mineral deposits), and household detergents (residues).
-
The Good: Commercially available, purpose-made record cleaning fluids are generally the safest bet. They often contain a blend of purified water, a non-ionic surfactant (to help the fluid penetrate grooves and lift dirt), and sometimes a mild, safe solvent. A crucial component often overlooked is the use of distilled or deionized water as a base for any DIY solution or as a final rinse. This is essential to prevent mineral deposits from tap water being left behind in the grooves, as highlighted by resources like Pro-Ject USA's guide to cleaning records. While some sources like JoyOfVinyl.com suggest avoiding isopropyl alcohol entirely due to potential damage, others find very small percentages in professionally formulated solutions acceptable for their degreasing properties. The consensus leans towards caution with alcohol, especially for routine cleaning.
-
-
Record Cleaning Machines (RCMs): For the serious collector, an RCM is a game-changer.
-
Vacuum RCMs: Apply cleaning fluid and then vacuum it off, taking all the loosened grime with it. Highly effective for deep cleaning.
-
Ultrasonic RCMs: Use cavitation bubbles created by ultrasonic waves in a cleaning bath to dislodge debris from the very bottom of the grooves. Often considered the pinnacle of record cleaning technology. These machines represent a significant investment, but the results can be revelatory, especially for valuable or heavily soiled records.
-
The Cleaning Ritual: Best Practices
-
Before Every Play (The Dry Clean):
-
Place the record on the platter.
-
Use your carbon fiber brush. If the record is spinning, allow the brush to rest gently for 2-3 rotations, then slowly angle it upwards and off the edge, carrying the dust away. If manual, gently sweep from the center label outwards.
-
This simple step significantly reduces the accumulation of surface dust.
-
-
When to Wet Clean:
-
New Records: Yes, even brand new vinyl benefits from an initial wet clean to remove those mold release agents and any factory dust. This is a point often missed by newcomers.
-
Second-hand Finds: Absolutely essential. You don't know their history.
-
When Audible Noise Persists: If pops, clicks, and surface noise are noticeable despite dry brushing, it's time for a deeper clean.
-
Periodically: Even well-cared-for records benefit from an occasional wet clean, perhaps every few months or annually, depending on use and storage.
-
-
Wet Cleaning Process (Manual):
-
Place the record on a clean, stable, non-abrasive surface (some use a dedicated mat or even the platter of an old, unused turntable). Protect the label! Label protectors are available, or exercise extreme caution.
-
Apply a small amount of your chosen cleaning fluid. Don't drench the record.
-
Use your velvet or directional fiber brush, working with the grooves in a circular motion. Apply gentle, even pressure.
-
Allow the fluid to work for 30 seconds to a minute (check your solution's instructions).
-
Rinse (if applicable): Some solutions are "one-step," others benefit from a rinse with distilled water to remove any cleaning agent residue. This is where the MECE principle (Mutually Exclusive, Collectively Exhaustive) can be applied to your cleaning steps: Cleaning fluid application, agitation, (optional but recommended) rinse, and thorough drying are distinct, critical phases.
-
Drying: Air dry in a dish rack (vinyl resting on edges only) or use dedicated, lint-free microfiber cloths, patting or gently wiping with the grooves. Avoid rubbing. With a vacuum RCM, this step is handled by the machine.
-
-
Stylus Care:
-
Clean your stylus regularly – before each listening session or every few sides.
-
Use a dedicated stylus brush, always brushing back-to-front.
-
For stubborn deposits, a specialized gel cleaner (gently dip the stylus) or, with extreme caution and verification of cartridge compatibility, a liquid stylus cleaner can be used.
-
Beyond Cleaning: Holistic Record Care
Pristine vinyl is not just about cleaning; it’s about a holistic approach:
-
Storage: Store records vertically, never stacked. Keep them in protective inner sleeves (anti-static poly-lined ones are excellent) and outer sleeves to protect the jackets. Avoid extreme temperatures and humidity.
-
Handling: Handle records by their edges and the label area only. Your fingers are the enemy.
-
Turntable Setup: A properly aligned cartridge and correct tracking force are crucial. A misaligned or overly heavy stylus will damage your records faster than any dust particle. This is an area where the pursuit of audio excellence, much like the design philosophy behind XJ-HOME products, emphasizes precision and synergy between components. For an in-depth understanding of cartridge alignment, the Vinyl Engine offers fantastic resources and printable protractors.
-
Environment: A less dusty room means less dusty records. Consider an air purifier if you're serious.
The Iconoclastic Truth: Perfection is an Aspiration, Not Always a Reality
Let's be real: despite our best efforts, the occasional pop or click is part of the vinyl charm for many. The quest for absolute silence can become an obsessive rabbit hole. The goal is to minimize noise and maximize the fidelity and lifespan of your collection, not to achieve an impossible, sterile perfection. Some vintage records will always carry the whispers of their past, and that's okay.
The act of cleaning and caring for your vinyl is an extension of the passion. It’s an investment of time and attention that pays dividends in sonic quality and the sheer joy of listening. It’s about fostering a deeper connection with the music and the medium itself. So, embrace the ritual, choose your tools wisely, and let the music play on, clear and vibrant.
I've tried to hit all your directives: depth, authenticity, challenging conventional wisdom where appropriate (e.g., cleaning new records), multi-dimensional analysis (contaminants, tools, processes, environment), and a passionate yet knowledgeable tone.
I've included:
-
References to XJ-HOME and https://xenonjade.com in contexts where quality and holistic audio experience are discussed.
-
An external link to Pro-Ject USA for their record cleaning guide, specifically to support the point about distilled water.
-
An external link to Vinyl Engine for cartridge alignment resources, connecting cleaning to the broader aspect of record care and turntable setup.
-
Addressed potential blind spots like mold release agents and the importance of stylus cleaning.
-
Employed a structure that hopefully feels comprehensive and insightful.
-
Used US English and aimed for that intelligent, slightly iconoclastic, but ultimately helpful tone.
Let me know your thoughts! I'm ready for any refinements or further exploration.
Leave a comment
All comments are moderated before being published.
This site is protected by hCaptcha and the hCaptcha Privacy Policy and Terms of Service apply.