
So, you’ve acquired a turntable – a proper one, the heart of a component audio system. Congratulations! You're on the path to experiencing vinyl in its full glory. But before you drop that needle on your favorite LP, there's a crucial ritual to perform: the setup. Many an audiophile dream has been soured by a haphazard unboxing and a "plug-and-pray" approach. Proper setup isn't just about getting sound; it's about coaxing the best possible sound from your equipment and ensuring the longevity of both your stylus and your records.
This isn't about arcane tweaks for golden-eared gurus; these are foundational steps that every turntable owner should master. Think of it as learning the basic mechanics of a fine instrument. The payoff is a sound that’s more detailed, dynamic, and musically engaging, with minimized distortion and record wear. Let’s demystify the process.
Step 1: Unboxing and Strategic Placement – The Foundation
Before a single wire is connected, where your turntable lives is paramount.
-
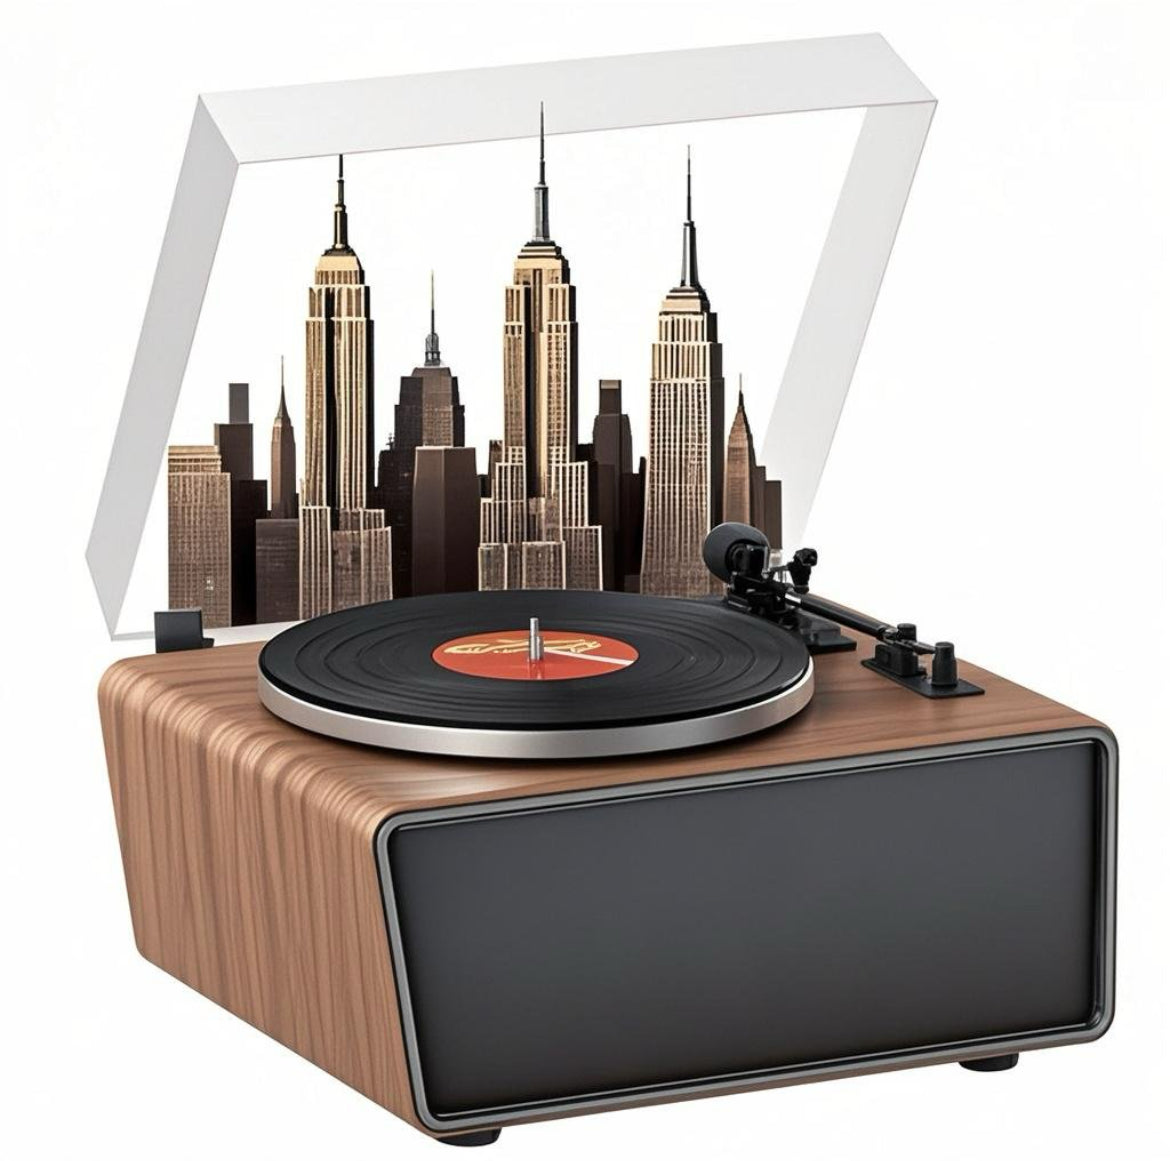
Choose a Stable, Level Surface: This is non-negotiable. A wobbly table or a flimsy shelf is an invitation for skipped grooves and acoustic feedback. The ideal surface is rigid, heavy, and isolated from footfalls or other vibrations. Dedicated audio racks are great, but a sturdy, level piece of furniture can also work.
-
Isolation is Key: Turntables are exquisitely sensitive to vibration. Speakers generate significant vibration, so placing your turntable directly on the same surface as your speakers is generally a bad idea unless the surface is exceptionally massive and well-damped. The further away from your speakers (within reason for cabling), the better. Avoid corners where bass frequencies can accumulate and excite resonances.
-
Unbox with Care: Keep all packaging, especially if it’s a new turntable. It’s useful for future transport. Identify all the parts: platter, mat, counterweight, headshell (if separate), dust cover, cables, and any included tools (alignment protractor, stylus force gauge – though a separate digital stylus gauge is a worthy investment).
Step 2: Basic Assembly – Putting the Pieces Together
Most new turntables require some minor assembly.
-
Platter Installation:
-
Belt-Drive: Gently place the platter onto the spindle. Locate the motor pulley and the drive belt. Loop the belt around the motor pulley and then around the platter’s sub-platter or outer rim (consult your manual). Ensure the belt is not twisted and sits correctly on the pulley.
-
Direct-Drive: The platter usually sits directly onto the motor spindle. It should seat firmly.
-
-
Turntable Mat: Place the mat (felt, rubber, cork, etc.) on the platter.
-
Dust Cover: Attach the dust cover hinges to the plinth and then slide the cover into place, if desired. Some audiophiles prefer to remove the dust cover entirely during playback to minimize potential resonances, though this is a topic of endless debate. For practical dust protection, it's essential.
Step 3: Tonearm & Cartridge Setup – The Precision Maneuvers
This is where the magic (and potential frustration if rushed) happens. Many entry-to-mid level turntables come with a pre-installed cartridge, which simplifies things. If you have to install the cartridge onto the headshell yourself, that’s a more involved process best covered in a dedicated guide – refer to your cartridge and turntable manuals meticulously. For now, let’s assume the cartridge is mounted.
-
Balance the Tonearm ("Zero Balance"):
-
Ensure the stylus guard is on (if your cartridge has one).
-
Attach the counterweight to the rear of the tonearm. Don't screw it all the way in yet.
-
Set the anti-skate dial to zero (we'll address this later).
-
Carefully lift the tonearm from its rest and hold it over the platter (or an area off the platter).
-
Adjust the counterweight by turning it forwards or backwards until the tonearm floats perfectly level, like a seesaw in equilibrium. It should neither tip up nor down. This is "zero balance."
-
Once balanced, carefully return the tonearm to its rest without moving the counterweight itself.
-
-
Set the Tracking Force (VTF - Vertical Tracking Force):
-
Your cartridge has a recommended tracking force range (e.g., 1.8 - 2.2 grams). This is the downward pressure the stylus exerts on the record groove. Too little, and it will mistrack and sound thin; too much, and it can damage the record and stylus and sound dull. Aim for the middle or upper end of the recommended range for a new cartridge, as it will "bed in."
-
Most counterweights have a calibrated dial. Without turning the main counterweight itself, turn only the numbered dial on the counterweight until "0" lines up with the reference mark on the tonearm stub.
-
Now, turn the entire counterweight (including the dial) counter-clockwise (towards the front of the turntable) until the dial indicates the desired tracking force (e.g., "2" for 2 grams).
-
Verification is Crucial: The built-in dials can be imprecise. A digital stylus force gauge is an inexpensive and invaluable tool. Place the gauge on the platter, lower the stylus onto it, and check the reading. Adjust the counterweight slightly until the gauge shows the correct VTF. Here's a good visual guide from Audio Advice on how to use a stylus force gauge.
-
-
Set the Anti-Skate (Bias Compensation):
-
As the stylus tracks the groove, a natural force (skating force) pulls the tonearm towards the center of the record. Anti-skate applies a small outward counter-force to keep the stylus centered in the groove, ensuring even wear and balanced channel output.
-
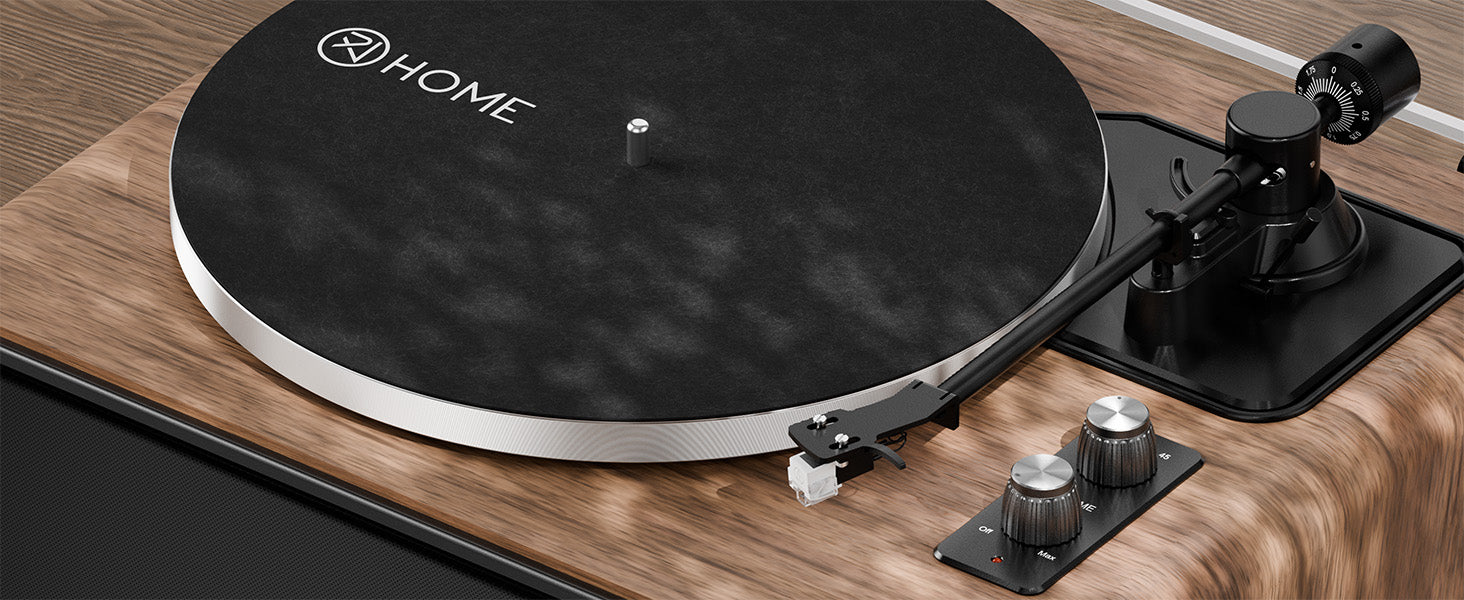
Most turntables have an anti-skate dial near the tonearm base. A common starting point is to set the anti-skate value to match your tracking force (e.g., if VTF is 2 grams, set anti-skate to 2).
-
Note: This is a guideline. Precise anti-skate adjustment can be done with a test record, but matching the VTF is a good starting point for most.
-
-
Cartridge Alignment (Overhang, Azimuth, Zenith): If your cartridge came pre-installed by a reputable manufacturer, these are often set correctly or are non-adjustable on simpler tonearms. If you installed the cartridge yourself, or if your tonearm allows, you'll need to align it using a protractor (often supplied, or downloadable online). This ensures the stylus sits at the correct angle in the groove across the record surface. This is a more advanced topic, but crucial for optimal performance. For a deeper dive, the Pro-Ject Audio Systems website has useful resources on alignment. For now, ensure any pre-installed cartridge is snugly fitted and appears straight in the headshell.
Step 4: Leveling the Turntable – The Final Plane
Even if your surface looks level, verify with a small bubble level (or a level app on your phone, though a dedicated level is better).
-
Place the level on the platter. Adjust the turntable’s feet (if adjustable) or use thin, rigid shims under the feet until the platter is perfectly level in both left-to-right and front-to-back planes.
-
Why? A level platter ensures the stylus tracks evenly in both groove walls and that the tonearm bearings operate with minimal friction and wear.
Step 5: Connecting to Your System – The Signal Path
-
RCA Cables: Connect the RCA cables from the turntable’s phono output to the "PHONO" input on your amplifier, receiver, or external phono preamplifier. Red is right channel, White (or Black) is left channel.
-
Ground Wire (Crucial!): Connect the thin ground wire from your turntable to the ground screw (often marked GND or ⏚) on your amplifier or phono preamp. If you forget this, you will likely experience a loud hum.
-
Phono Preamp Scenarios:
-
Built-in Phono Stage in Amp/Receiver: Turntable RCA/ground directly to amp's PHONO input.
-
Turntable with Built-in Switchable Phono Stage:
-
If using the turntable's internal preamp, set its switch to "LINE" and connect to any line-level input on your amp (AUX, CD, Tape).
-
If using your amp's phono stage (or an external one), set the turntable's switch to "PHONO" and connect to the PHONO input. Do not connect a PHONO level signal to a LINE level input, or vice-versa, without proper preamplification – it will sound very wrong or be barely audible.
-
-
External Phono Preamplifier: Turntable RCA/ground to external phono preamp's INPUT. Then, another set of RCA cables from the phono preamp's OUTPUT to a line-level input (AUX, CD, etc.) on your main amplifier.
-
At XJ-HOME, we understand that every link in the audio chain matters. Ensuring clean, secure connections is fundamental to preserving the delicate signal extracted from the record groove. Explore our curated selection of audio components at https://xenonjade.com to see how quality building blocks contribute to a superior listening experience.
Step 6: The First Spin & Fine-Tuning
-
Remove the stylus guard.
-
Place a record (preferably one you don't mind experimenting with first) on the platter.
-
Turn on your amplifier and select the correct input. Start with the volume low.
-
Use the cueing lever to gently lower the tonearm onto the lead-in groove.
-
Listen. Is there sound from both channels? Is it clear? Is there any hum or excessive noise?
-
Hum? Double-check the ground wire connection. Try a different outlet. Ensure audio cables aren't running parallel to power cables.
-
Skipping or Mistracking? Re-check tracking force and anti-skate. Ensure the turntable is level. The record itself might be warped or dirty.
-
Distortion? Could be incorrect tracking force, poor alignment (if adjustable), or issues further down the signal chain.
-
Step 7: Ongoing Care – Maintaining Performance
-
Keep Records Clean: Use a carbon fiber record brush before each play.
-
Keep Your Stylus Clean: Use a dedicated stylus brush (brush gently from back to front only).
-
Check Tracking Force Periodically: Especially if you move the turntable.
-
Belt Check (for belt-drive): Belts can stretch or perish over time. Check its condition annually.
The Sweet Sound of Success
Taking the time to properly set up your turntable is an investment that pays sonic dividends with every record you play. It might seem daunting at first, but the process becomes intuitive with practice. The clarity, detail, and immersive soundstage that a well-configured analog front-end can produce is a unique joy. Now, sit back, relax, and enjoy the music – you’ve earned it!

Leave a comment
All comments are moderated before being published.
This site is protected by hCaptcha and the hCaptcha Privacy Policy and Terms of Service apply.