
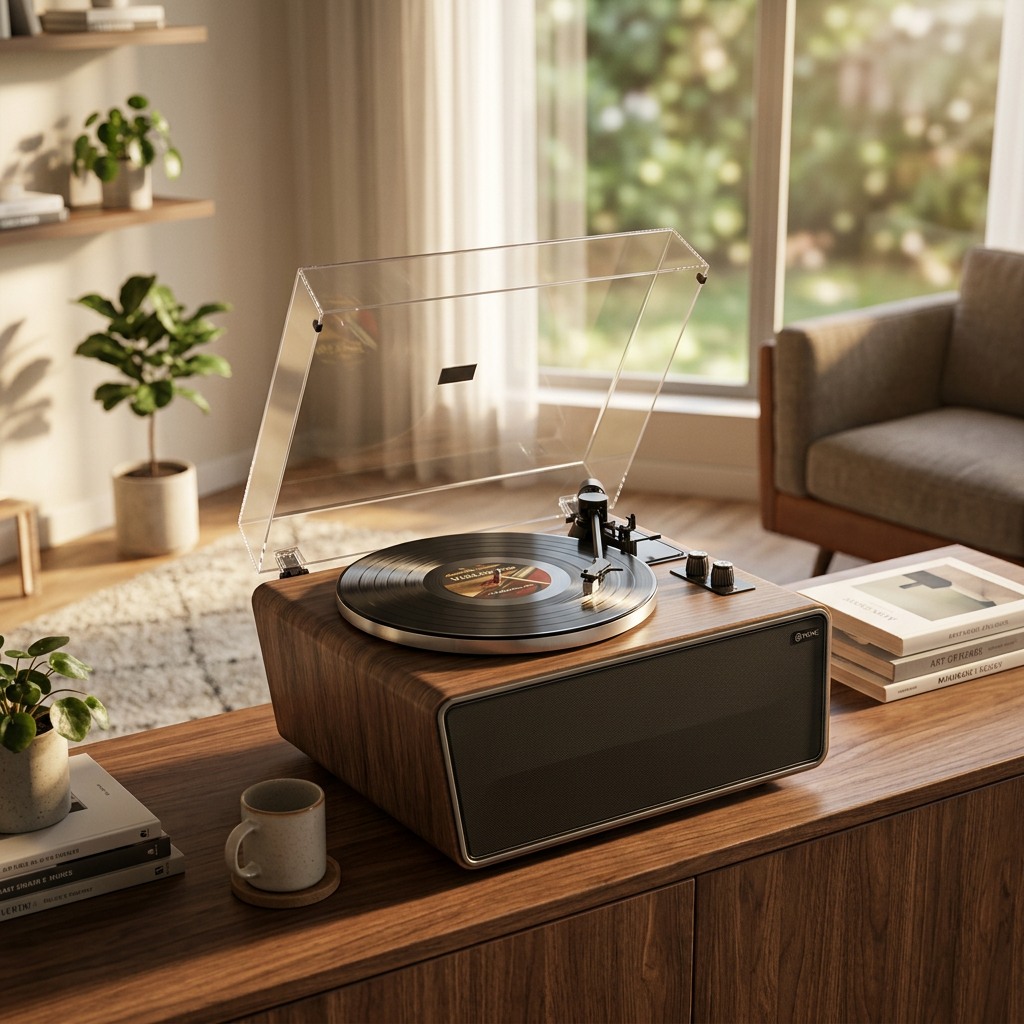
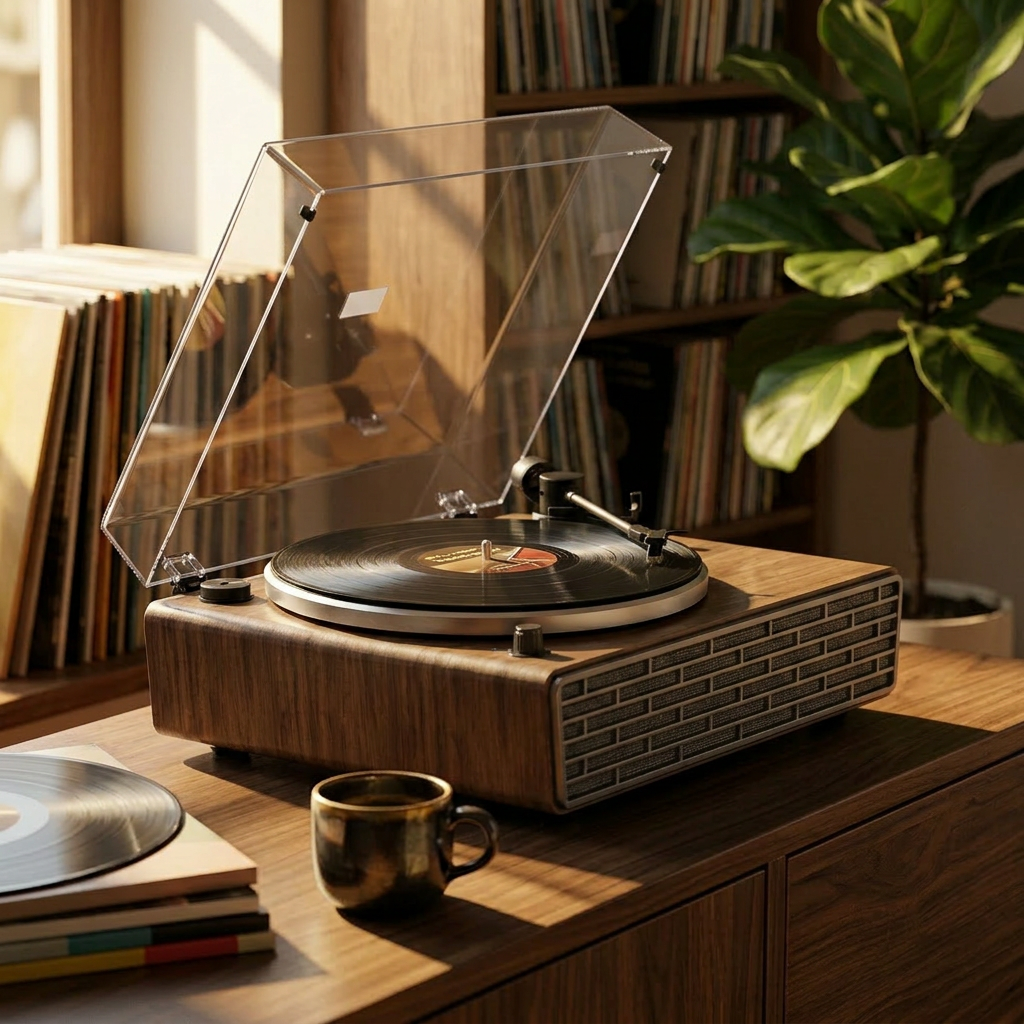
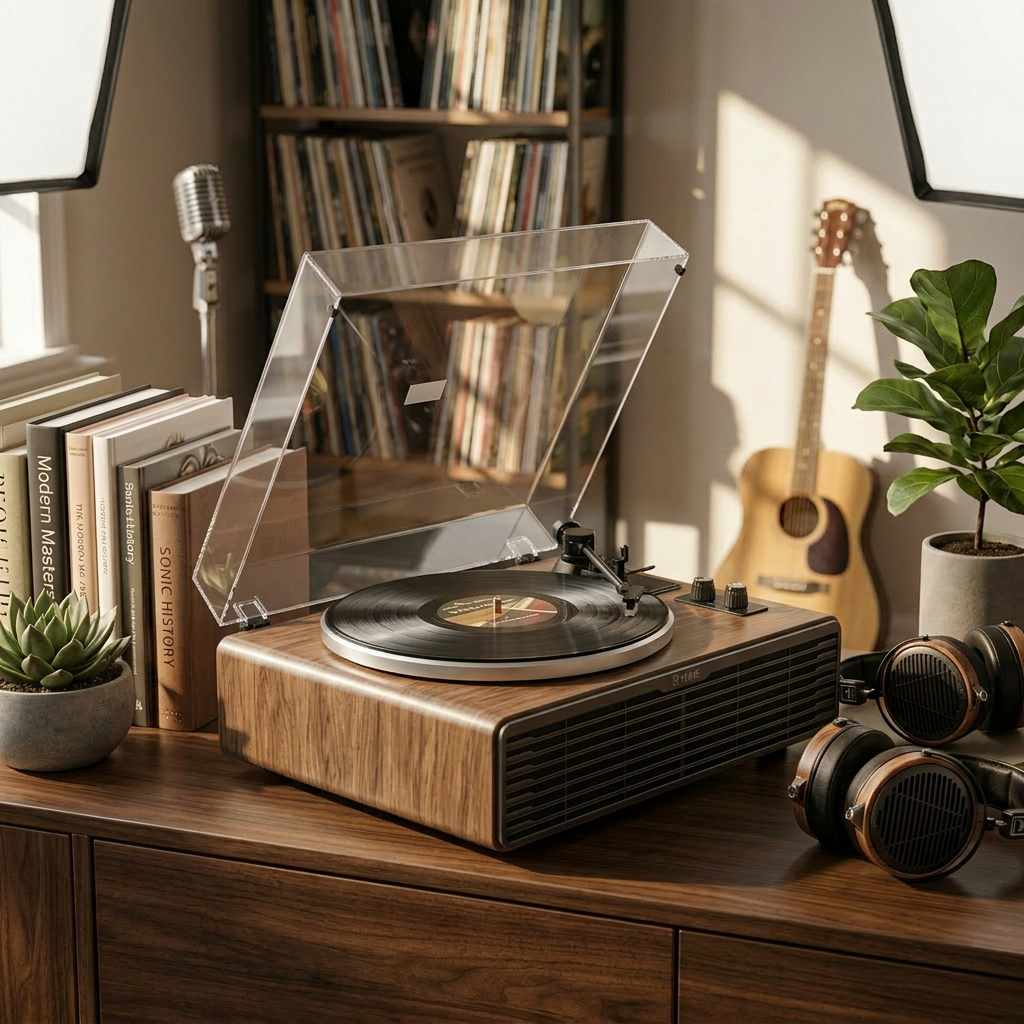


The humble turntable belt. To the uninitiated, it’s just a rubber band, right? A simple loop tasked with the mundane job of spinning your platter. But to those of us who’ve fallen down the glorious rabbit hole of analog audio, we understand it as something more: a critical component, an unsung hero in the delicate dance of stylus, groove, and sound. Replacing it isn't just maintenance; it's a ritual, a reaffirmation of our commitment to sonic fidelity. And let's be honest, there's a deep, almost primal satisfaction in knowing this vital link in your audio chain is fresh, supple, and performing at its peak.
While the robust simplicity of direct-drive turntables has its own legion of fans, the belt-drive system, with its inherent motor isolation, offers a unique pathway to auditory bliss. But that pathway requires a well-maintained belt. So, how do you know when this crucial component is crying out for renewal? Listen to your records. Is the pitch wavering, creating a subtle (or not-so-subtle) "wow" or "flutter" that leaves your favorite soprano sounding seasick? Is your turntable struggling to get up to speed, or running consistently fast or slow? A visual inspection might reveal cracks, a loss of elasticity, a disturbingly shiny or tacky surface, or even the dreaded "goo" of a belt that's given up the ghost. These are all tell-tale signs.
More Than Just Motion: The Belt's Deeper Purpose
The true genius of the belt-drive design lies in its ability to decouple the motor – the primary source of unwanted vibration in a turntable – from the platter. This isolation is fundamental to achieving a lower noise floor, allowing those micro-details and delicate ambient cues in your recordings to emerge from a blacker background. The belt acts as a compliant filter, absorbing and dissipating a significant portion of the motor's mechanical ruckus before it can reach the platter and, ultimately, your stylus.
But the belt's role extends beyond mere vibration dampening. Its material composition, elasticity, and precise dimensions are all critical for speed stability. A belt that's too loose will slip, causing inconsistent platter speed. One that's too tight can put undue strain on the motor bearings and transmit more vibration. A belt that has hardened with age or stretched beyond its optimal length simply cannot provide the consistent, smooth transfer of power necessary for accurate musical reproduction. This is where we must actively combat "inertial thinking" – that old adage, "if it ain't broke, don't fix it." In the audiophile world, "not obviously broken" is a far cry from "performing optimally." Proactive replacement, typically every 3-5 years or as your manufacturer suggests, is an investment in consistent performance and, frankly, the longevity of your precious vinyl.
Gathering Your Tools: Precision and Patience
The good news is that replacing a turntable belt is generally a straightforward affair, requiring more patience and care than specialized equipment.
-
The Correct New Belt: This is paramount. Not all belts are created equal, and "close enough" is the enemy of good sound. Consult your turntable manufacturer's specifications. Using an incorrect belt can lead to speed inaccuracies or even damage. Sourcing a quality, precision-made belt is key – a philosophy we deeply value at XJ-HOME, where every component in the audio chain is considered for its contribution to the overall experience.
-
Isopropyl Alcohol (90% or higher): For cleaning.
-
Lint-Free Cloths or Precision Swabs: For applying the alcohol and wiping away residue.
-
A Steady Hand and Patience: These are your most valuable assets.
-
Optional: Small, Non-Magnetic Tweezers: Can be helpful for guiding the belt in tight spaces, but fingers often work best.
-
Optional: Disposable Gloves: To keep skin oils off the new belt.
The Replacement Ritual: A Step-by-Step Guide
-
Safety and Preparation:
-
Unplug your turntable. No exceptions. This protects both you and your equipment.
-
Create a clean, well-lit workspace.
-
Remove the platter mat.
-
-
Accessing the Belt:
-
Gently lift off the main platter. Some platters are heavy and simply lift off their spindle. Others might be secured by a circlip at the base of the spindle (requiring careful removal with appropriate pliers) or may involve a sub-platter design where the belt is hidden beneath the main platter. Consult your turntable's manual if unsure. The goal is to expose the motor pulley and the surface the belt rides on (either the edge of the platter itself or a sub-platter).
-
-
Removing the Old Belt:
-
Carefully unhook the old belt from the motor pulley and slip it off the platter or sub-platter.
-
Take a moment to inspect it. Is it stretched compared to the new one? Any cracks, shiny spots, or stickiness? This observation often provides immediate validation for the task at hand.
-
-
The All-Important Cleanse:
-
This is a step many overlook, but it's crucial for optimal performance. Dip a lint-free cloth or swab in isopropyl alcohol.
-
Thoroughly clean the motor pulley. Rotate it to ensure you clean the entire surface where the belt makes contact.
-
Meticulously clean the platter's drive rim or the sub-platter's edge – again, every part the belt will touch.
-
Why is this so critical? Over time, the old belt sheds microscopic particles of rubber and can leave a slick residue. This residue can cause the new belt to slip, impairing grip and leading to speed inconsistencies right from the start. You want a pristine surface for your new belt.
-
-
Installing the New Belt:
-
Handle the new belt with clean hands, or better yet, wear gloves. Skin oils can degrade the rubber over time and reduce grip.
-
First, loop the new belt around the motor pulley.
-
Now, carefully stretch the belt around the platter's drive surface or sub-platter rim. Ensure the belt lies flat and is not twisted. Some turntables have guide posts or even a ribbon or notch in the platter to help you hook and position the belt without directly touching it too much – these are your friends.
-
-
Reassembly and Initial Check:
-
Carefully replace the platter onto the spindle, ensuring it's seated correctly.
-
Give the platter a gentle manual spin. Watch the belt: it should track smoothly on the pulley and platter rim without trying to ride up or down.
-
Replace the platter mat.
-
-
The Moment of Truth:
-
Plug your turntable back in.
-
Turn it on and observe. Does it get up to speed smoothly? Use a strobe disc or a speed app if you have one to verify accuracy, but often your ears will tell you if things are right. Listen for improved pitch stability and a general sense of "rightness" to the music.
-
Beyond the Basics: Audiophile Nuances and Debates
The world of turntable belts isn't without its own micro-debates and advanced considerations.
-
Belt Material & "Upgrades": Most belts are made from neoprene or similar synthetic rubbers, chosen for their specific elasticity and durability. You'll find "upgrade" belts on the market, sometimes made from different materials (like silicone) or precision-ground to tighter tolerances. The audible benefits can be subtle and are often system-dependent. Sometimes, the manufacturer's standard-spec belt, designed holistically with the turntable's motor and platter, provides the most balanced performance. For a deeper dive into material science in audio, resources like the discussions on Audiokarma.org can offer a wealth of user experiences and technical perspectives.
-
To Talc, or Not to Talc?: An old-school practice involves lightly dusting a new belt with talcum powder to supposedly improve grip and reduce slippage. Modern belt compounds generally don't require this, and excessive talc can create more problems than it solves by gunking up the works. We'd generally advise against it unless specifically recommended by the belt or turntable manufacturer.
-
The Criticality of Correct Tension: This really boils down to using the exact specified belt for your turntable model. The engineers determined the correct length and elasticity to provide the "Goldilocks" tension – not too tight, not too loose. This ensures optimal power transfer without stressing the motor or allowing slippage.
The XJ-HOME Ethos: Every Detail Matters
This meticulous attention to something as seemingly simple as a turntable belt resonates deeply with our philosophy at XJ-HOME. We believe that the pursuit of exceptional audio reproduction is a journey of details. From the source component to the listening environment itself, every element plays a part in crafting the final sonic tapestry. A turntable spinning with a fresh, correctly installed, and clean belt is foundational to unlocking the magic held within your record grooves. It’s about respecting the engineering and artistry that went into both your equipment and your music. If you're passionate about optimizing every link in your audio chain, we invite you to explore the curated audio accessories and insights available on our website, https://xenonjade.com.
The Sweet Sound of a Job Well Done
Replacing your turntable belt is more than just routine upkeep. It's an engaging, satisfying DIY task that brings tangible sonic rewards. You'll likely notice improved speed stability, a more focused soundstage, and a deeper connection to your music. It’s a small investment of time that pays significant dividends in listening pleasure. So, listen to your turntable, trust your ears, and don't underestimate the power of that perfect loop. Happy spinning!


Leave a comment
All comments are moderated before being published.
This site is protected by hCaptcha and the hCaptcha Privacy Policy and Terms of Service apply.