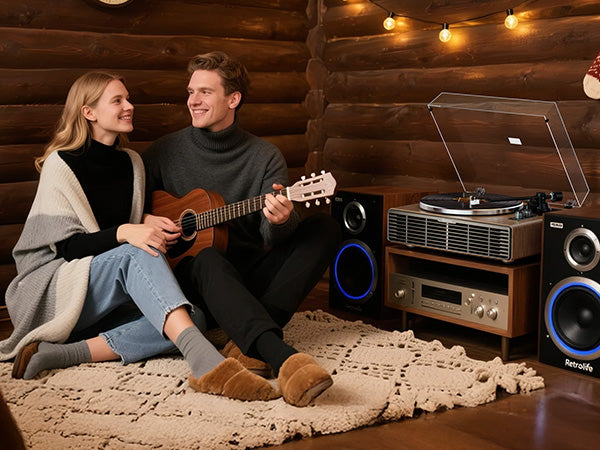
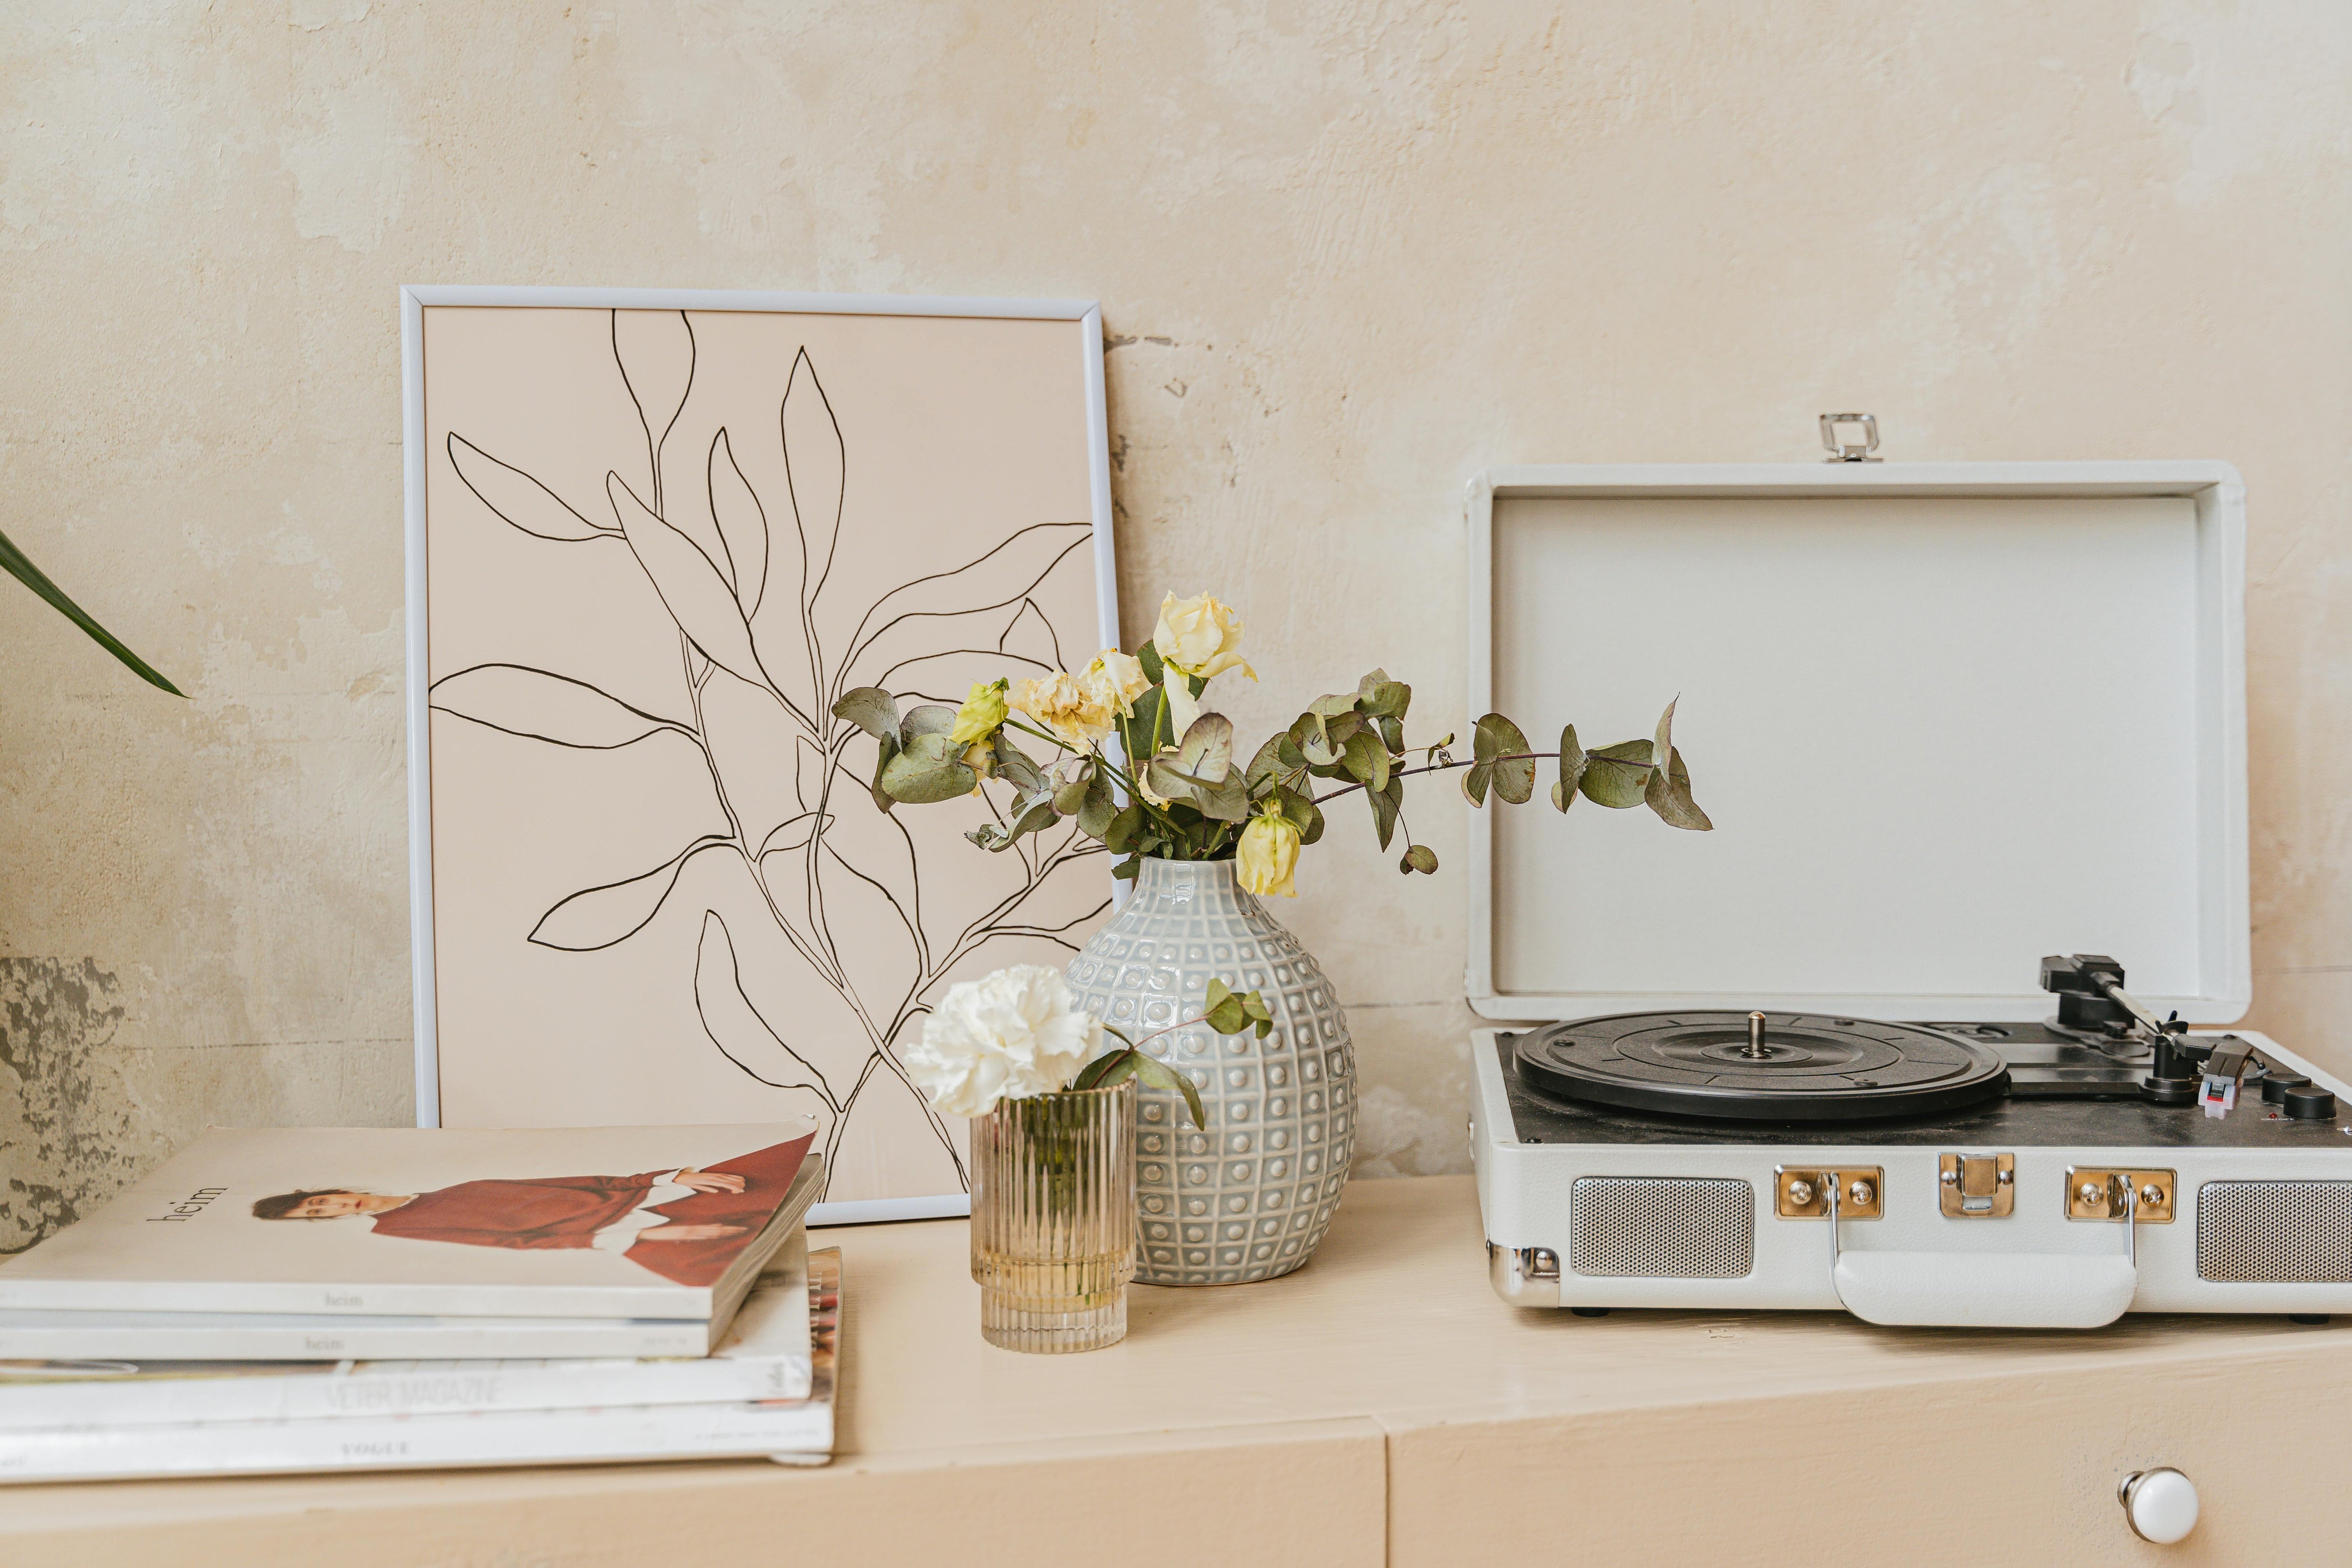
A stylish all-in-one vinyl record player opens the door to the warm, authentic sound of vinyl, bringing your favorite albums to life with every spin. Whether you’re a first-time user or a seasoned vinyl enthusiast, mastering the operation of your turntable ensures a smooth, enjoyable listening experience. This comprehensive step-by-step guide walks you through setting up, playing, and maintaining your turntable, along with tips for troubleshooting common issues. From unboxing to spinning your first record, here’s everything you need to know to make the most of your vinyl setup.

Step-by-Step Instructions
-
Unboxing and Setup
-
Start by carefully unboxing your turntable and placing it on a flat, stable surface, such as a sturdy table or shelf, to minimize vibrations that could affect playback.
-
Connect the power adapter to the designated port on the back of the unit and plug it into a nearby electrical outlet. Ensure the cord is secure and out of the way.
-
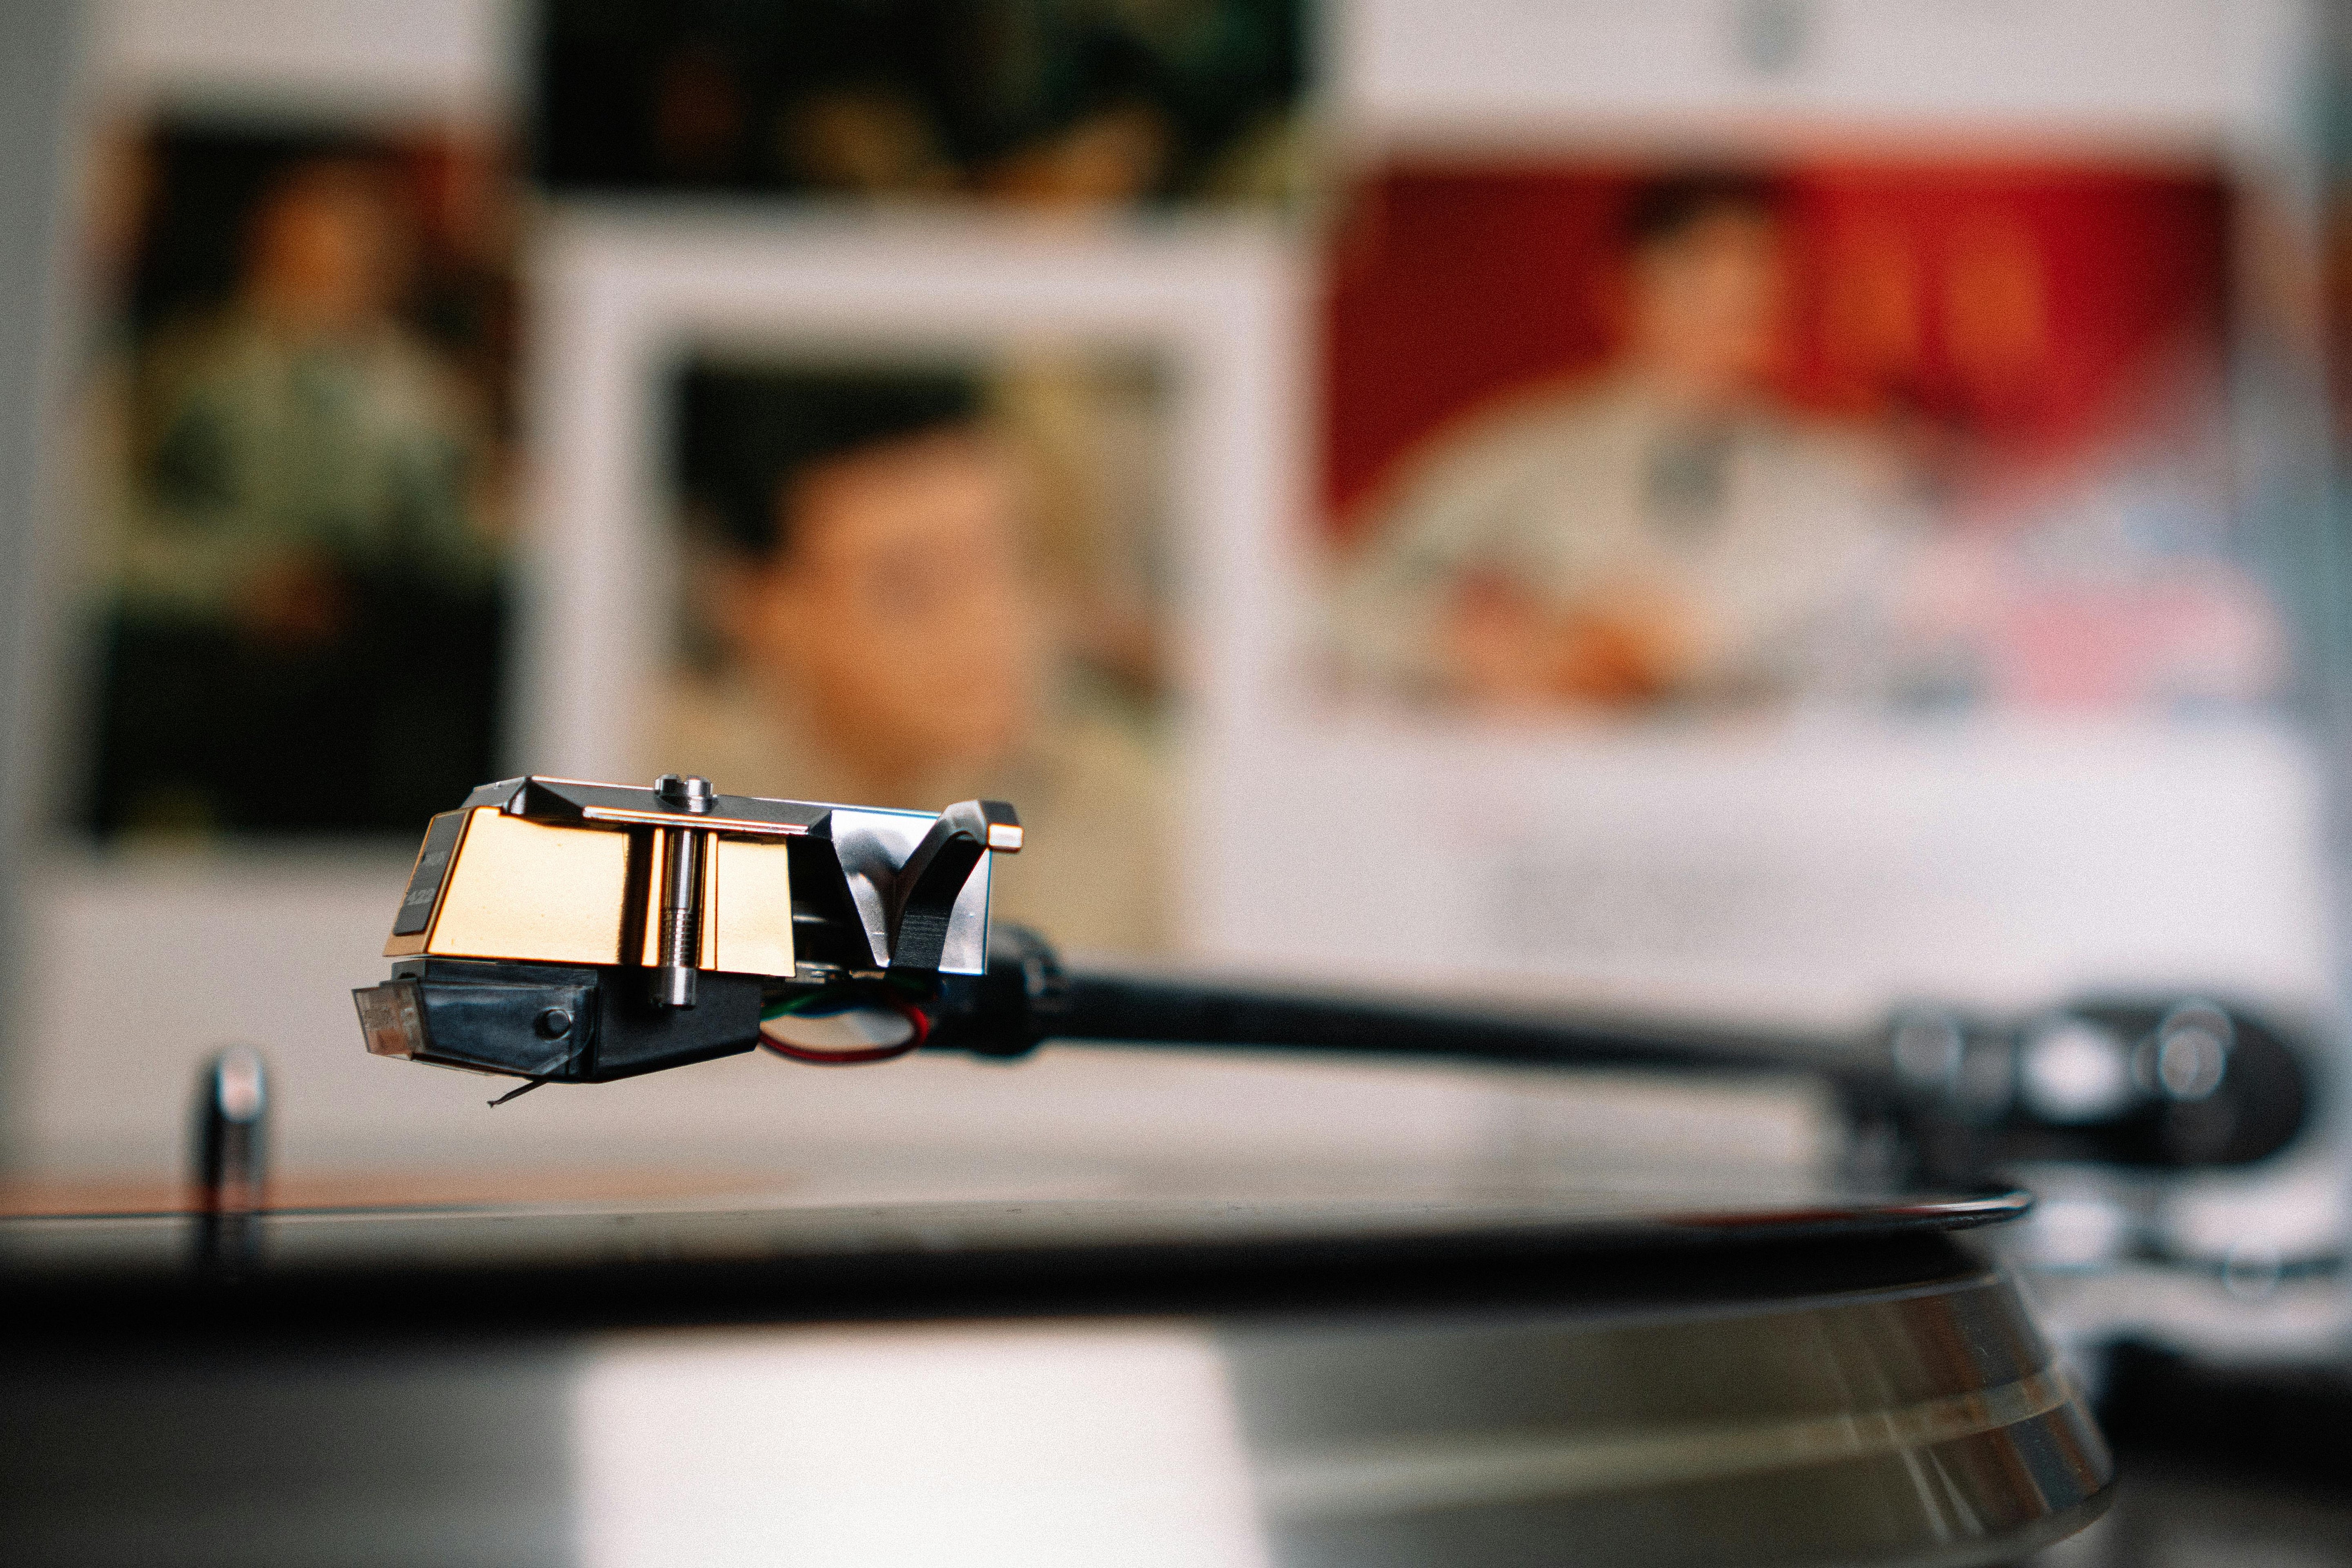
Remove the protective stylus guard to safeguard the stylus, taking care not to touch the needle directly. Check that all components, like the platter and tonearm, are securely in place.
-
If your turntable includes a counterweight, adjust it according to the manufacturer’s instructions (typically found in the manual) to ensure proper tracking force.
-
-
Preparing Your Vinyl
-
Before playing, clean your vinyl record with a carbon fiber brush to remove dust and debris, which can cause pops or skips. Brush gently in a circular motion along the grooves.
-
Place the record on the turntable’s platter, aligning the center hole with the spindle. Ensure the record lies flat to avoid wobbling during playback.
-
If your record is a 7-inch single with a larger center hole, use a 45 RPM adapter (often included with the turntable) to secure it properly.
-
-
Playing a Record
-
Select the appropriate speed (33 RPM for LPs or 45 RPM for singles) using the speed switch, typically located near the platter or on the control panel.
-
Gently lift the tonearm by its cueing lever (if available) or by hand, and carefully move it over the outer edge of the record.
-
Lower the tonearm slowly onto the record’s lead-in groove to start playback. The adjustable counterweight ensures the stylus tracks accurately, delivering clear sound while protecting your vinyl.
-
Sit back and enjoy the rich, analog audio as your record spins, filling the room with music.
-
-
Using Bluetooth or External Speakers
-
For wireless listening, activate the turntable’s Bluetooth mode (usually via a dedicated button) and pair it with compatible speakers, headphones, or a soundbar. Follow the pairing instructions in the manual for a seamless connection.
-
For a wired setup, connect external speakers or a stereo system using the RCA outputs on the back of the turntable. Ensure the cables are securely plugged in, and the external system is powered on.
-
Adjust the volume on either the turntable’s built-in speakers or the external device to your preference.
-
-
Stopping and Storing
-
When the record finishes or you’re ready to stop, lift the tonearm using the cueing lever or by hand and return it to its resting position.
-
Turn off the platter by switching off the power or pressing the stop button, if available, to halt the rotation.
-
Remove the record from the platter and return it to its sleeve to prevent dust buildup.
-
Place the dust cover over the turntable to keep it clean and protected until your next listening session.
-

Troubleshooting Tips
-
No sound during playback? Verify that the built-in speakers are activated (check for a speaker mute switch) or that Bluetooth is properly paired. For external setups, ensure RCA cables are securely connected, and the external system is powered on.
-
Record skipping or distorted sound? Confirm the record is clean and free of debris. Recheck the counterweight adjustment, as improper tracking force can cause skipping. Ensure the turntable is on a level surface to avoid vibrations.
-
Bluetooth connection issues? Restart the Bluetooth pairing process and ensure your device is within range (typically 30 feet). Check the manual for specific pairing steps.


Leave a comment
All comments are moderated before being published.
This site is protected by hCaptcha and the hCaptcha Privacy Policy and Terms of Service apply.