


In the devoted pursuit of analog sound, we vinyl enthusiasts engage in numerous rituals. There's the hunt for the perfect pressing, the careful cleaning of a cherished LP, and the almost reverent act of cueing the tonearm. Yet, amidst these more romantic endeavors lies a technical discipline so crucial it can make or break your entire listening experience: cartridge alignment. Too often, it's treated as a one-time, set-it-and-forget-it chore, or worse, overlooked with a shrug of "it sounds good enough."
But what if "good enough" is the enemy of the sublime? What if that subtle (or not-so-subtle) harshness in the treble, that nagging inner-groove distortion, or that slightly smeared soundstage isn't the fault of your pressings or your speakers, but a simple, correctable error in geometry? Today, we're not just talking about running through mechanical steps. We're delving into the why and how of truly testing your cartridge alignment, transforming a seemingly mundane task into an alchemist's art – turning potential sonic lead into auditory gold. This isn't just about maintenance; it's about unlocking the full emotional power embedded in those vinyl grooves.
The Unseen Enemy: Why Misalignment is Sonic Sabotage
Before we pick up any tools, let's confront the adversary. A misaligned phono cartridge is a subtle saboteur, waging a covert war against your sound quality and your record collection.
-
Distortion's Many Faces: The most commonly cited villain is tracking error distortion. As the stylus traces the groove, if it's not angled correctly relative to the groove tangent, it can't accurately read the modulations. This manifests as harshness, particularly on louder passages or sibilant vocals ("s" and "t" sounds becoming splashy or gritty). Inner groove distortion (IGD) is a particularly notorious consequence, where the final tracks on a record side sound congested and distorted because the tracing angles become more acute.
-
Channel Imbalance and Soundstage Collapse: Incorrect azimuth (the side-to-side tilt of the stylus) can lead to one channel being louder than the other, or a skewed, ill-defined stereo image. The carefully crafted soundstage the recording engineer envisioned can shrink, wander, or lose its holographic depth.
-
The Slow Death of Stylus and Vinyl: Beyond just sound, misalignment means uneven and accelerated wear. One side of your stylus tip might wear down faster, leading to a shorter lifespan and, eventually, damage to your records. The groove walls themselves can be subjected to undue stress, permanently etching distortion into your beloved LPs. This isn't just about audiophile neurosis; it's about the practical preservation of your investments.
Human perception is a funny thing. We can adapt to subpar sound, often unconsciously. But when these layers of distortion are stripped away through precise alignment, the clarity, realism, and emotional impact of the music can be revelatory. Suddenly, you're not just listening to a record; you're experiencing the performance.
First Principles: The Geometric Dance of Stylus and Groove
To understand alignment, we must appreciate the fundamental geometric challenge. A tonearm pivots from a fixed point, causing the stylus to travel in an arc across the record. However, the cutting lathe that originally made the master disc cut the grooves in a straight line, radially from the center. This inherent discrepancy means that a pivoting tonearm can only achieve perfect tangency (where the stylus is perfectly aligned with the groove) at a maximum of two points on the record surface. These are known as null points.
The goal of cartridge alignment is to strategically place these null points to minimize the average tracking error across the entire playing surface. Various mathematical alignment geometries have been developed to achieve this, with names like Baerwald (Lofgren A), Lofgren B, and Stevenson being the most common. Each offers slightly different compromises, prioritizing low distortion in different areas of the record. For instance, Baerwald is often favored for minimizing overall distortion, while Stevenson can be better for reducing it towards the end of the record where IGD is most problematic. You can delve deeper into the mathematics and philosophies behind these geometries on sites like Vinyl Engine, which offers tools and extensive discussions.
Understanding this isn't just academic; it informs why your protractor has those specific grids and why precision matters. You're essentially trying to optimize a compromise dictated by physics.
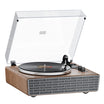
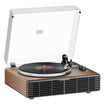
The Alchemist's Tools: Choosing and Understanding Your Protractor
Your primary tool in this endeavor is an alignment protractor. These range from simple paper or cardboard ones (often supplied with turntables), which must be printed exactly to scale to be accurate, to more robust and precise acrylic or mirrored versions.
-
Two-Point Protractors: Most common, these have grids or target points for the two chosen null points.
-
Arc Protractors: These feature a printed arc that the stylus should follow perfectly when the overhang is set correctly, along with a grid for setting the angle at a single null point.
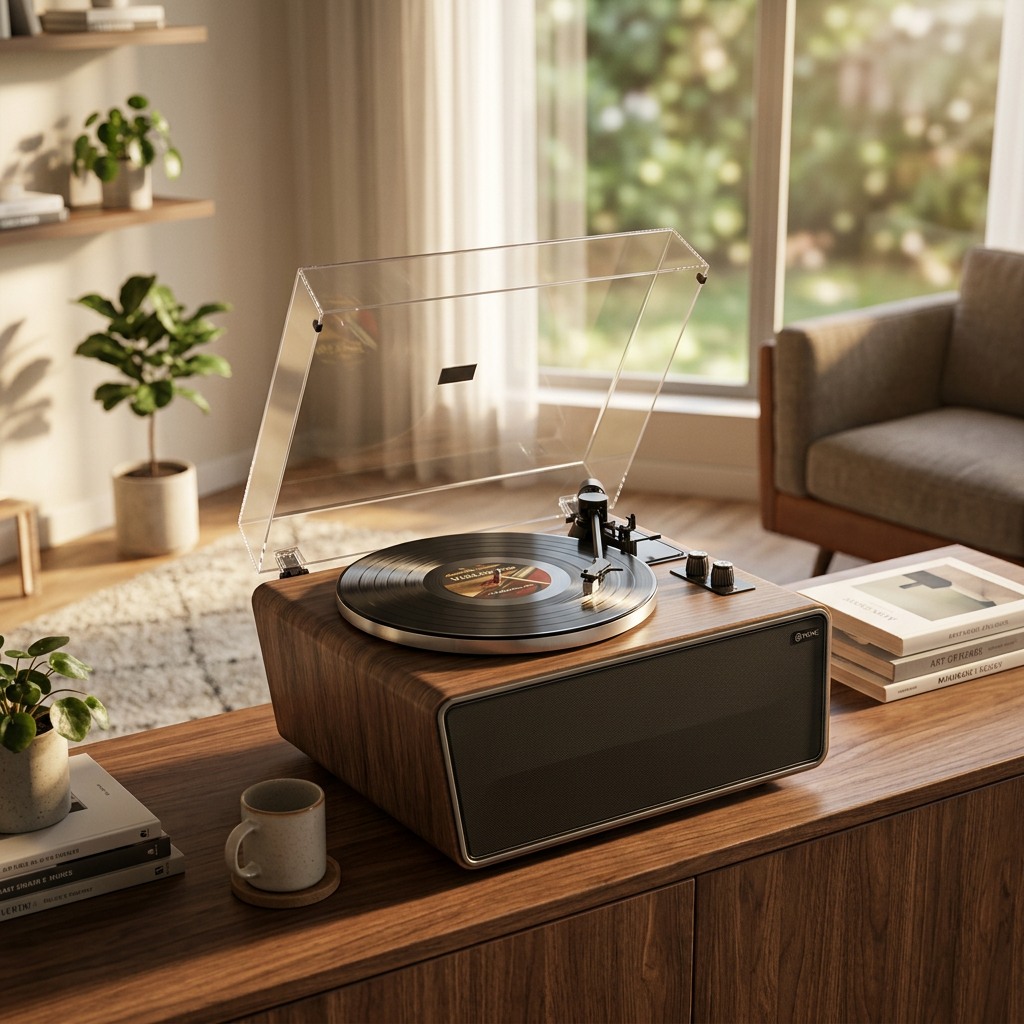
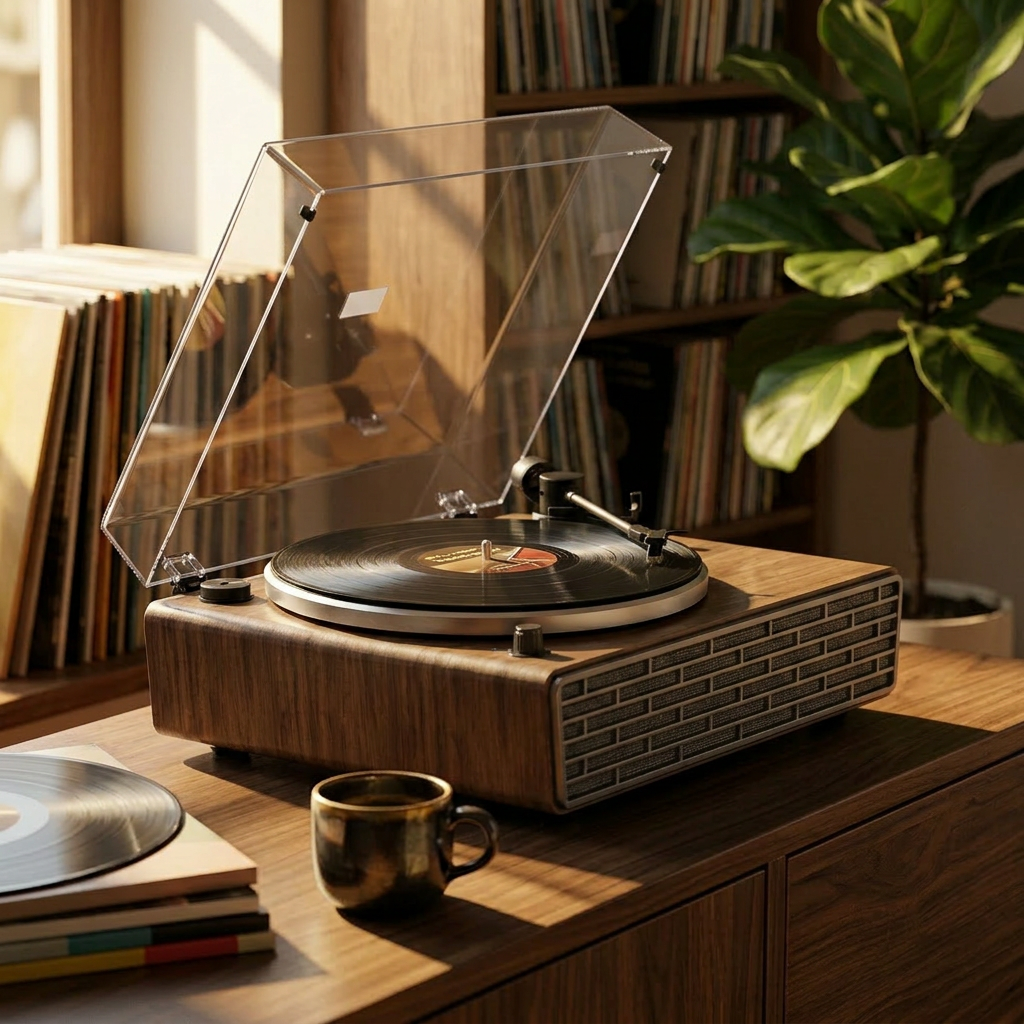
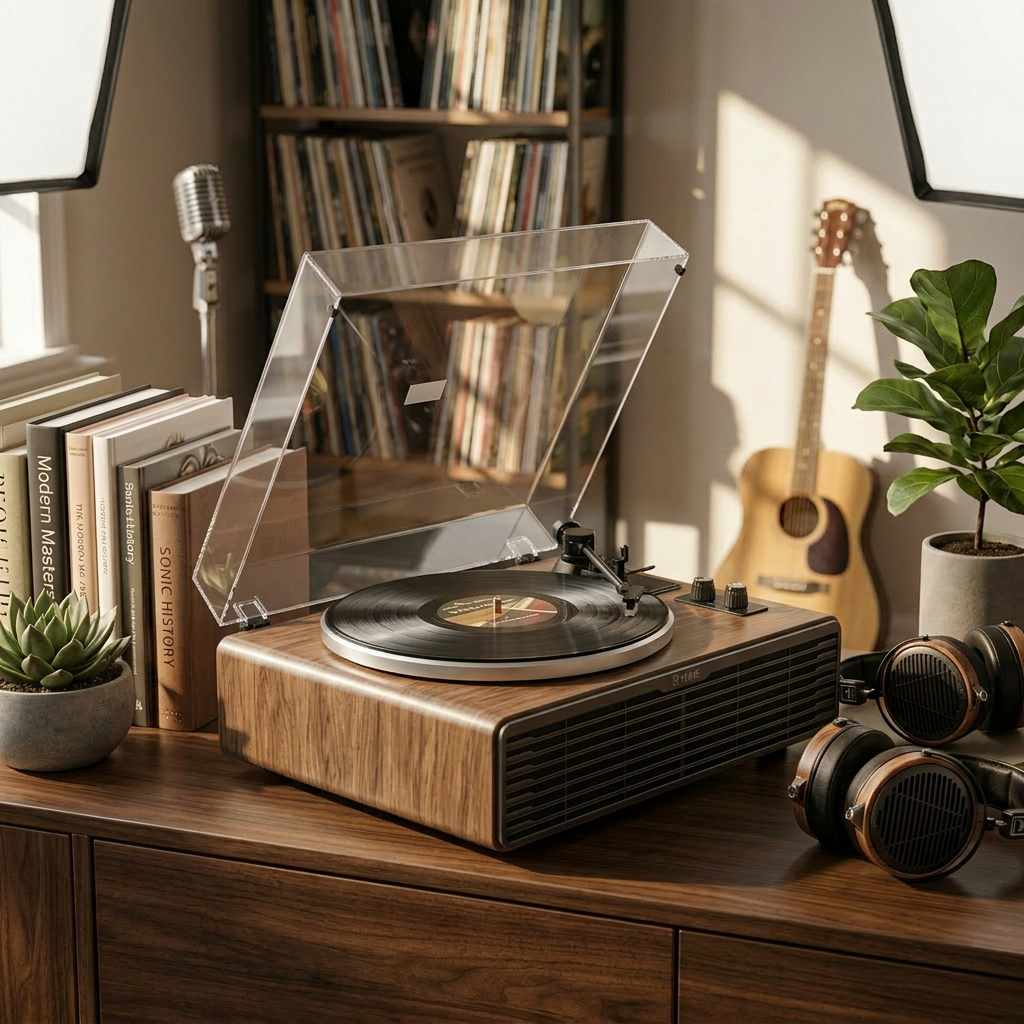
The protractor is your guide, a physical representation of your chosen alignment geometry. Just as the quality of components in your audio system contributes significantly to the final sound – a principle we deeply believe in at XJ-HOME when curating our collection (which you can explore at https://xenonjade.com) – the accuracy and usability of your setup tools play a vital role. A flimsy, inaccurately printed protractor can lead you astray just as easily as a well-made one can guide you to precision.
The Ritual of Testing: A Step-by-Step Guide (With an Audiophile's Eye)
Alright, let's get down to the actual testing. Patience and good lighting are your allies here.
-
Preparation is Paramount:
-
Level Ground: Ensure your turntable is perfectly level. Use a bubble level on the platter itself, not just the plinth. An unlevel turntable will skew all your efforts.
-
Disable Anti-Skate: Set your tonearm's anti-skate (or bias) adjustment to zero. Anti-skate applies an outward force to counteract the natural inward pull on the stylus during playback. For static alignment checks, this force will interfere and give false readings.
-
Illuminate and Magnify: Good, bright lighting is essential. A headlamp can be invaluable to keep your hands free. A magnifying glass, or even a jeweler's loupe, will help you see the tiny cantilever and stylus tip clearly.
-
-
The Two-Point Litmus Test (Using a Standard Two-Point Protractor):
-
Position the Protractor: Place it on your platter like a record. If it has a spindle hole, ensure it's snugly seated.
-
First Null Point: Using your tonearm's cueing lever, carefully and gently lower the stylus onto the stylus target point of the first null point grid (often the outer one).
-
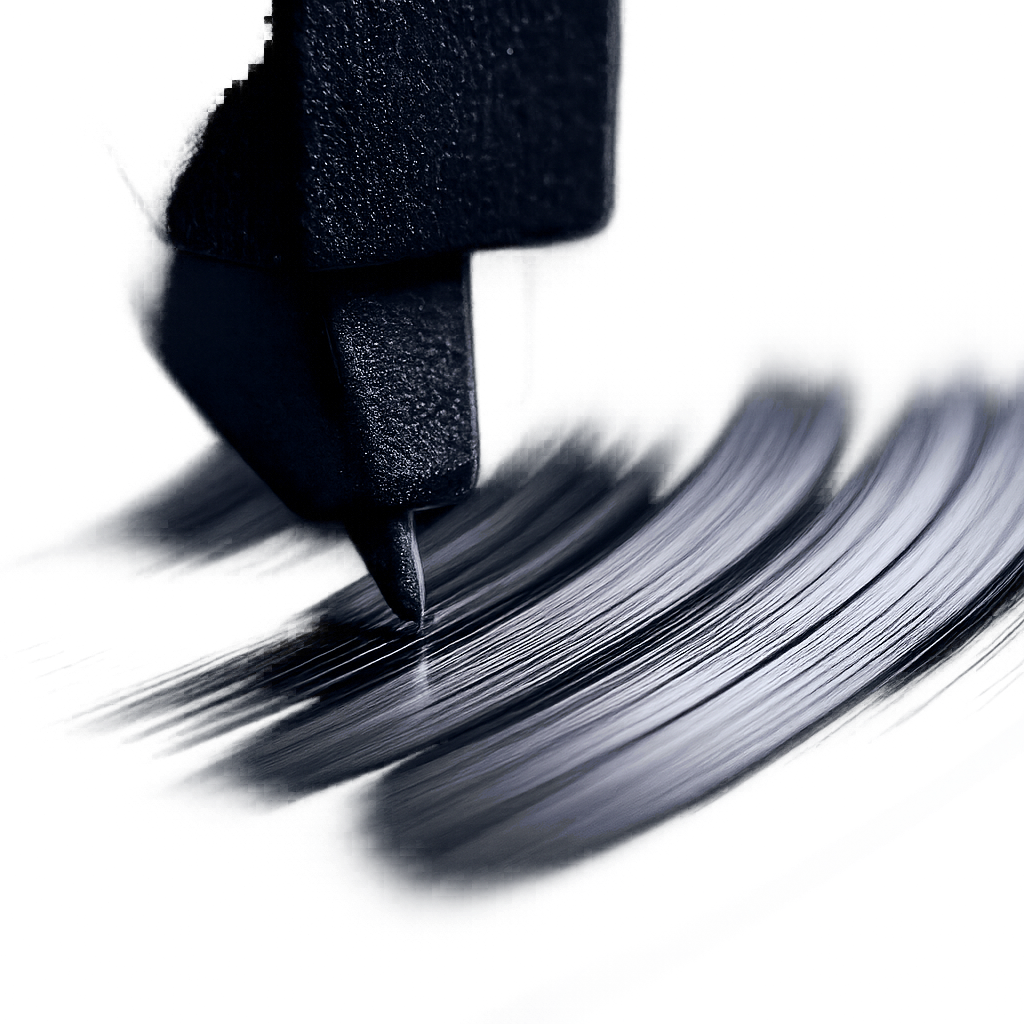
The Critical Observation – Cantilever is King: Look directly down from above the headshell.
-
Your primary focus should be the cantilever – the small tube extending from the cartridge body that holds the stylus. The cantilever must appear perfectly parallel to the lines on the protractor's grid. Imagine those lines extending infinitely; the cantilever should run along one of them, not be angled across them.
-
The sides of the cartridge body should also be parallel to the grid lines. However, not all cartridge bodies are perfectly symmetrical or have sides that are truly parallel to the cantilever's orientation. If there's a discrepancy, trust the cantilever. It's the part directly connected to the stylus and dictates how the stylus sits in the groove.
-
-
Second Null Point: Gently lift the tonearm, swing it over, and carefully lower the stylus onto the target point of the second null point grid (often the inner one).
-
Repeat the Observation: Perform the exact same visual check. Is the cantilever parallel to these grid lines? Is the cartridge body also aligned?
-
-
Interpreting the Signs:
-
Perfect Alignment (for that geometry): If the cantilever is perfectly parallel to the grid lines at both null points, congratulations! Your cartridge is correctly aligned according to the geometry of that protractor.
-
Misalignment:
-
If the cantilever is angled inward or outward relative to the grid lines at one or both points, your alignment is off.
-
If it looks good at one null point but is clearly off at the other, this also indicates an alignment issue. The goal is to achieve parallelism at both points simultaneously with a single cartridge position.
-
-
Beyond the Test: The Art of Adjustment (A Glimpse)
If your test reveals misalignment, the next step is adjustment. This typically involves slightly loosening the cartridge mounting screws and gently:
-
Sliding the cartridge forward or backward in the headshell slots (adjusting overhang).
-
Twisting the cartridge slightly in the headshell (adjusting zenith/angle) to make the cantilever parallel to the grid lines.
This process is iterative and demands patience. Make a tiny adjustment, then re-test at both null points. Repeat until perfection (or as close as humanly possible) is achieved. This is where the "art" truly comes in – developing a feel for those minute movements.
The Human Element: Ear vs. Eye, Patience vs. Perfection
Can you trust your eyes alone? For the most part, a carefully performed visual alignment using an accurate protractor will get you 95-99% of the way there, and for many, that's sufficient for excellent sound. Some audiophiles will then use test records with specific tracks for checking crosstalk or distortion, making final tiny adjustments by ear. This is advanced territory and requires a highly resolving system and experienced ears.
The pursuit of absolute perfection can sometimes become an obsession that detracts from the joy of listening. Remember, the goal is to remove barriers between you and the music. Once you've achieved good alignment, trust it for a while and simply enjoy your records. Re-check periodically (especially if you move your turntable or change components) or if you start to notice any sonic anomalies.
The Well-Aligned Path to Sonic Truth
Testing and achieving correct cartridge alignment is more than just a technical exercise; it's an act of respect for the music, the artists, and the medium itself. It’s an investment that pays dividends in enhanced clarity, a more immersive soundstage, reduced distortion, and the longevity of your stylus and vinyl.
Don't fear the process. Embrace it as part of the deeper engagement that analog playback offers. The precision you bring to your setup, much like the careful selection of quality hi-fi components (a journey we are always happy to discuss and facilitate at XJ-HOME), elevates the entire experience from mere sound reproduction to genuine musical communion.
May your stylus always trace the truest path, and may your listening be ever more rewarding.
Leave a comment
All comments are moderated before being published.
This site is protected by hCaptcha and the hCaptcha Privacy Policy and Terms of Service apply.