
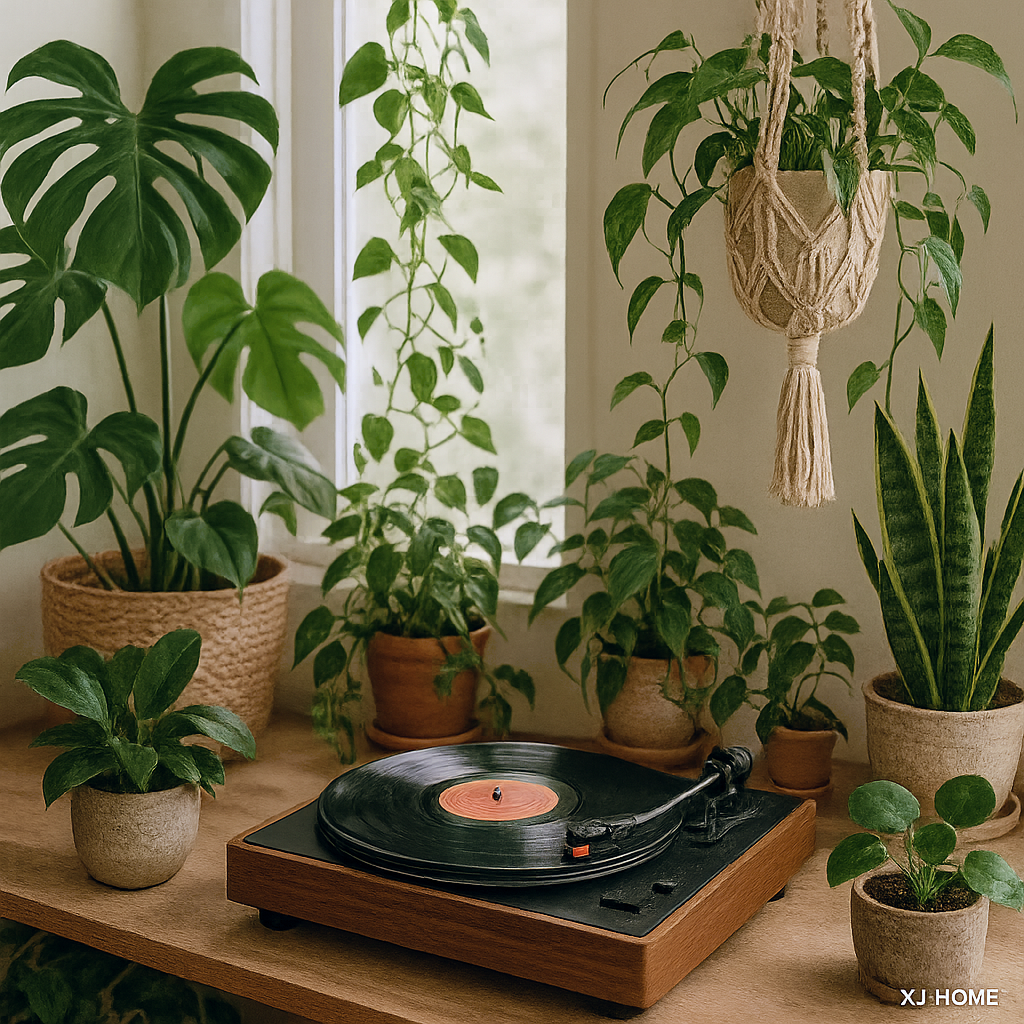
There's an undeniable magic to vinyl. The ritual of placing a record on the platter, the warmth of the analog sound – it's an experience we cherish. But let's be honest, in our on-the-go lives, having a digital copy of your favorite LPs offers incredible convenience. Want to listen to that rare find in your car, on your phone, or create a custom playlist? Digitizing is the answer. And if you own an XJ-HOME turntable equipped with a USB output, you've got a direct pathway to do just that.
At XJ-HOME, we understand the passion for vinyl but also appreciate the utility of digital. Our turntables, available through https://xenonjade.com, are designed not just for superb analog playback but also to empower you to preserve and enjoy your collection in multiple formats. This guide will walk you through the process, step-by-step.
Why Digitize Your Vinyl? The Best of Both Worlds
-
Portability: Take your vinyl collection anywhere, on any device.
-
Preservation: Create a digital backup of rare or delicate records, protecting them from wear and tear.
-
Convenience: Easily create playlists, share tracks with friends, and integrate your vinyl finds into your digital music library.
-
Archiving: For serious collectors, a digital archive is invaluable.
What You'll Need:
-
Your XJ-HOME Turntable with USB Output: The star of the show!
-
A Computer: Mac or PC with a free USB port.
-
A USB Cable: Usually a Type-A to Type-B cable (the kind often used for printers). This may have come with your turntable.
-
Recording Software: There are many options, but Audacity is a fantastic, free, open-source, and cross-platform audio editor that's perfect for this task. We'll focus on Audacity in this guide. You can download it from the official Audacity website.
-
Clean Records! This cannot be overstated. Any dust, dirt, or grime on your record will be digitized along with the music. Clean your records thoroughly before recording.
The XJ-HOME Advantage in Digitization
When you're digitizing, the quality of your source is paramount. The precision engineering of your XJ-HOME turntable – from the tonearm and cartridge to the internal phono preamp (if engaged for the USB output) – ensures that the signal sent to your computer is as clean and faithful to the original recording as possible. A good quality Analog-to-Digital Converter (ADC) within the turntable is also crucial, and XJ-HOME prioritizes these components.
Step-by-Step Guide to Digitizing Your Records:
Phase 1: Setup and Connection
-
Install Audacity (or your chosen software): If you haven't already, download and install Audacity from the link above.
-
Connect Your Turntable:
-
Ensure your XJ-HOME turntable is powered on.
-
Connect the USB cable from the USB output port on your turntable to a free USB port on your computer.
-
-
Configure Audio Input in Your Computer's Sound Settings:
-
Windows: Go to Sound settings (right-click the speaker icon in the system tray). Under the "Recording" tab, find your turntable. It might appear as "USB Audio CODEC," "USB Turntable," or similar. Set it as the default recording device.
-
Mac: Go to System Preferences > Sound. Under the "Input" tab, select your USB turntable from the list of devices.
-
-
Configure Audio Input in Audacity:
-
Open Audacity.
-
Near the top, find the microphone icon. Next to it is the "Audio Host" dropdown (usually MME on Windows, Core Audio on Mac).
-
In the "Recording Device" dropdown next to that, select your USB turntable (e.g., "USB Audio CODEC").
-
Set the recording channels to "2 (Stereo) Recording Channels."
-
Phase 2: Preparing for Recording
-
Clean Your Record: Use your preferred record cleaning method. A clean record means a cleaner recording.
-
Place the Record on the Turntable: As you normally would.
-
Check Recording Levels in Audacity:
-
In Audacity, find the "Recording Level" meters (usually near the top, next to the microphone icon). Click "Click to Start Monitoring."
-
Start playing the loudest part of your record.
-
Watch the meters in Audacity. You want the peaks to reach around -6dB to -3dB. You definitely don't want them hitting 0dB (clipping), which causes distortion.
-
Adjust the recording input slider in Audacity (next to the microphone icon) or in your computer's sound settings if the level is too high or too low. Some turntables may also have an output gain switch for USB – check your XJ-HOME manual. Getting this gain staging right is crucial for a good quality recording.
-
Phase 3: Recording
-
Start Recording in Audacity:
-
Cue your tonearm to the beginning of the record (or the first track you want to record).
-
Click the red "Record" button in Audacity.
-
Gently lower the stylus onto the record.
-
-
Record the Entire Side (or Selected Tracks): It's often easiest to record an entire side of an LP and then split the tracks later in Audacity.
-
Stop Recording:
-
When the side is finished (or you've recorded the desired tracks), lift the tonearm.
-
Click the yellow "Stop" button in Audacity.
-
You'll see the waveform of your recording in Audacity.
-
Phase 4: Editing and Processing (Basic)
-
Save Your Project: Before doing any major editing, go to File > Save Project > Save Project As... This saves an Audacity project file (.aup3), which allows you to come back and edit later. This is not your final audio file yet.
-
Trimming Silence: Zoom into the beginning and end of the waveform. Select any excess silence (lead-in/lead-out groove noise you don't want) and press the "Delete" key.
-
Normalization (Optional): If your recording level was a bit low, you can use Effect > Volume and Compression > Normalize. Set it to normalize peak amplitude to around -1.0 dB. This brings the overall volume up to a standard level without clipping.
-
Noise Reduction (Use Sparingly!): If you have persistent hum or hiss, Audacity has a "Noise Reduction" effect (Effect > Noise Removal and Repair > Noise Reduction). This is a two-step process:
-
Select a small portion of the recording that is only noise (e.g., between tracks).
-
Go to Effect > Noise Reduction and click "Get Noise Profile."
-
Select the entire track (or the parts you want to clean).
-
Go back to Effect > Noise Reduction. Adjust the settings (start with the defaults) and click "OK."
-
Listen carefully. Overuse of noise reduction can make the music sound unnatural or "phasey." Sometimes, a little bit of analog character is better than an overly processed sound.
-
Phase 5: Splitting Tracks (If you recorded a full side)
-
Identify Track Breaks: Listen through your recording and find where each track ends and the next begins.
-
Add Labels: Click in the waveform at the beginning of each track. Go to Edit > Labels > Add Label at Selection (or Ctrl+B / Cmd+B). Type the track name in the label that appears below the waveform. Repeat for all tracks.
-
Export Multiple: Once all tracks are labeled, go to File > Export > Export Multiple.
-
Choose your desired export location and format (see next step).
-
Under "Split files based on:", select "Labels."
-
Audacity will use your label names as the filenames for the individual tracks.
-
Click "Export." You'll be prompted to add metadata (artist, album, track title, year, etc.) for each track.
-
Phase 6: Exporting Your Audio
If you recorded a single track or don't need to split, go to File > Export > Export As... (MP3, WAV, FLAC, etc.).
-
MP3: Good for portability and smaller file sizes. A bitrate of 256kbps or 320kbps is a good balance of quality and size for most.
-
WAV: Uncompressed, full quality. Large file sizes. Good for archiving or if you plan to do further editing in other software.
-
FLAC (Free Lossless Audio Codec): Lossless compression. Smaller than WAV but with identical quality. Excellent for archiving and for listening on devices/software that support FLAC. This is often the preferred format for audiophiles who want quality without massive WAV files.
Enter the metadata (artist, album, etc.) when prompted.
Tips for Best Results:
-
Cleanliness is Godliness: Clean records and a clean stylus are non-negotiable.
-
Stable Surface: Ensure your turntable is on a solid, level surface, free from vibrations.
-
Minimize Background Noise: Record in a quiet room. Your turntable's microphone (the stylus) will pick up ambient sounds.
-
Don't Over-Process: It's tempting to apply lots of effects. Often, less is more. The goal is to capture the sound of your vinyl, not to create a hyper-edited digital master.
-
Listen and Test: After exporting, listen to your digital files on different systems (headphones, car stereo, home audio) to ensure you're happy with the results.
Conclusion: Your Vinyl, Anywhere, Anytime
Digitizing your records with your XJ-HOME USB turntable might seem daunting at first, but by following these steps, you'll be well on your way to creating a high-quality digital archive of your beloved vinyl collection. It’s a rewarding process that combines the best of analog warmth with digital convenience.
Now, go forth and liberate your LPs from the shelf! Happy digitizing!
Leave a comment
All comments are moderated before being published.
This site is protected by hCaptcha and the hCaptcha Privacy Policy and Terms of Service apply.