
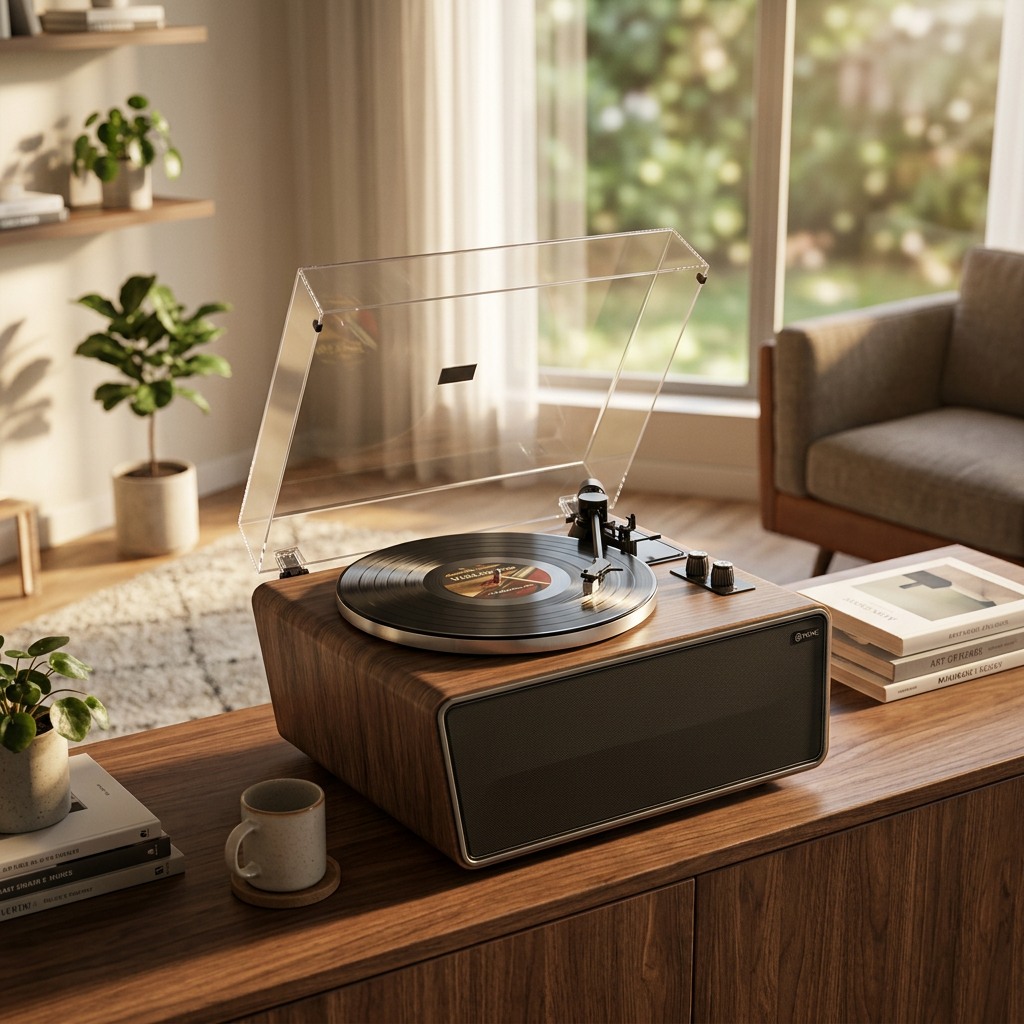
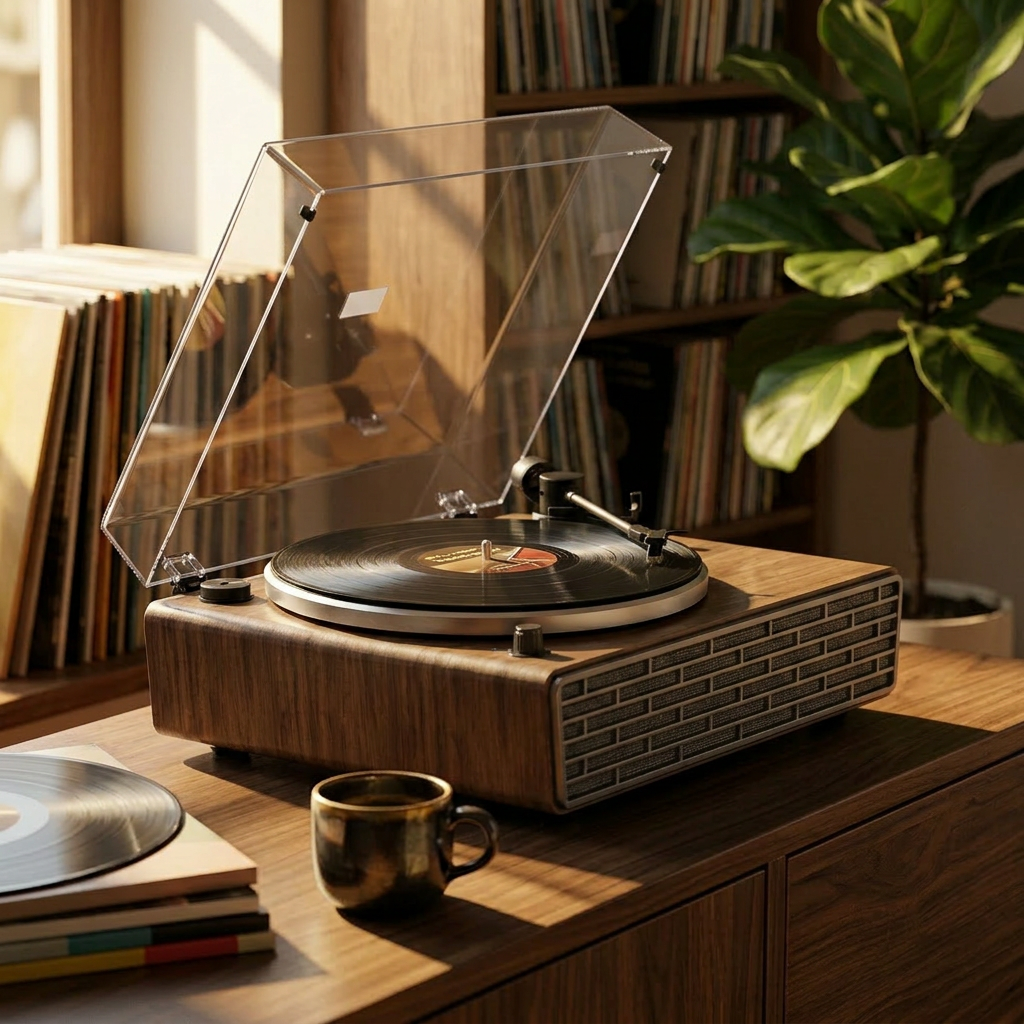
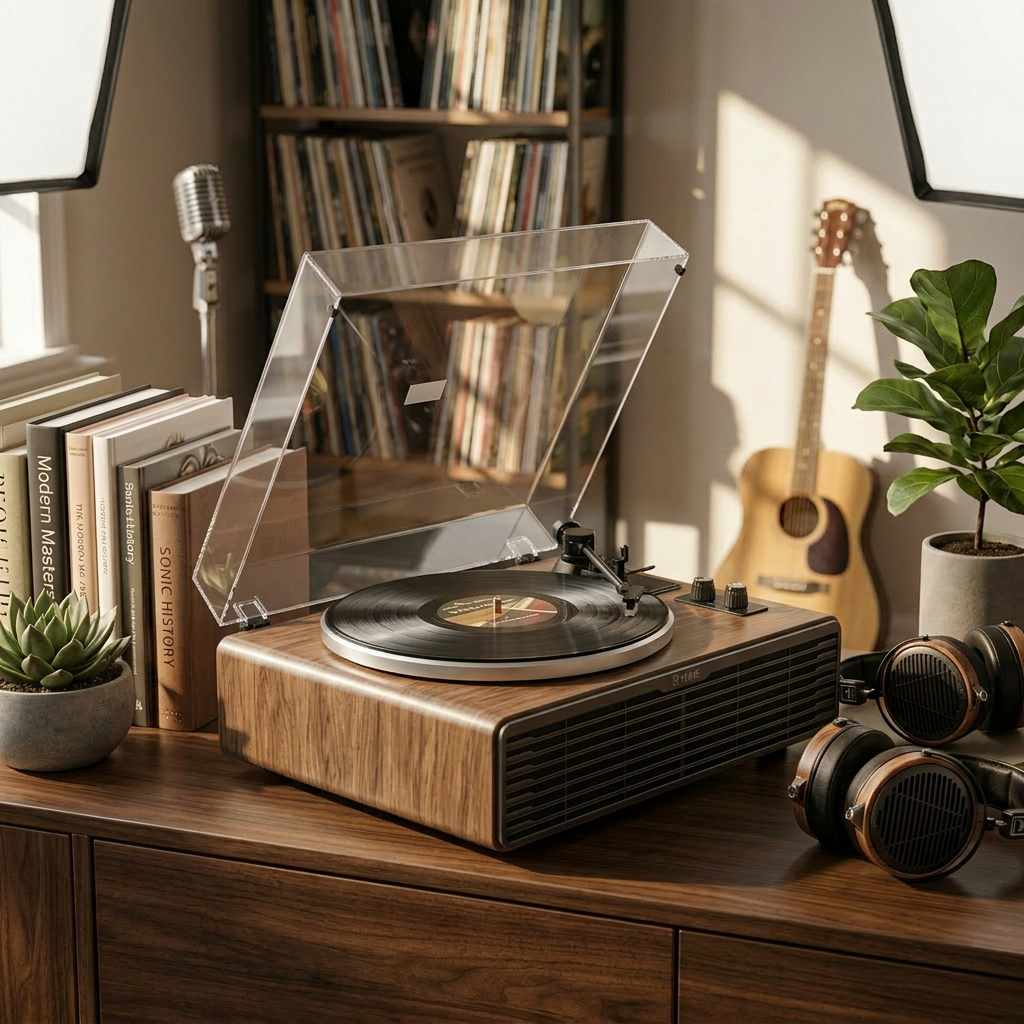


The moment has arrived. You’ve brought home your first turntable, and the promise of warm, analog sound is tantalizingly close. But between you and that first needle drop stands the setup process. For a newcomer, the array of parts, adjustments, and connections can seem a bit daunting. Fear not! This step-by-step guide is designed to demystify the process, transforming potential trepidation into triumphant first play.
Setting up a turntable correctly is not just about getting it to make noise; it’s about ensuring it performs optimally, sounds its best, and, crucially, treats your precious records with care. While some ultra-basic all-in-one players are virtually plug-and-play, most traditional turntables require a bit of assembly and calibration. Let's dive in.
Step 1: Unboxing and Inventory – The "What's In Here?" Phase
Carefully unbox your turntable and all its components. Lay everything out on a clean, stable surface. Your turntable manual is your best friend here – keep it handy! Typically, you should find:
-
The turntable plinth (the main body)
-
The platter (the heavy disc the record sits on)
-
A rubber mat or felt slipmat for the platter
-
The tonearm (often pre-installed, but sometimes separate)
-
The headshell (which holds the cartridge, sometimes pre-mounted with a cartridge)
-
The cartridge (if not pre-mounted)
-
The counterweight for the tonearm
-
The anti-skate weight or dial mechanism
-
A dust cover and its hinges
-
Power supply/cable
-
RCA audio cables (sometimes integrated, sometimes separate)
-
A ground wire (usually attached to the RCA cable or separate)
-
Possibly a 45 RPM adapter (a small disc for 7-inch singles)
Crucial First Check: Ensure all listed parts are present. If anything is missing or damaged, contact your dealer immediately.
Step 2: Location, Location, Location – Finding the Sweet Spot
Where you place your turntable matters immensely. You're looking for:
-
A Stable, Level Surface: Vibrations are the enemy of good vinyl playback. A wobbly table or a bouncy floor will cause the stylus to skip or mistrack, and will muddy the sound. A dedicated hi-fi rack, a sturdy piece of furniture, or a wall-mounted shelf are ideal.
-
Away from Speakers: Placing your turntable too close to your speakers, especially on the same surface, can create a feedback loop. The vibrations from the speakers can travel back to the turntable, get picked up by the stylus, re-amplified, and so on – resulting in a nasty hum or howl.
-
Accessible: You'll need to be able to comfortably place records on it and operate the controls.
Step 3: Platter and Belt Installation (for Belt Drive Turntables)
Many turntables, especially in the entry-level to mid-range, are belt-driven.
-
Place the Platter: Gently place the main platter onto the spindle (the central post) on the turntable plinth. It should sit securely.
-
Install the Belt:
-
Locate the motor pulley – a small spindle, often brass or plastic, offset from the main platter spindle.
-
Loop the drive belt around the motor pulley.
-
Carefully stretch the belt around the platter's outer rim or a designated sub-platter ridge. Some platters have an access hole or ribbon to help you pull the belt over the motor pulley after the platter is on. Consult your manual!
-
Ensure the belt is flat and not twisted. Give the platter a gentle spin by hand to make sure the belt is seated correctly and moves smoothly.
-
For direct drive turntables, the platter usually just sits directly onto the motor spindle – no belt to worry about!
Step 4: Cartridge Installation (If Necessary)
Many beginner turntables come with the cartridge pre-installed on the headshell, or even the headshell pre-mounted on the tonearm. If yours is, you can likely skip this step (lucky you!). If not:
-
Mounting the Cartridge to the Headshell: This involves tiny screws and color-coded wires. The wires connect from pins on the back of the cartridge to corresponding pins inside the headshell. The color code is standard:
-
Red: Right channel positive (R+)
-
Green: Right channel ground (R-)
-
White: Left channel positive (L+)
-
Blue: Left channel ground (L-)
Carefully connect these, usually with tweezers. Then, loosely screw the cartridge onto the headshell.
-
-
Aligning the Cartridge: This is crucial for proper tracking and minimizing distortion. It involves ensuring the stylus is perfectly aligned in the record groove. You'll need a cartridge alignment protractor (often supplied, or downloadable online – a popular one is the "Stupid Protractors" from Vinyl Engine). This step can be fiddly and requires patience. Follow the protractor's instructions and your turntable manual carefully. Once aligned, tighten the screws gently but firmly.
-
Attach Headshell to Tonearm: If the headshell is separate, gently insert its connector into the end of the tonearm and secure it with the locking collar.
A Note for Beginners: If your turntable requires full cartridge installation and alignment from scratch, and you're feeling overwhelmed, don't despair. Many hi-fi dealers can perform this service for a small fee. Getting it right is more important than struggling and potentially damaging something.
Step 5: Tonearm Balancing – The Floating Act
This step ensures the tonearm is "neutral" before setting the tracking force.
-
Install the Counterweight: Locate the counterweight – it's a cylindrical weight that screws or slides onto the rear of the tonearm.
-
Remove Stylus Guard: Carefully remove the plastic stylus guard (if it's still on). Be gentle!
-
Unlock the Tonearm: Disengage the tonearm from its rest. Make sure the cueing lever (if your turntable has one) is in the DOWN position.
-
Achieve Zero Balance: While holding the headshell to prevent the stylus from crashing onto the plinth, rotate the counterweight forwards or backwards until the tonearm floats perfectly parallel to the platter, like a seesaw in perfect balance. It should neither fly up nor drop down. This is "zero grams" of tracking force.
-
Set the Tracking Force Dial: Once balanced, without moving the counterweight itself, carefully turn only the numbered dial on the front of the counterweight until "0" lines up with the reference mark on the tonearm.
Step 6: Setting the Tracking Force (VTF) – The Right Pressure
Vertical Tracking Force (VTF) is the downward pressure the stylus exerts on the record groove. Too little, and it will mistrack and sound thin; too much, and it can cause excessive record wear and sound dull.
-
Consult Your Cartridge Specs: Your cartridge manual will specify a recommended tracking force range (e.g., 1.5 - 2.0 grams).
-
Set the Force: Now, rotate the entire counterweight assembly (the weight and the dial together) counter-clockwise (towards the front of the turntable) until the dial reads your desired tracking force, aligning with the reference mark. For example, if your cartridge recommends 1.8 grams, turn the counterweight until "1.8" on the dial lines up with the mark.
-
It's generally good practice to aim for the middle or upper end of the recommended range for secure tracking.
-
For Precision (Optional but Recommended): A digital stylus force gauge provides a much more accurate reading than relying solely on the counterweight dial. They are relatively inexpensive and a worthwhile investment.
Step 7: Setting the Anti-Skate – Counteracting the Pull
As the record spins, a natural force (skating force) tries to pull the tonearm towards the center of the record. Anti-skate applies a gentle outward force to counteract this, ensuring the stylus sits evenly in the groove walls, which is vital for balanced sound and even wear.
-
Mechanism: Anti-skate mechanisms vary. Some use a small dial near the tonearm base, others a weight on a string, or a magnetic system.
-
Setting: Generally, you set the anti-skate value to match your tracking force. So, if you set 1.8 grams of tracking force, you'd set the anti-skate dial to 1.8. Consult your turntable manual for its specific anti-skate adjustment method.
Step 8: Connections – Getting the Sound Out
Now, let's hook it up! (We covered this in detail in our "Connecting Your Turntable to Powered Speakers" and "Do You Need a Phono Preamp?" guides, so we'll summarize here.)
-
Phono Preamp: Remember, the signal from your turntable needs a phono preamp.
-
Built-in to Turntable: If your turntable has a "PHONO/LINE" switch, set it to "LINE" and connect its RCA outputs to a line-level input (AUX, CD, etc.) on your amplifier or powered speakers.
-
Built-in to Amplifier/Receiver: If your amp has a "PHONO" input, set your turntable switch (if any) to "PHONO" and connect to this input.
-
External Phono Preamp: Connect turntable (set to "PHONO" if switchable) to external preamp input, then external preamp output to a line-level input on your amp/speakers.
-
-
Ground Wire: Connect the turntable's ground wire to the grounding post on your phono preamp (whether internal or external) or amplifier to prevent hum.
-
Power: Connect the turntable's power supply.
Step 9: Leveling the Turntable – Precision is Key
Even if your surface seems level, your turntable itself might not be. A turntable that isn't perfectly level can cause tracking issues and affect speed stability.
-
Use a Bubble Level: Place a small bubble level (or a leveling app on your smartphone) on the platter. Adjust the turntable's feet (if they are adjustable) or use thin shims under the feet until the platter is perfectly level in both left-to-right and front-to-back directions.
Step 10: The First Spin – Music at Last!
-
Clean a Record: Use a carbon fiber record brush to gently remove any surface dust.
-
Place the Record: Carefully place the record on the platter.
-
Start the Platter: Turn on the turntable and select the correct speed (33⅓ for LPs, 45 for singles).
-
Cue the Tonearm: Use the cueing lever to lift the tonearm. Position the stylus over the lead-in groove of the record.
-
Lower the Tonearm: Gently lower the cueing lever. The stylus should descend smoothly into the groove.
-
Listen! Enjoy the music. Listen for any obvious issues like skipping, distortion, or hum.
Basic Troubleshooting:
-
Hum: Check ground connections.
-
Skipping: Check tracking force, anti-skate, and ensure the turntable is level and stable. Ensure the record is clean.
-
Distortion/Dull Sound: Re-check tracking force and cartridge alignment.
Setting up your first turntable is a rite of passage. Take your time, follow your manual, and enjoy the process. The reward is a deeply satisfying connection to your music, a tactile experience that digital can't replicate. At XJ-HOME (https://xenonjade.com), we believe this hands-on engagement is part of vinyl's enduring magic. Welcome to the club!

Leave a comment
All comments are moderated before being published.
This site is protected by hCaptcha and the hCaptcha Privacy Policy and Terms of Service apply.